Tuesday
Nov262013

You say Allioli, I say Aioli, Some say Garlicky Mayo

You would be forgiven for thinking that this whole thing had gone the way of acid wash but, just like the hideous trend, I’m back. Scanning through here, my jaw dropped when I realized it has been almost two years since writing anything I felt needed sharing. I have cooked plenty but, with diet changes, work changes and actually moving to another continent, it all got lost in the shuffle.

Here I am though, cooking in our rented, slightly Faulty Towers-esque house, where everything looks great until you try to use it. We have great friends here and much of the kitchen hardware I have has been lent to me so, I am very lucky. Combine that with the convenience of a having certain large Swedish furniture and stuff store nearby and we are more or less set up.

Here on Mallorca, and in Catalunya generally, allioli is everywhere and eaten with everything. It is, as it’s name suggests, the Spanish sister of aioli, or garlicky mayonnaise. Sadly, ordered in many restaurants here, it is often an ultra white glop of something far more industrial than you may expect. Having spent a lot of time fixing broken aioli or mayonnaise and tossing leftovers that were too old to be safe, I understand why they do it. I still don’t approve.

A couple of months ago, during a mid-week-teachers-still-on-strike-children-running-wild-all-day playdate, my aioli education began. It was lunch time and, after a morning of coffee and croissants and pretty relaxed conversation, my friend, Petra, suggested it was time to make some lunch before the seven or so children realized they were actually starving despite liberal doses of viennoisserie.

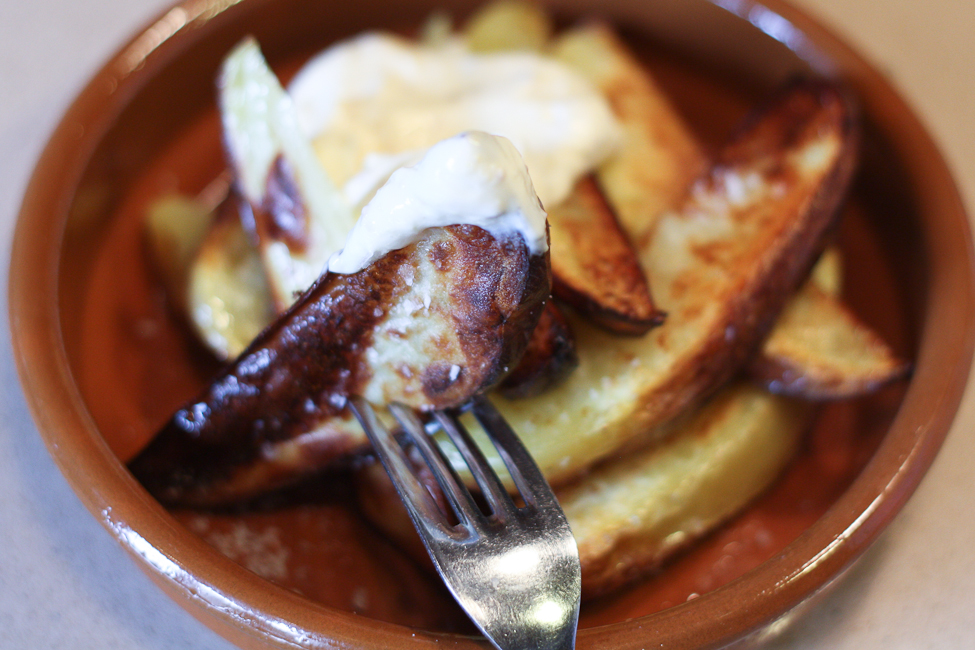
Amongst all sorts of other options, Petra decided she would do some roast potato wedges and make some aioli to go with. No complaints from anyone there on that one. I watched her, it is always a treat to watch someone else cook, while she began to collect the ingredients together and, as she started to put this aioli together, I was skeptical.

All of the ingredients were being put in a hand blender (stick blender to some) cup at the same time, which I thought was a bit risky. The big kicker was that the whole egg got put in. Not just the yolk, the whole egg. I couldn’t believe it. While all I wanted to do was tell her that she may have made a mistake and thereby avoid fixing broken aioli, I bit my tongue, eyeballs bulging out of my skull, wondering what kind of crazy kitchen stunt Petra was trying to pull.

You may be able to imagine my surprise when she put the hand blender in the cup and started blending, lifting the blender out slowly until, as if by magic, it all came together in a perfectly emulsified and slightly lighter but, deliciously garlicky aioli that I have since been envious of. 
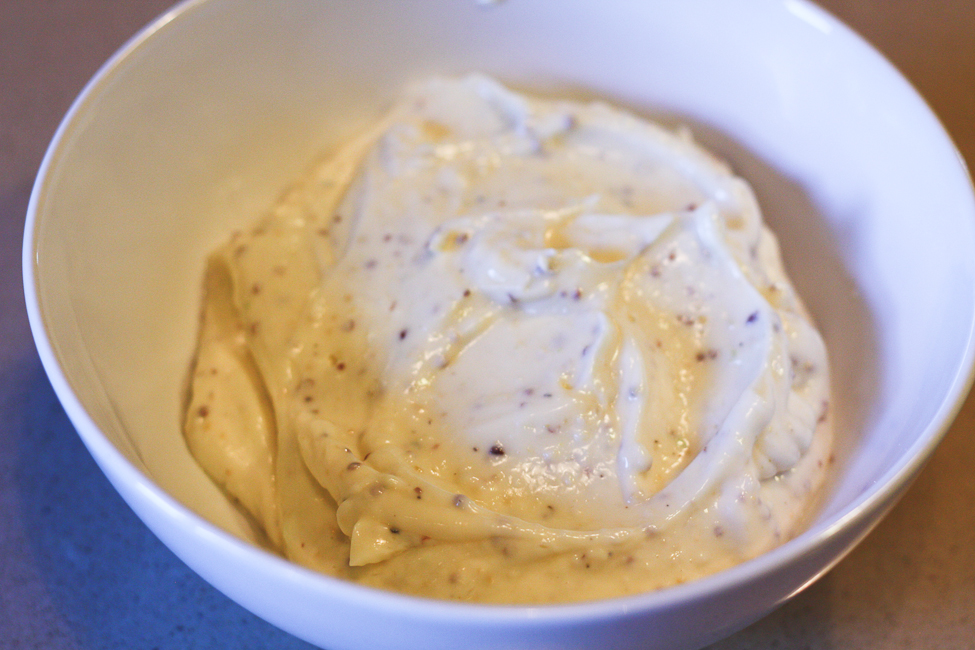
I have watched Petra make it a couple of times since. I have asked her about a dozen questions about it. I have tried to make it in a regular blender and I have tried to make it in a food processor, thinking that it was just the egg white that was helping to make that kind of stunt possible. Nope, none of it worked. It had to be the hand blender and, while there are a myriad of uses for one, I was struggling to justify the purchase of an appliance based on its aioli-making merit.

Luckily, at my friend Jane’s house the other day, it was decided that we needed some aioli for the roast chicken and potatoes that were getting along nicely in her oven. Knowing that she had a hand blender, I couldn’t resist asking if I could try to make it ‘Petra’s way.’ I could sense the liberation from mincing the garlic and the carefully steady hand-whisking and sore arms. Miracle of miracles, it all came together brilliantly and I got a little giddy with excitement and almost left then and there to go by my own hand blender. Janie talked me down and lent me her’s to make subsequent batches and to take some photos to get it on here. So, with thanks to Petra and Janie, the recipe follows.

This stuff is delicious with lots of things but, it is absolutely perfect with some oven roasted potato wedges. In the last three days alone, I have made three batches. That is the very stiff price you pay for forgetting to take photos the first time.
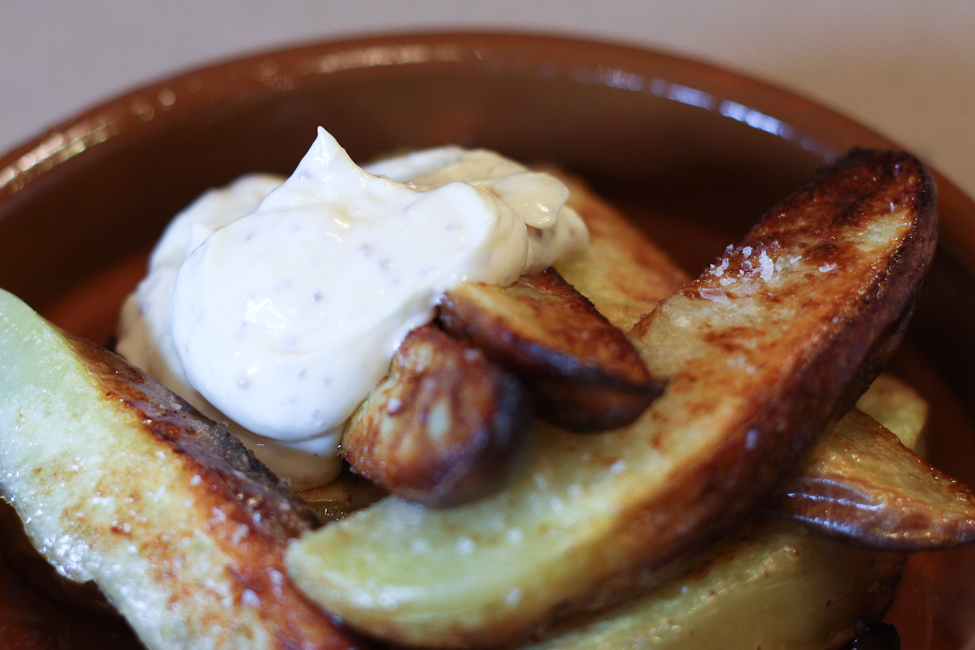
I have made this with both dijon and whole grain mustard, both are delicious and, as you would expect, the dijon version is smoother. I try and use a decent oil, if possible. I like the organic first pressed sunflower oil we have at the moment but, any vegetable oil, or blend of oils, you are comfortable with should work. I don’t recommend using straight olive oil as the result can be pretty bitter.

I normally wouldn’t promote a recipe that requires specific appliances however, I think many people have a hand blender and, if not, maybe you could borrow a friend’s like I did. 


Hand Blender Aioli

makes approximately 1 1/2 cups

1 whole egg

2 cloves garlic

1 teaspoon dijon or grainy mustard

2 teaspoons white wine vinegar

2 teaspoons lemon juice

Pinch of salt

Pinch of freshly ground black pepper

1 cup sunflower oil

Gently place all ingredients in the cup of your hand blender, adding the oil last.
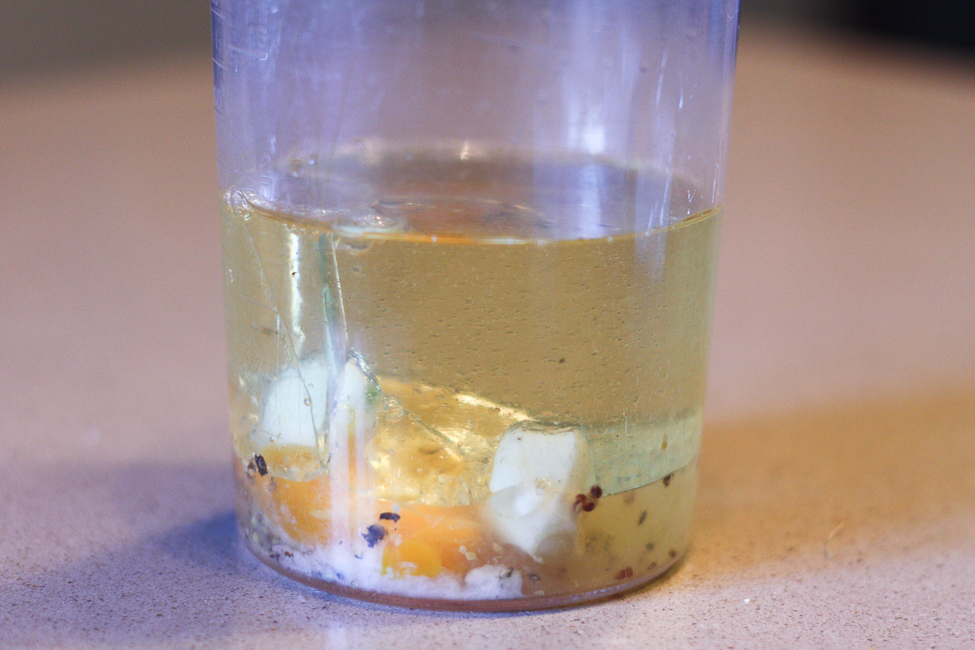
Assemble your blender and put it in the cup, all the way down to the bottom. Start it and, when the mixture starts to get creamy on the bottom, slowly and gradually lift it to the top of the mix. At this point, you can plunge the blender in and out a couple of time to get everything mixed in.
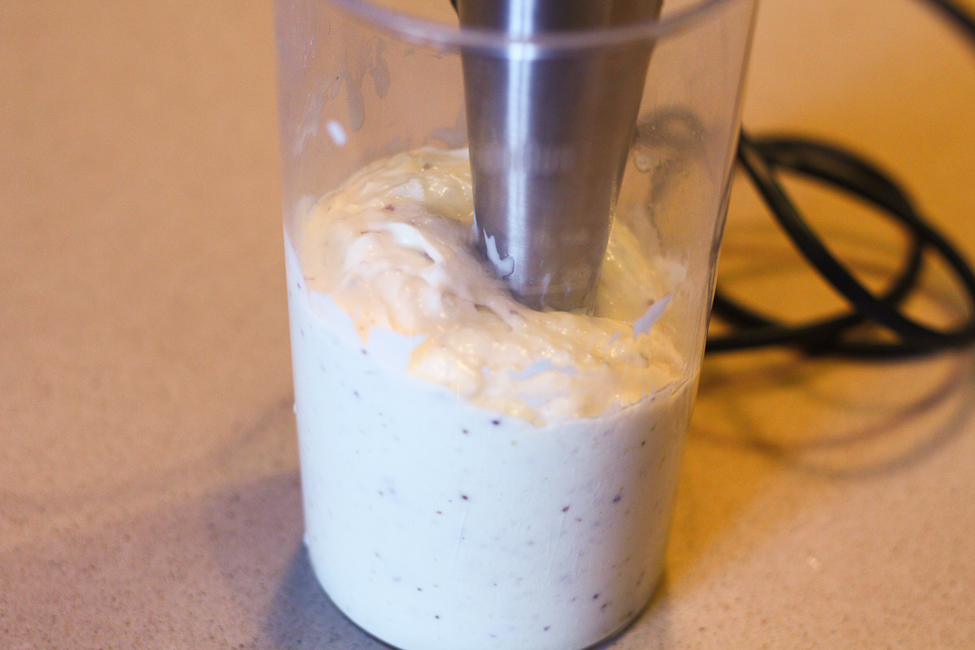

That’s it. Eat it now.
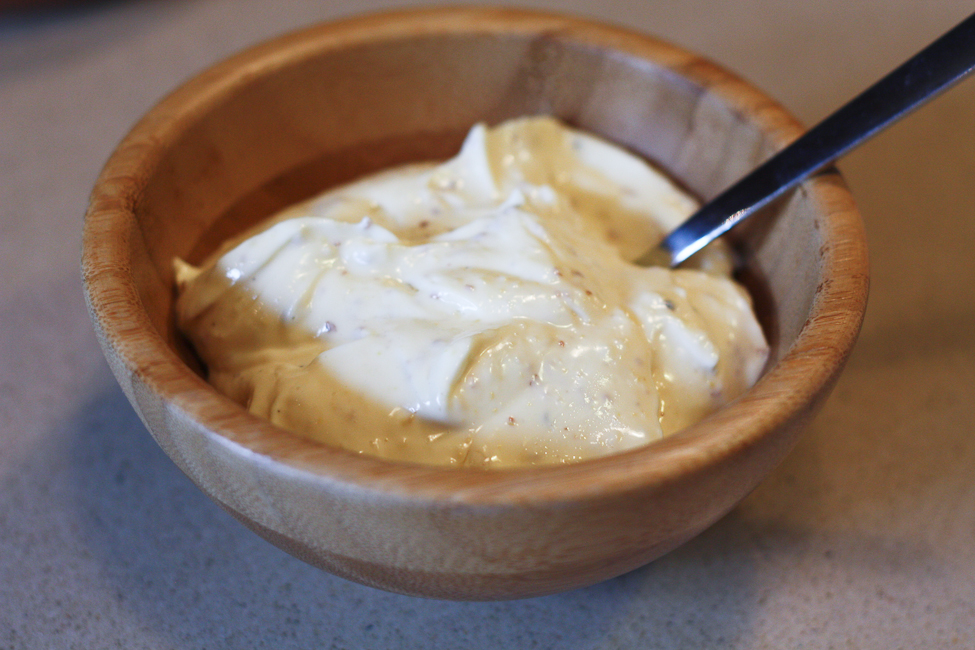
 

n.b.  In researching this post over the last two months, several batches have been made. I would highly recommend that, to enjoy to the fullest, you share with good friends and a bottle of rosé. 


Thursday
Jan262012

Olive Oil Oatcakes or, Four Fleeting Months

September 27, 2011. I could have sworn I had been here more recently than that. But, no. Aside from swooping in from time to time and deleting spam and checking to see if anyone had commented on any ancient posts, I have been gone. 

I was around for a spell, setting up a still dark, still unfinished crafty page. It has promise. Autumn was full of craftiness - lots of sewing and gluing and feeling very homemade. There was not very much cooking, not much to write about. The adjustment to my daughter’s new school and extra-curricular life kicked me in the gut. That, and trying to be serious about shifting the extra twenty pounds that has been hanging around for nearly six years meant that cooking anything that wasn’t child-friendly or low in calories, carbohydrates, fat and sugar was clearly not a priority. 

I also discovered Downton Abbey. I know it really is no excuse as it only accounts for a few too short hours of the last four months (Yep, four months, I know). It is, however, very hard to not stand watching, wondering whether an extra or secret episode has unexpectedly downloaded in the twenty-six minutes since I last checked. It’s become a little consuming.

Selflessly though, here I am. Back, with something healthy and cupboard friendly and good for you and your offspring to eat without feeling like you have broken the calorie bank. I have made these oatcakes at least half a dozen times during my hiatus, each time a little different with various additions and subtractions. I have got it down though and after some alterations felt at liberty to share with you my take on an already great recipe.

Hugh Fearnley-Whittingstall, the master of all things head to tail and local and ethical and sustainable and well, you know where I am going, writes a column for The Guardian. In it, he talks of all manner of foodly things from pig's cheeks to sumac to steamed pudding to picnics. I appreciate what he does. I adapted one of those recipes from an article on biscuits to suit not only the tastes of my children but our pantry contents as well.

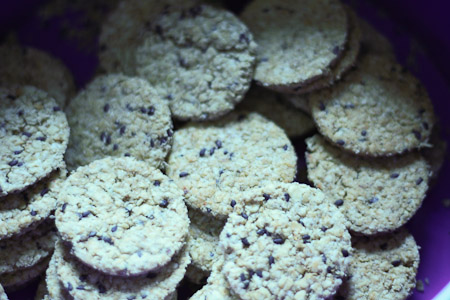
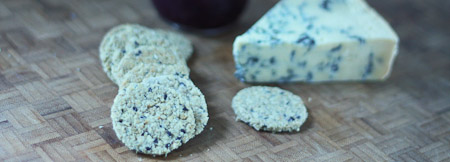
I spent time grinding rolled oats and pinhead oats and steel cut oats and trying to get the texture just right before I even tried it with just plain old rolled oats, unground, as they come. Turns out, I could have saved a lot of time and good, but not excellent, batches of these little cheese, jam, chutney, salmon, ham and anything else you could think to put on a cracker holders. Plain old rolled oats is the way forward as far as I am are concerned. The finished texture may rival some of the finest Scottish offerings and it was by far the easiest batch to deal with in the prep.

The original recipe suggests letting the dough rest for as long as it takes to open a bottle of wine and pour yourself a glass. I can assure you that if it rests for as long as it takes to drink that glass of wine it will not result in culinary ruin. You may have to add a touch more water and give it a slightly longer bake but it will be just as good, and maybe even a little crunchier.

As well as changing the oats, I may have added a touch more water than what Hugh recommends. He says sunflower seeds, I say use whatever takes your fancy, or you have in your cupboard. I have used nigella seeds, sesame seeds, poppy seeds, a mix of seeds and nothing. All have turned out just fine. The nigella are the prettiest and the plain ones are the most perfect oaty toastiness.

Olive Oil Oatcakes (adapted from Hugh Fearnley-Whittingstall’s Bill Rona’s Oatcakes recipe)

280 grams rolled oats

Cracked black pepper (Hugh recommends 10 twists, I think you can take it or leave it)

1/2 teaspoon salt

A small handful of seeds

75 ml extra virgin olive oil

Preheat the oven to 350ºF. Dust two baking sheets with flour. Boil the kettle.

Mix the dry ingredients. Stir in the olive oil. Make a well in the centre of the mixture. Add just enough boiling water to bring the dough together. You want the dough to be firm, not sticky.

Form the dough into a ball and allow to rest for a few minutes.

Roll out the dough on a floured surface to about 3mm thick. Cut into rounds, you will need to use a fairly sharp cutter, or using a sharp knife, cut into squares.

Place on baking sheets and bake for twenty minutes. Remove from the oven, turn oatcakes over and bake a further 5-10 minutes.

Remove from oven and cool.

Yield will depend on cutter size and shape but expect about 3 dozen 1 3/4-inch round biscuits.


Tuesday
Sep272011

Mabel Murple's Purple Maple Syrple

Mabel Murple ordered breakfast

She had purple eggs on toast

And when she ordered dinner

She had purple short rib roast

Mabel Murple cooked a supper

Murple’s super duper purple stew

It was served with purple ketchup

And Mabel’s maple syrple too!

(Mabel Murple’s purple maple syrple!)

  -Sheree Fitch, Mabel Murple

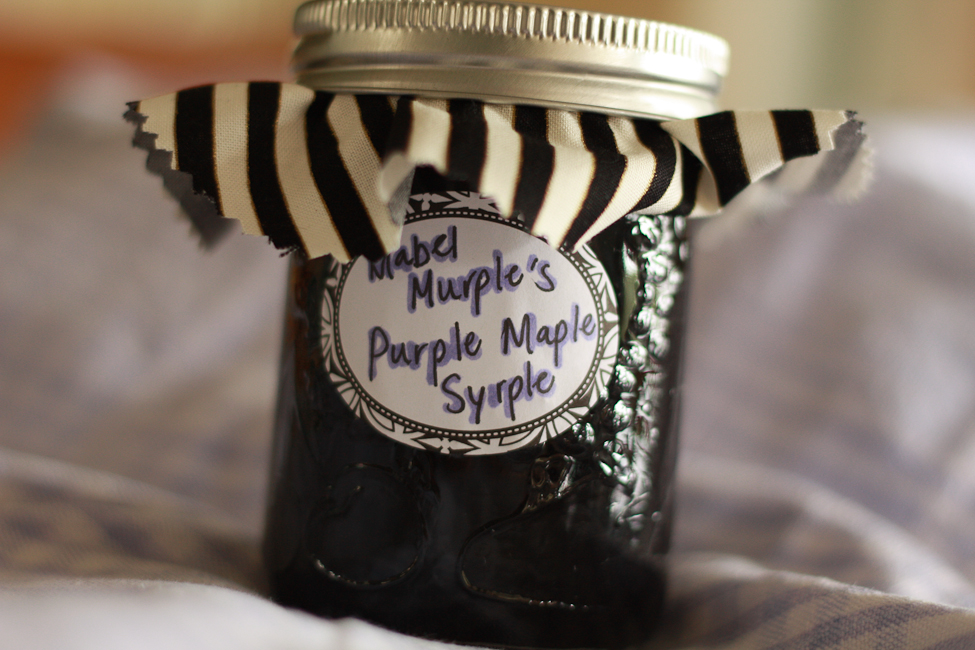
One of our favourite books of late has been Mabel Murple. Whether it is Sheree Fitch’s infectious rhyme, Sydney Smith’s perfectly purple illustrations or the simple fact that they get to shout, ‘UNDERWEAR’ at the end, the girls love it. If we miss reading it one day, it is read twice the next. 

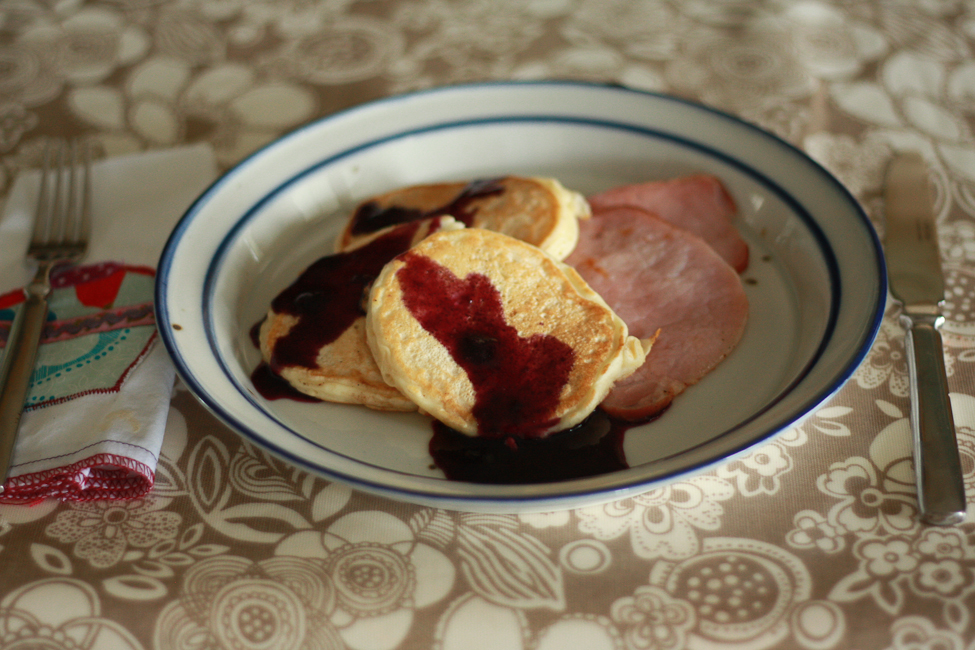
One day, during an early morning reading, the breakfast demands were made. They didn’t just want pancakes, they wanted them with Purple Maple Syrple. So, donning my indulgent mother cap, I leapt out of bed and got on with it.

You can buy this stuff in stores. It usually comes in tiny bottles. Around here they are often tied with Nova Scotia tartan ribbon which, maybe, is supposed to make it okay to pay THAT MUCH for 100mL of syrup. We go through this stuff, and maple syrup generally, by the bucketload. For us, this proves a little more economical despite missing the ribbon. And, you can make it in about as much time as it takes to whip up a batch of pancakes anyway. (I think I can feel the wrath of the value-added maple syrup industry coming down on me now)

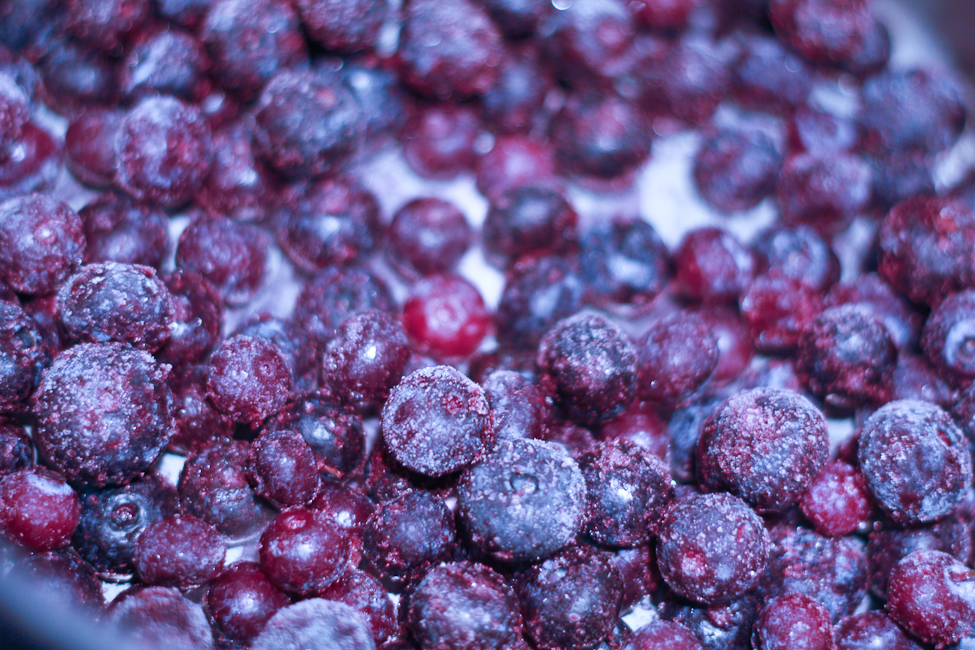
This was some time ago, blueberries weren’t quite in season and I was still in the midst of using up the frozen winter’s berry stash. You can easily use fresh, the last of them are still trickling through markets, and I have since. Still perfectly purple.

Mabel Murple’s Purple Maple Syrple inspired by Mabel Murple written by Sheree Fitch

2 cups blueberries (fresh or frozen, washed and de-stemmed, preferably)

2 cups maple syrup

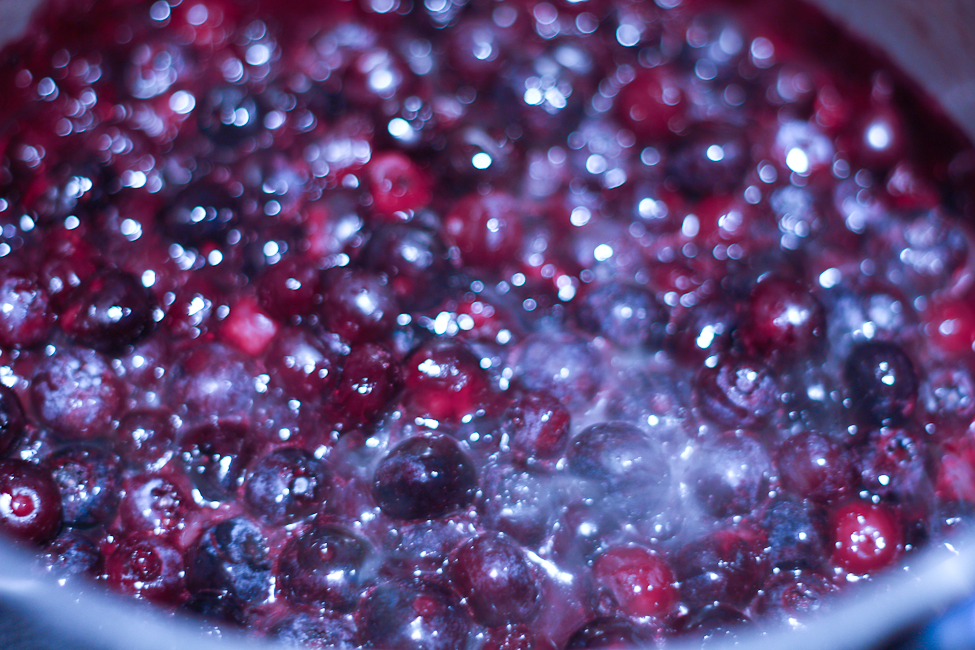
Bring the berries to a boil over low to medium heat. Don’t let them burn. Add the maple syrup and return to a boil.

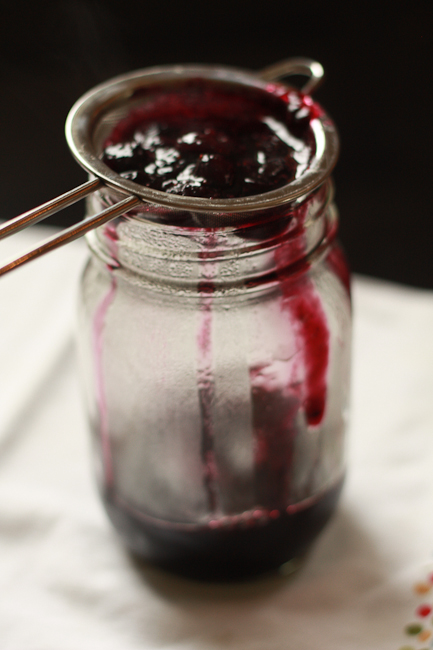
Strain through a sieve, pressing to extract all the liquid. Or, leave it chunky if you don’t mind the bits.

Serve over pancakes, french toast, waffles, porridge, ice cream, yogurt...


Allow to cool before refrigerating in a clean, dry container.


Tuesday
Sep062011

Quickest Kosher Dills - or Dilly Beans or Pickled Carrots or...

It has been a long time since I posted. The best intentions have been left behind in a pile of sandy, wet beach towels and swimming costumes and in discarded tennis rackets (not mine) and ankle twisting balls. They are buried under a stack of art camp projects, library books (always very stressful if it is about to be returned unread) and six-paper drawings. They are left in the dust of learning to ride a bike between the rain showers and in trying to cram four months of catching up and memory making experiences into four short weeks of Daddy home time. The recipes and my barely used camera will sit and wait, my children do not. EVER.

I should say that those intentions have also fallen to the odd bit of real work, picnic preparation and to my late summer canning and preserving drive. My husband worries about space and shelf stability. I worry about what we will do if we run out of dill pickles in March. He reliably reminds me that there is a supermarket we can walk to in less than five minutes. I tell him it isn’t the same, he doesn’t understand. He says we don’t eat jam. I say it is to give as gifts. He asks how much money do you spend on jars. I tell him the lady I met at Canadian Tire gave me hundreds. He rolls his eyes. I know he knows I will not relent.

I am not going to bore you with telling you about everything I have made. I will tell you once again that if you can just eek out a few hours to put something up, you will be very happy you did. There is still plenty of lush inspiration - blueberries, tomatoes, plums, pears and apples.

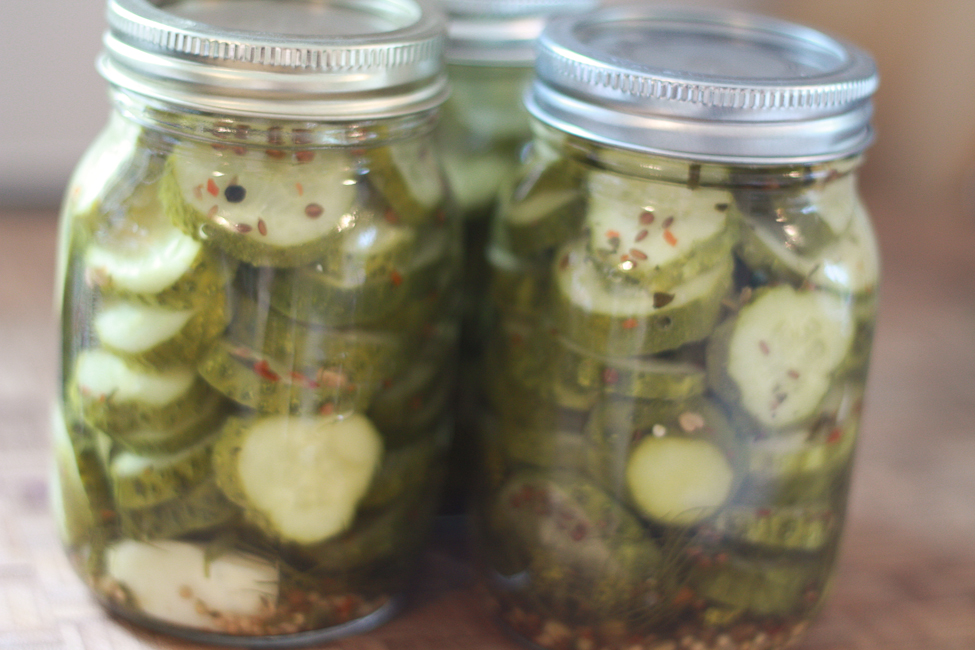
Last year’s pickles did not work out very well. In fact, most of them wound up composted. I am not sure what I did or didn’t do but they weren’t for eating. This year, I wasn’t even going to bother making any. I then thought about making fermented ones but realized that I would actually have to remember that they were fermenting. Then, in my new carry-it-around-all-the-time favourite guide, I found a recipe for Quickest Kosher Dills and knew I would be making pickles after all.

This recipe can be used for carrots and beans as well.  With carrots, you can keep the spices pretty much the same. For beans, I would be inclined to make them a little spicier. I used fresh dill which is great especially if you can find some with big flowering heads just going to seed. You can also use the fresh feathery fronds, stalks and you can use dried dill seed as well. The original recipe calls for scuttermong or grape leaves which keeps pickles crisper apparently. Had my children not been in bed I may have asked my friend Nicki if I could nip over and snip a few leaves off her vines but I can not imagine how crisp a pickle would need to be to warrant disturbing that divine post-bedtime peace. So, I left it out and, although I have never used it before, I expect my pickles will be just fine.

The math is pretty simple here and, in order to change from pints to quarts(which you may want to use if you are making carrots), you may need to adjust your quantities, You will need about one cup of liquid for every pint, so that is two cups for every quart. This recipe will make enough for ten pints or five quarts. 


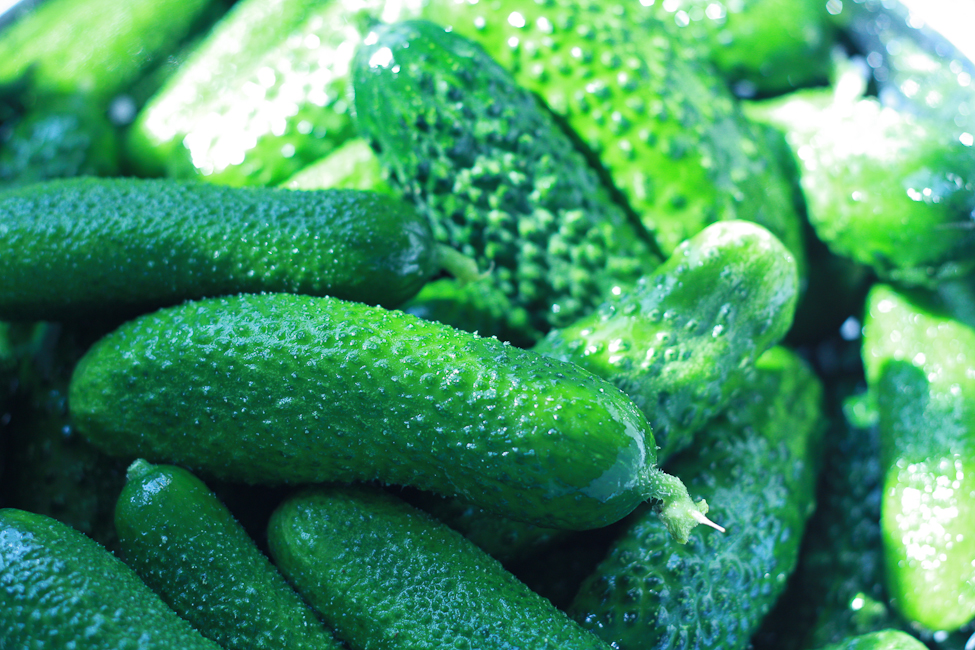
If you are making dill pickles, please use pickling cucumbers. The flavour and texture is much better than other cucumbers. How you slice them is up to you. I like small ones if I am leaving them whole and mediumish (3-inch) ones if I am slicing or quartering. If you are quartering, I suggest you use quart jars instead of pints. For carrots, if you have large ones you can just peel and slice them into quarters, sixths or eighths lengthwise and trim them to be long enough to sit just at the shoulders of the quart jar. Beans do well in a pint jar and again, topped to sit just at the shoulders.

Quickest Kosher Dills adapted from Canning for a New Generation by Liana Krissof

(makes 10 pints or 5 quarts)

2.5 kg (5lb 8oz.) pickling cucumbers(as I mentioned above, I like using +/- 3-inch ones)

5 cups natural white vinegar 

5 cups water

4 1/2 tablespoons kosher salt

10 teaspoons pickling spice

10 cloves garlic

Fresh dill

Clean 10 pint or 5 quart canning jars.

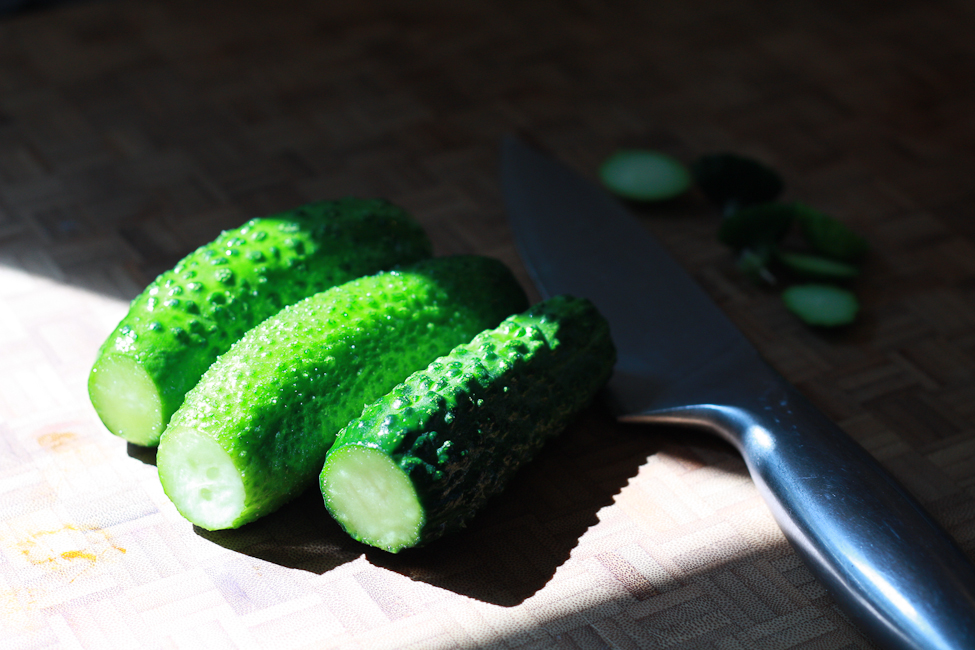
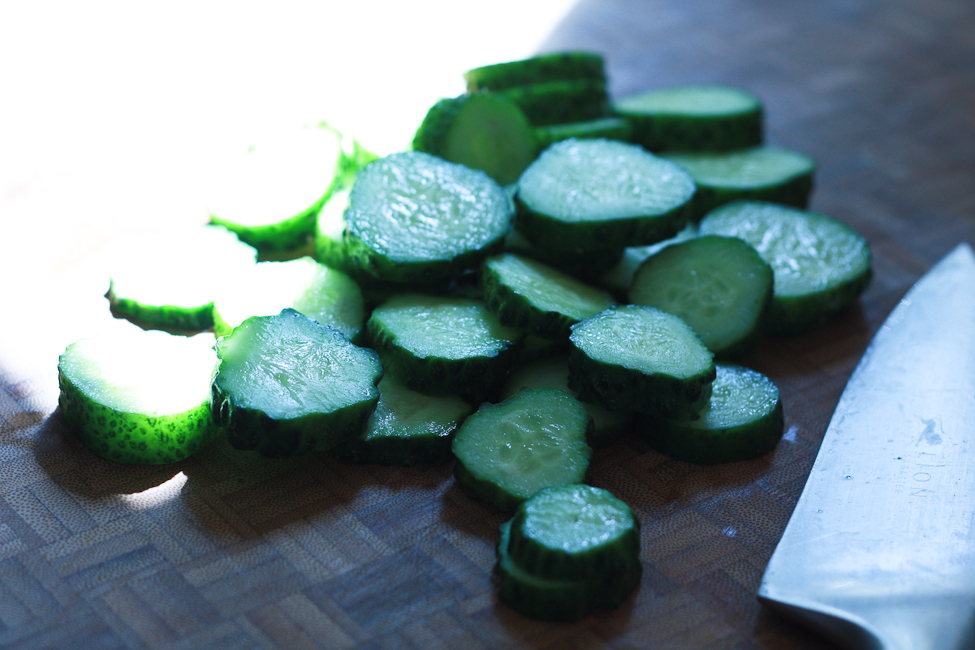
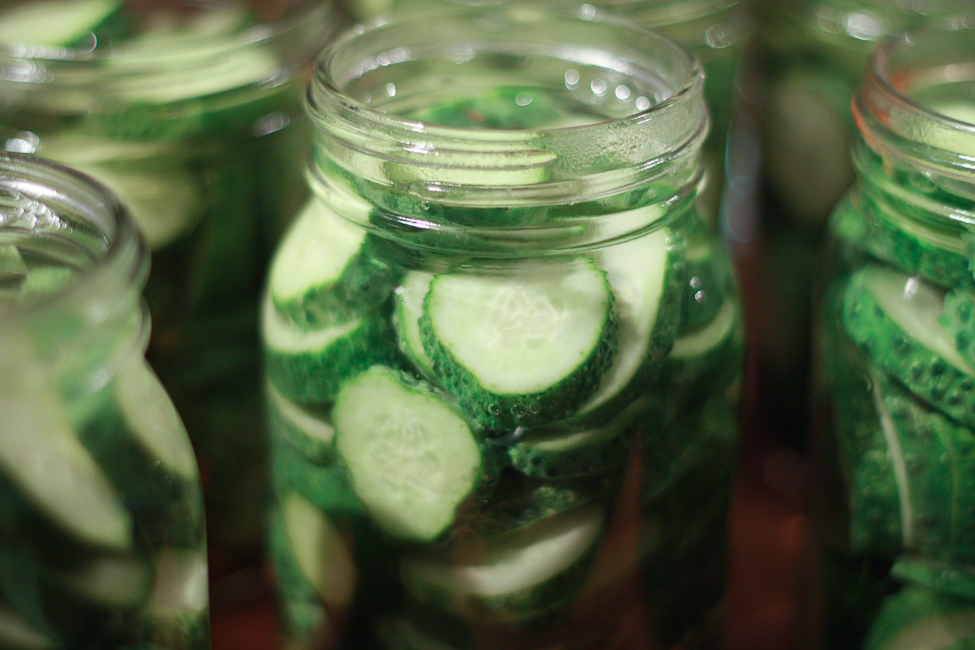
Rinse cucumbers in cold water. Remove the blossom end if you are quartering, remove both ends if you are slicing. Quarter or slice the cucumbers 1/4-inch thick.

Meanwhile heat your jars in a hot water bath.

Bring the vinegar, water and salt to a boil for five minutes, cover to avoid too much evaporation.

Put the lids in a bowl and pour some water from the hot water bath over them.

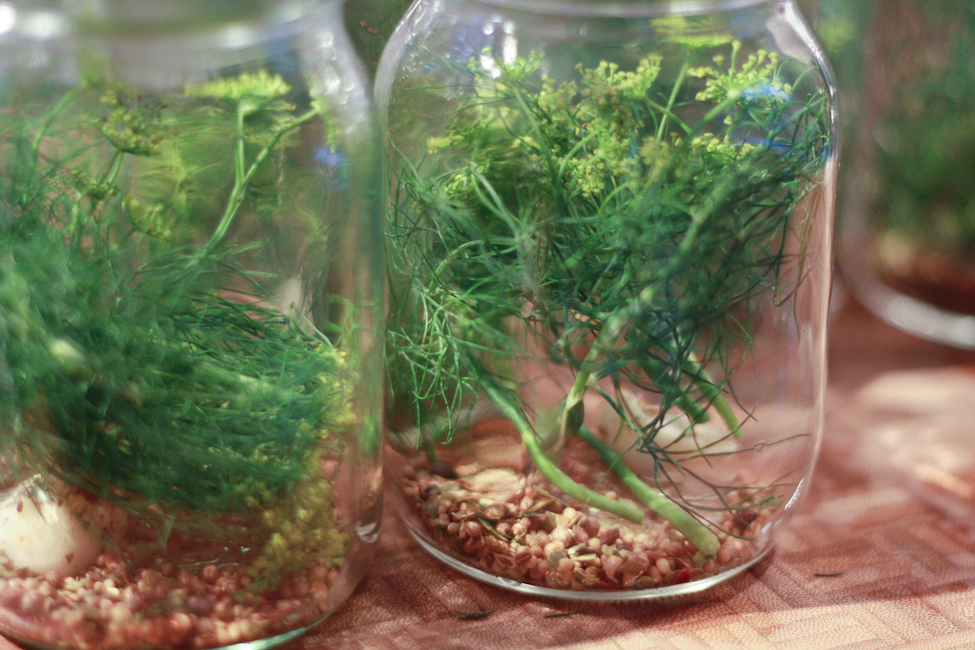
Carefully remove the jars from the hot water bath and, working quickly, put a teaspoon of pickling spice, a clove of garlic and a sprig of dill in the bottom of each jar. Pack the cucumber quarters or slices tightly.


Pour the hot vinegar mixture into the packed jars leaving 1/2-inch headspace. Wipe the rims and put the lids on. Screw on the rings until they are just finer tight.

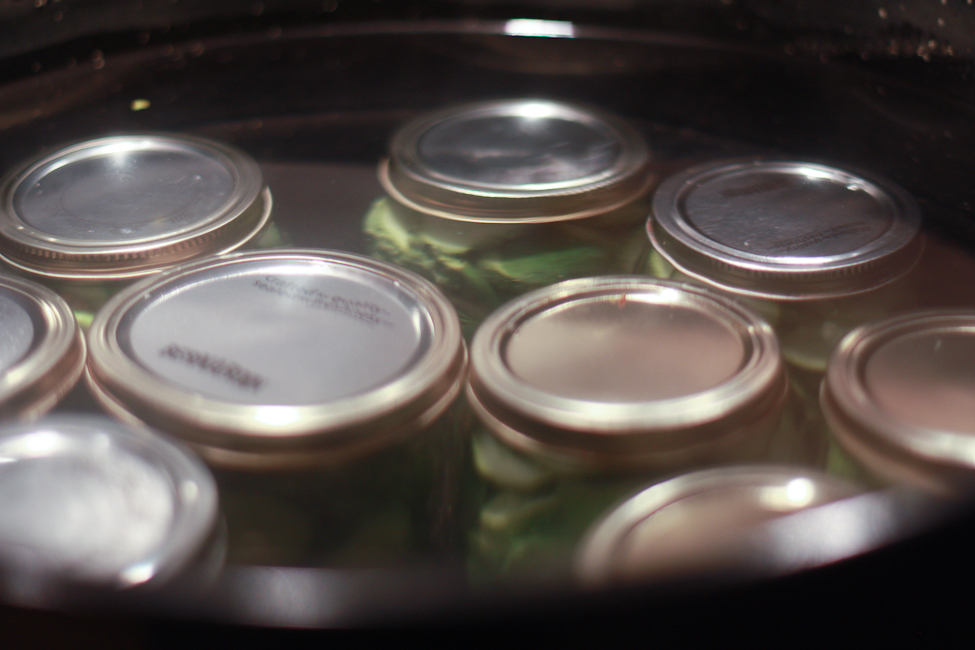
Return the jars to the hot water bath, where they should be covered by one inch of water. Bring to a boil. Boil for ten minutes.

Remove the jars to a towel and leave for 12 hours. Check after an hour or two and if any jars haven’t sealed (if you can still press the lid down), put them in the fridge immediately.


Monday
Jul252011

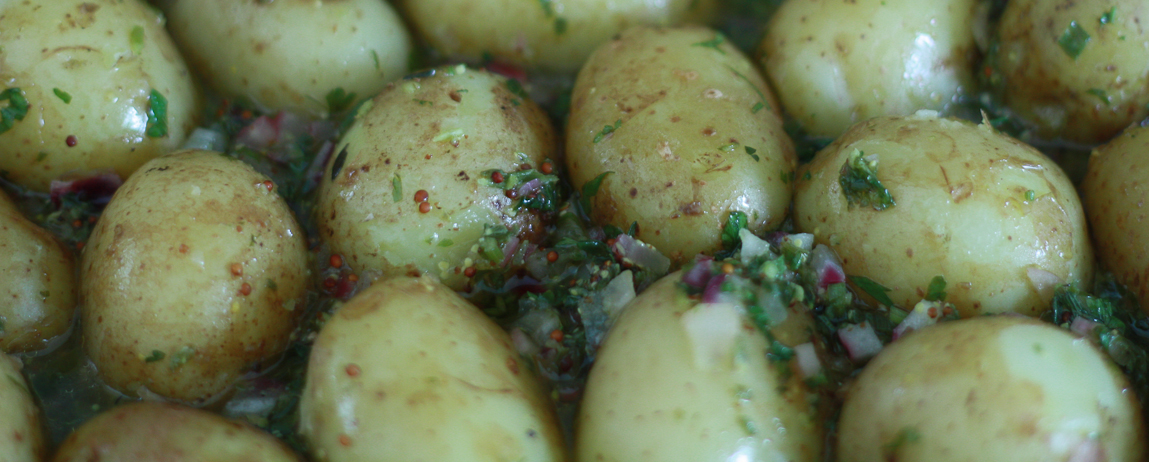
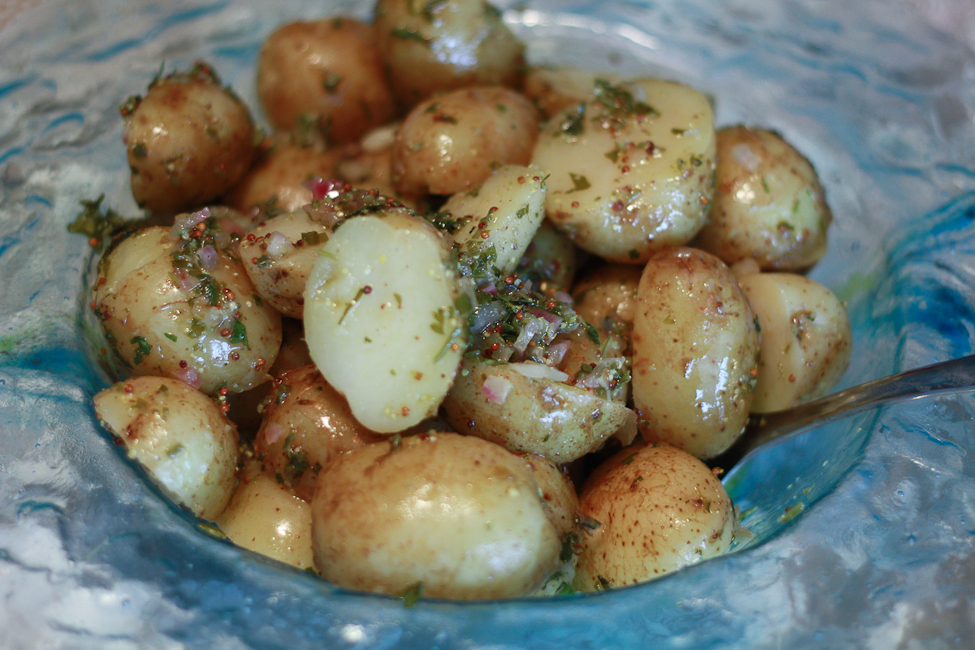
German Inspired Potato Salad

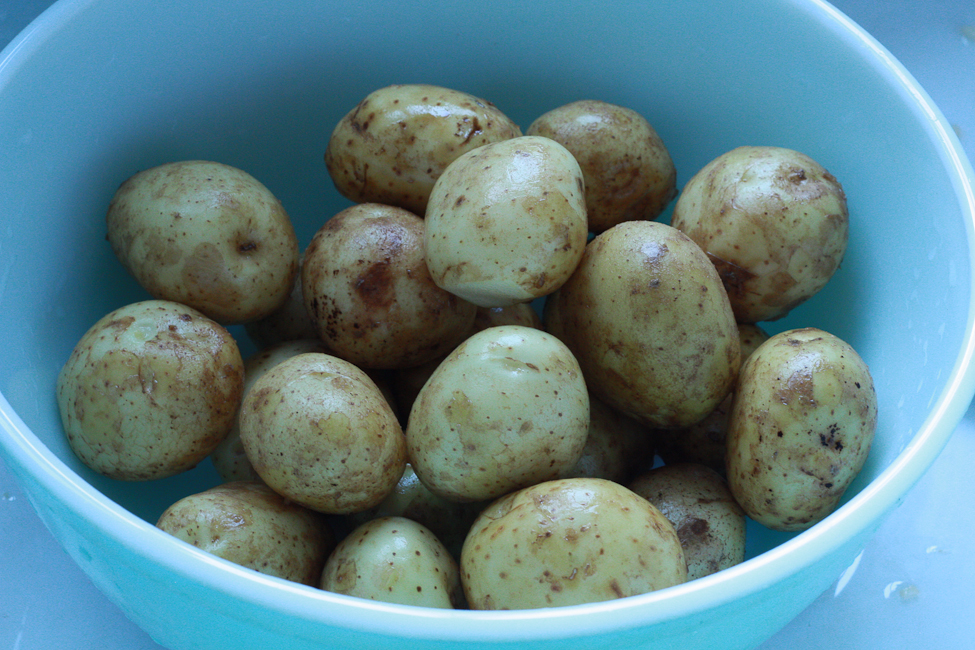
It is new potato time of year here. Those of you to the south and west of us here in Nova Scotia may be thinking, ‘what, it’s been new potato time for a while now Leah, wake up.’ Really though, they are just getting plentiful here.

I truly believe that there is not much finer than a new potato smothered in a healthy amount of butter and salt and pepper. There are occasions, however, when something a little bit more composed is called for. There are also occasions when getting half of supper done ahead of time is a nice treat as well.

I thought, for the odd day when it is actually warm enough that you don’t want to cook, that this makes a nice change to the mayonnaise doused potato salad that is a summer staple and which I love. Sadly, my behind and hips love it too much. So, to lighten things up we had this the other day.

Sometimes, I might be inclined to add some bacon, nicely crisped, to this. There were two reasons I didn’t on this occasion. The first, that there was already beef, bangers and  chicken going on the barbecue and the bacon just seemed excessive. For the second, you should reread the previous paragraph and, as with the first reason, the bacon just seemed excessive.

People may say that this should be served warm, and they would be correct. It is very nice warm. If you would rather go to the beach until supper time, I think it is perfectly acceptable to make it ahead of time and, if you really want to have it warm, put it in a heatproof bowl on the warming rack of your barbecue while everything else cooks. It is, cold or hot, a very fine potato salad.

German Inspired Potato Salad (Warm or Cold)

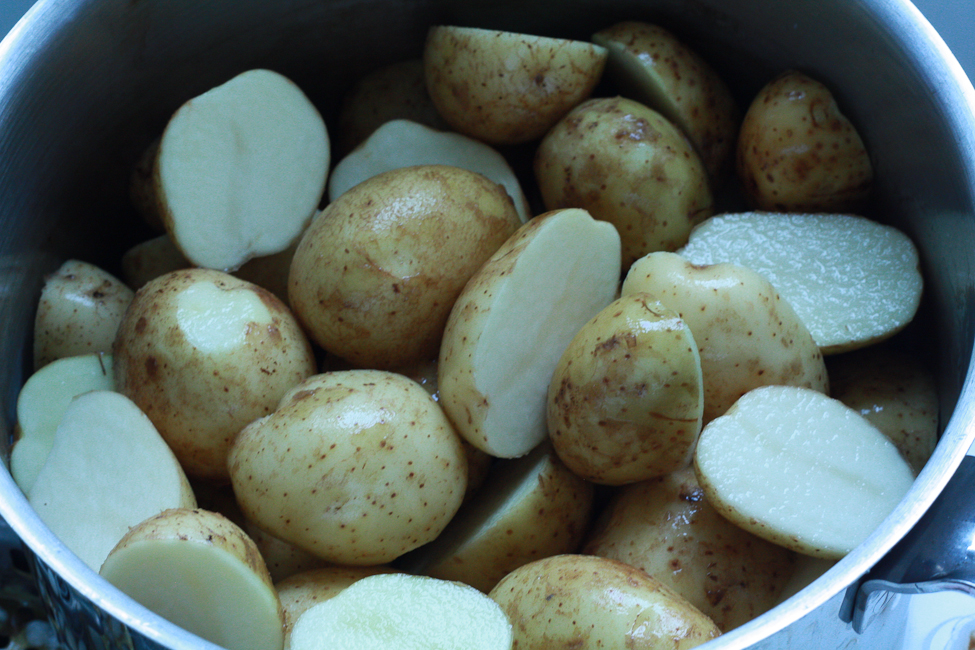
2 pounds small new potatoes halved

Vinaigrette

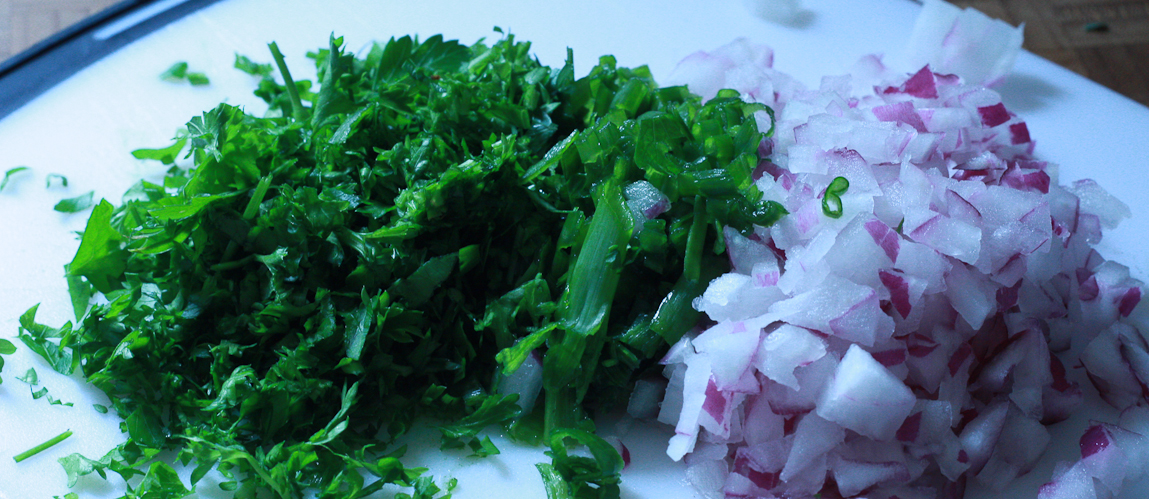
1/4 red onion finely chopped (about 1/2 cup)

1 tablespoon mustard

2 tablespoons white wine vinegar

1/4 cup olive oil

1/2 cup chicken stock

1/2 teaspoon salt

1/8 teaspoon celery seed

1 teaspoon fresh thyme leaves

2 tablespoons green onion finely sliced

1/2 cup chopped parsley (a handful)

In a medium pot, cover potatoes with water and bring to a boil, reduce heat to allow a gentle boil and cook until just tender. It is important not to overcook them. It will take about ten minutes, once they are boiling

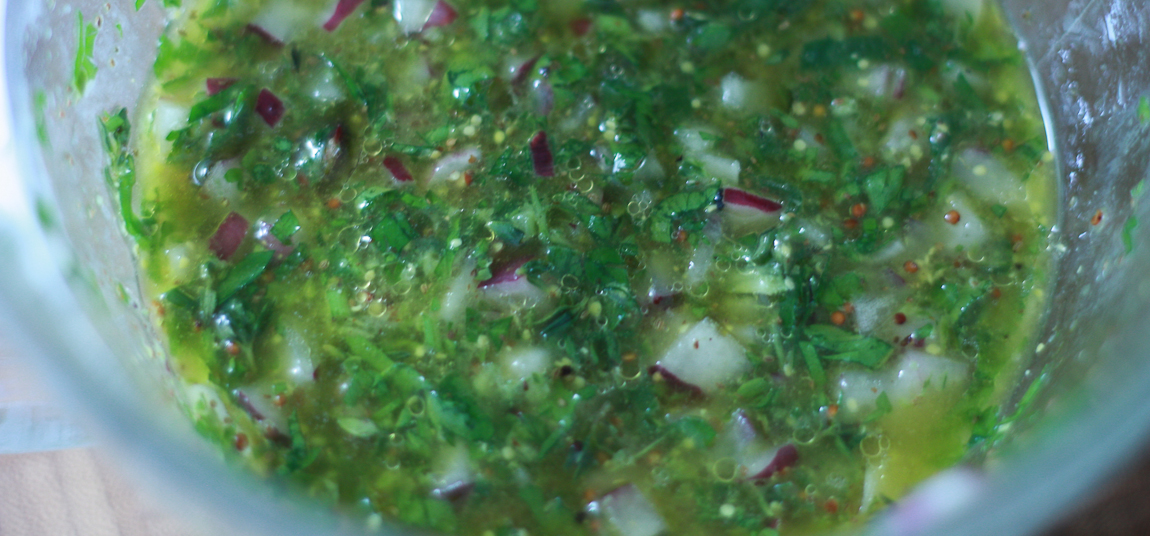
Meanwhile, mix all the ingredients for the vinaigrette together.

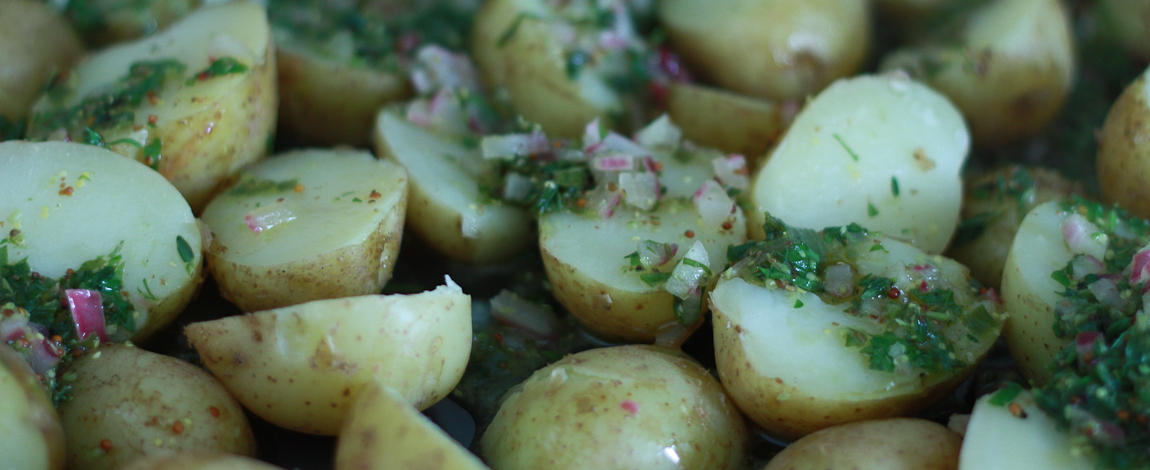
When the potatoes are cooked, drain them well and transfer them to a baking tray.

Heat the vinaigrette in a small pot just until it boils. Remove from heat and gently pour over the potatoes. After a few minutes, gently turn the potatoes, making sure the vinaigrette coats them completely.

Cool, or don’t, and serve.


Sunday
Jul172011

Putting Up Summer - A Challenge

The growing season is short here. And, it is about this time of year that a certain anxiety takes over me. Not so badly that I can’t enjoy summer but badly enough that I start scheduling life around the availability of fruits and vegetables.

Normally, I know in the back of my head that we will be going away for some portion of the winter months. This is the first time since I started doing any sort of preserving that I I am planning on being here for all of the winter months. So, my anxiety is at an all time high. 

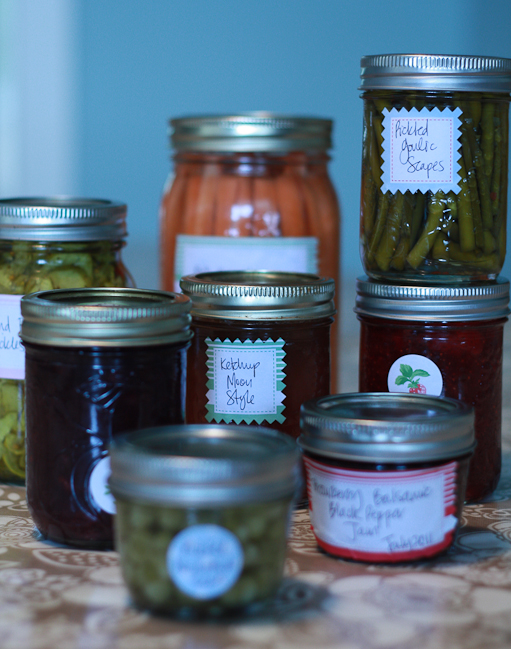
As herbs start growing I whizz them into a ‘pesto’ and toss them in the freezer. By pesto, I mean any combination of herb mixed with olive oil and whizzed. I don’t use nuts or cheese in most so that they are that they are easier to toss in to anything for anyone. Swiss chard and spinach are getting blanched and frozen. Garlic scapes, a lot of them, have been pestoed and frozen or pickled. I am imagining pickled garlic scape tartar sauce as soon as they have sat for a few weeks. Strawberries have been picked, hulled and frozen. Others have been turned into jam, two types. 

For the first time in my jam making career, I didn’t muddle around with the recipe and low and behold, it looks like it has set. Just in time for my children to decide that they don’t like jam. The other type got muddled with and is a little runnier as the result of a little less sugar and some balsamic and black pepper. I can taste it with creamy goat cheese and it is going to be good.

Currently, there is a big jar of nasturtium seeds brining on my countertop. Who knew those things could be quite so stinky. There is a definite waft of boiled eggs as you walk in to our house, especially when the jar gets a little jiggle. I am told, by many folk and website, that they will be pretty similar to capers.

I have great plans for the rest of the summer’s produce. I have a new canning bible, Canning for a New Generation. All I can say is, it will likely teach you a ton of stuff, it has me. If you plan on putting up any amount of produce or you want to make some lovely gifts, this is a book I would get. 

I want to know what it is you ‘put up,’ if anything. And, to that end and without getting caught up in any social movement, I want to issue a challenge, a project if you will. It will just take a few hours, I know they aren’t often easy to come by. Think of something you buy through the winter, or something that you buy that you think you could make. Maybe it is jam or pickles. Maybe it is pesto or tomato sauce. Look up a recipe, I will gladly help if you get stuck. Spend a few hours getting everything ready and preserve something to use later on. You can turn it into a family project or just take some time for yourself and enjoy the satisfaction it offers.

You do not need any fancy equipment, a really big pot will help. If you have a canner in the basement, or attic, or your mother-in-law’s cupboard, you could use it but, unless you are making huge jars of something or lots of jars, you should be fine.

Ideally, and for best results, you should choose something at the peak of its growing season for a couple of reasons. The first is that it tastes the best and the second, well, it usually costs less.

So, tell me if you are up for the challenge. I am by no means an expert, but I will happily help anyone out as best I can. 

Monday
Jul112011

Grilled Nasturtium Leaf Wrapped Halloumi

In the Mediterranean, things like grape leaves abound. Fresh on the trees, in tins and jars, you would be hard pressed to find a culture that doesn’t use them for some form of cooking.

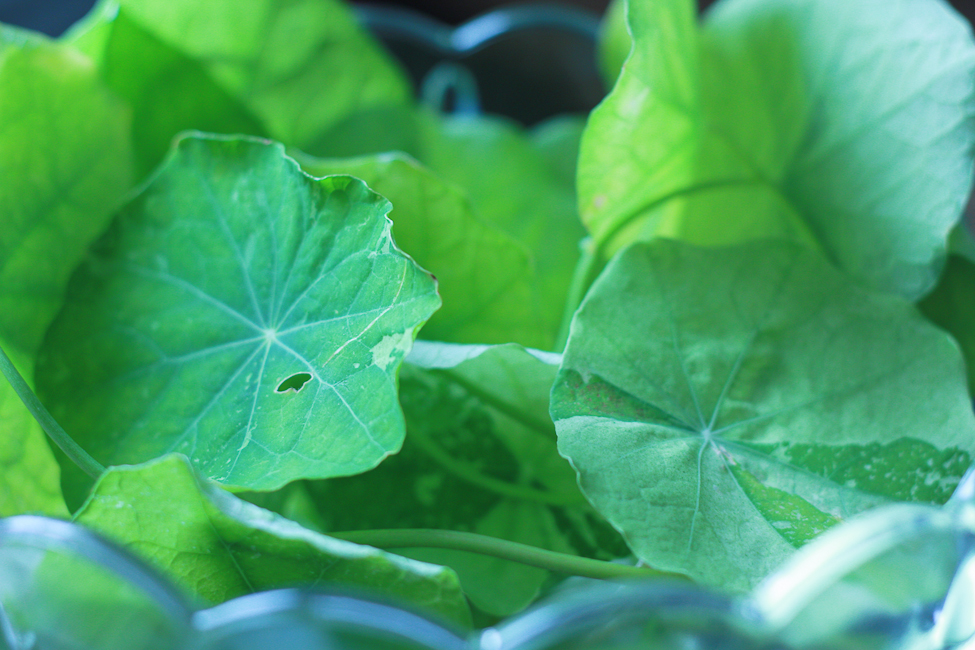
Here on the South Shore of Nova Scotia, the grape leaf, in any form, is a rare thing. It is the stuff of specialty grocers not located on the South Shore for the most part. So, in an effort to make do and to use what grows here and to justify the panic purchase of my four nasturtium baskets, I am determined to use as much of them as possible.

The seeds are going to get pickled, just as soon as I collect enough of them to fill a jar. The flowers get tossed into salad or used to decorate supper. The leaves are very delicious in salad and where you would use lettuce, especially in an egg sandwich. With such a proliferation of leaves though, I needed a new use.

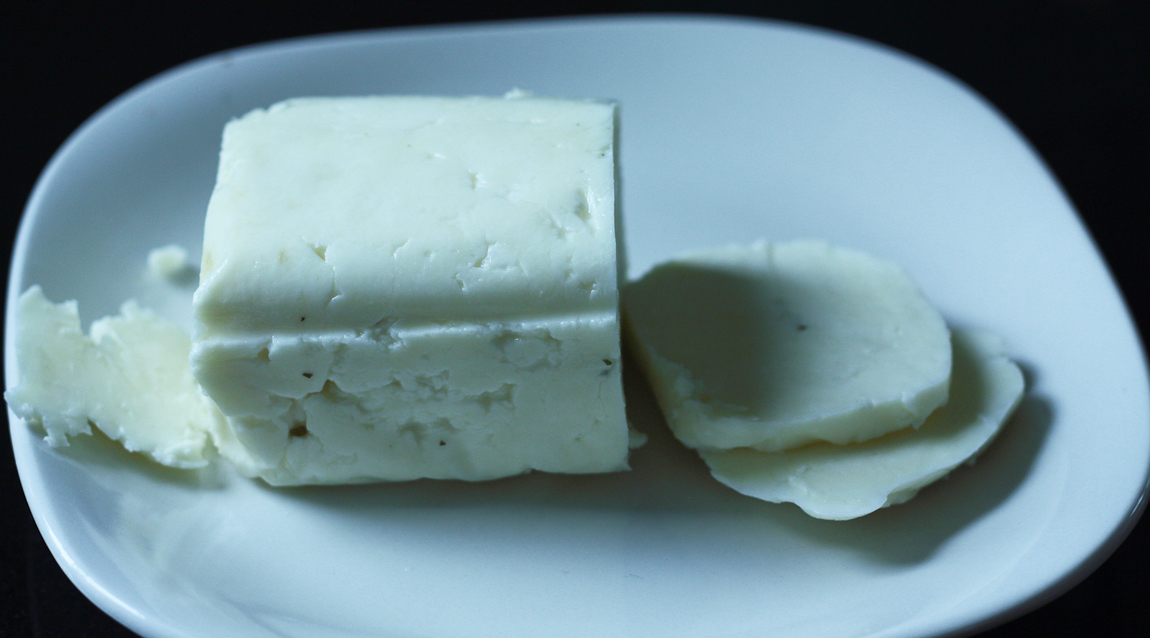
I was googling around for some suggestions and I saw a recipe for nasturtium leaf dolma. Having eaten the little parcels all over the Eastern Med, I couldn’t face making a lame attempt at copying them and being disappointed. I did, however, recall that I had a piece of halloumi cheese in the fridge and got to thinking that wrapping the cheese before grilling it would be kind of well, kind of delicious.

Before you start thinking this is going to ruin your barbecue, it isn’t. Halloumi cheese does not melt the way most cheese does. It is a sheep and goat milk cheese traditionally made on Cyprus. It has an almost squeaky texture which, I admit, does not sound that nice but it is. Really, it is. Because it is made from heated curds, it has quite a high melting point and it grills, fries and flames up beautifully.

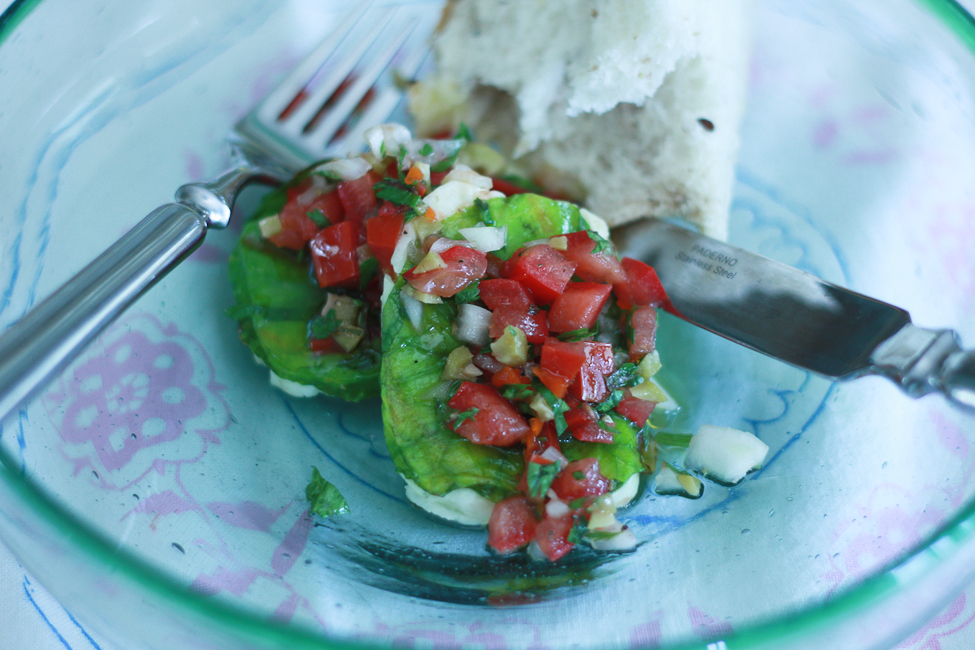
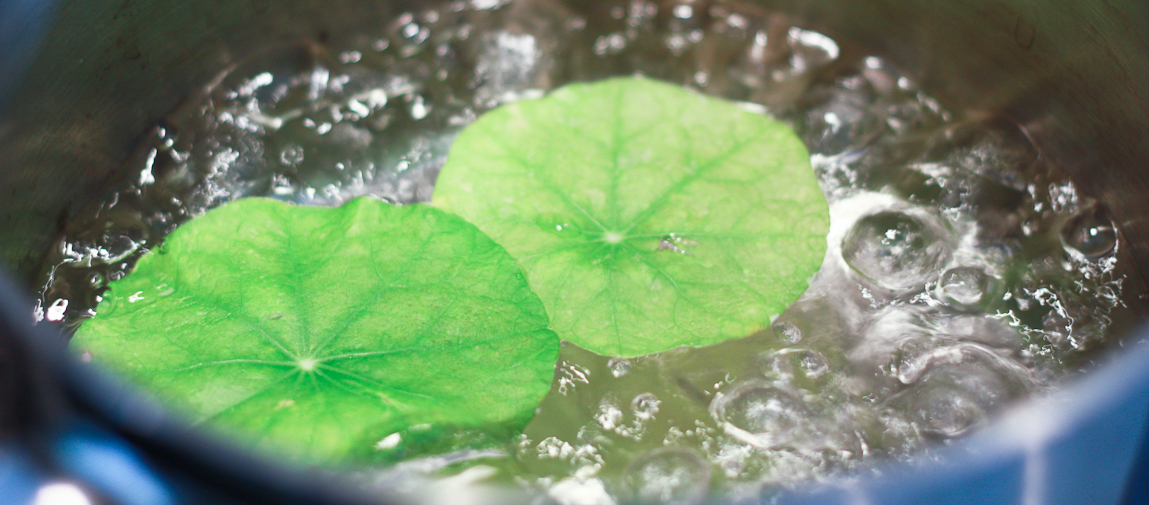
I am not going to ask you to flame it here, it is a practice not for the faint of heart or those unequipped with the appropriate safety equipment, read extinguishers and fire blanket. All you have to do is wrap it in some quickly blanched leaves and toss it on the grill with whatever is up for supper.

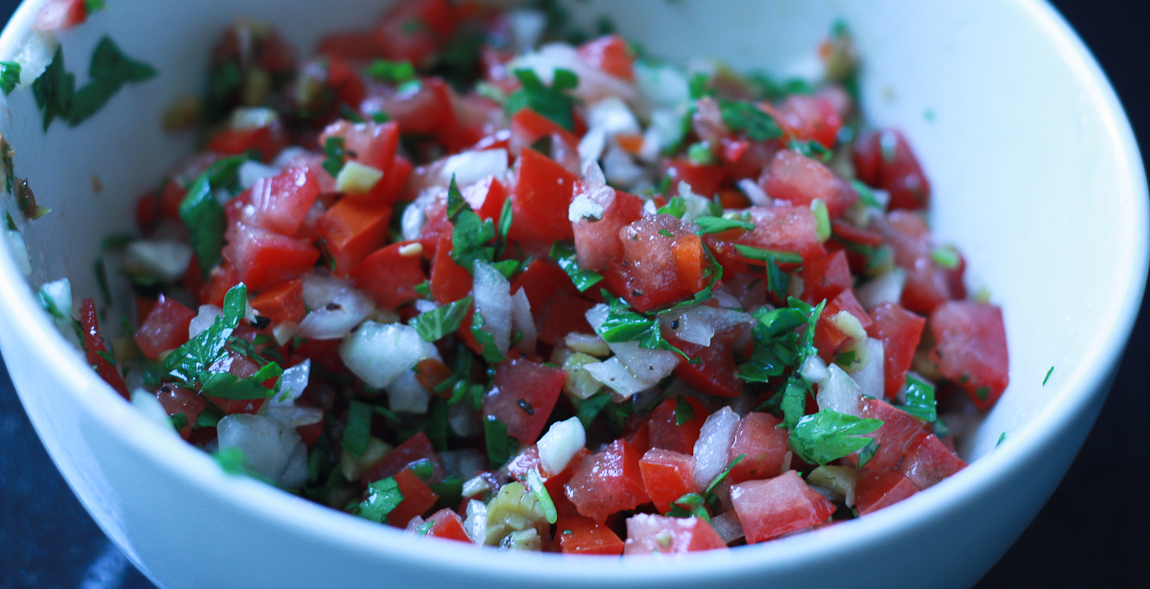
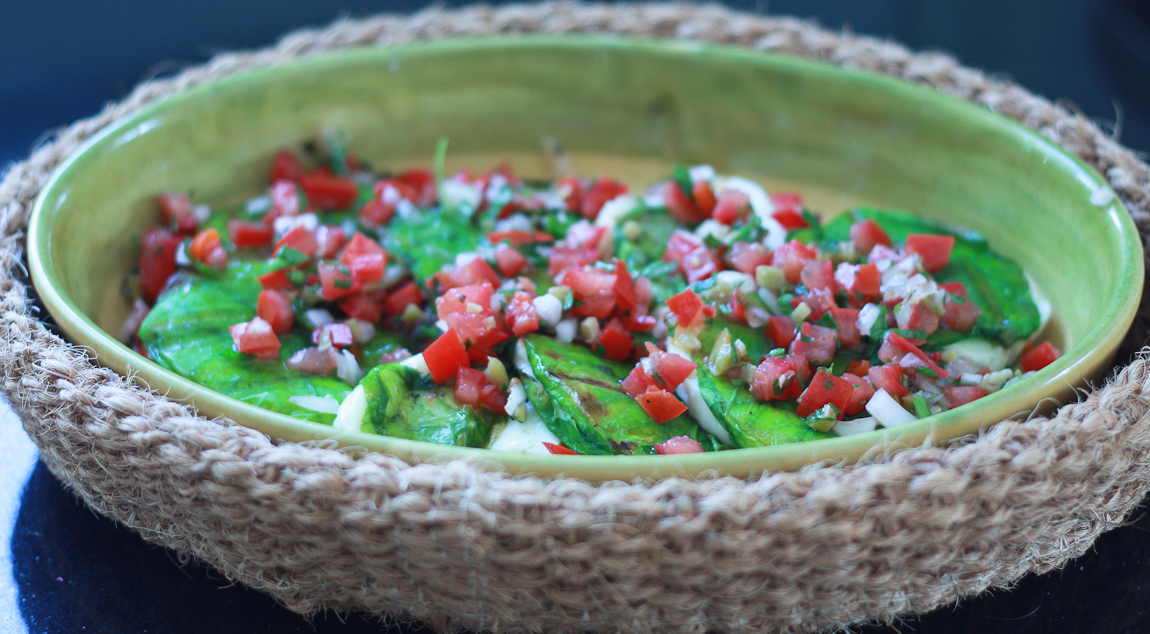
Poppy painstakingly made, with a table knife and a little bit of help in the interest of spped, a not-so-greek green olive salsa fresca to eat it with. It makes for a really light summery side or a quick starter plate.

Nasturtium Grilled Halloumi with Green Olive Salsa serves four as a light side or starter

16 nice big nasturtium leaves

8 1/4-inch slices halloumi cheese

Cracked black pepper

1/2 tablespoon olive oil

4 roma tomatoes

1/4 medium sweet onion finely diced

2 tablespoons green olives finely chopped

1 tablespoon white wine vinegar

1 tablespoon olive oil

1 tablespoon chopped fresh parsley

Salt and pepper

Bring a pot of water to the boil. Make an ice bath by filling a bowl with ice and water.

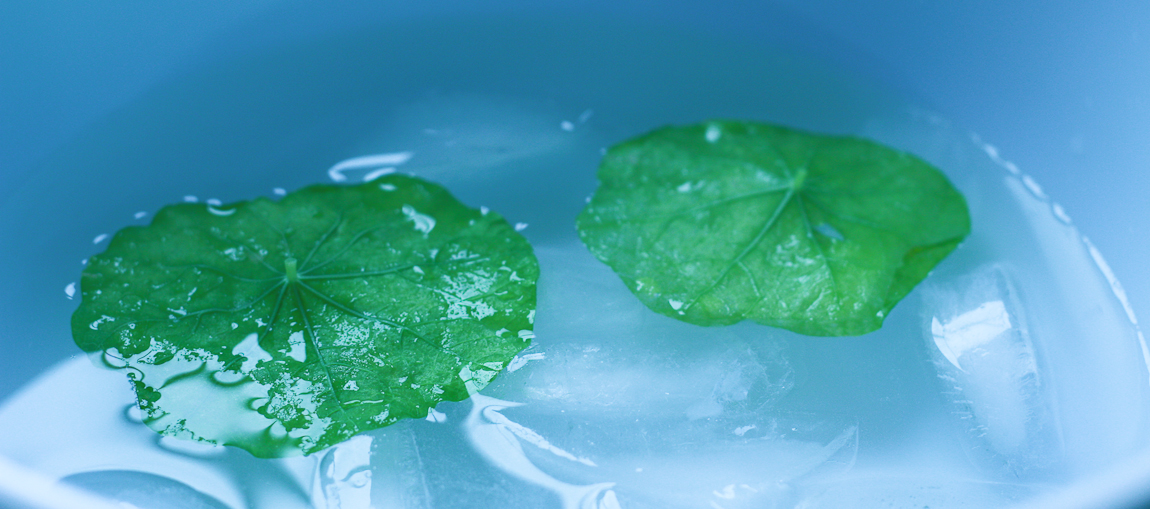
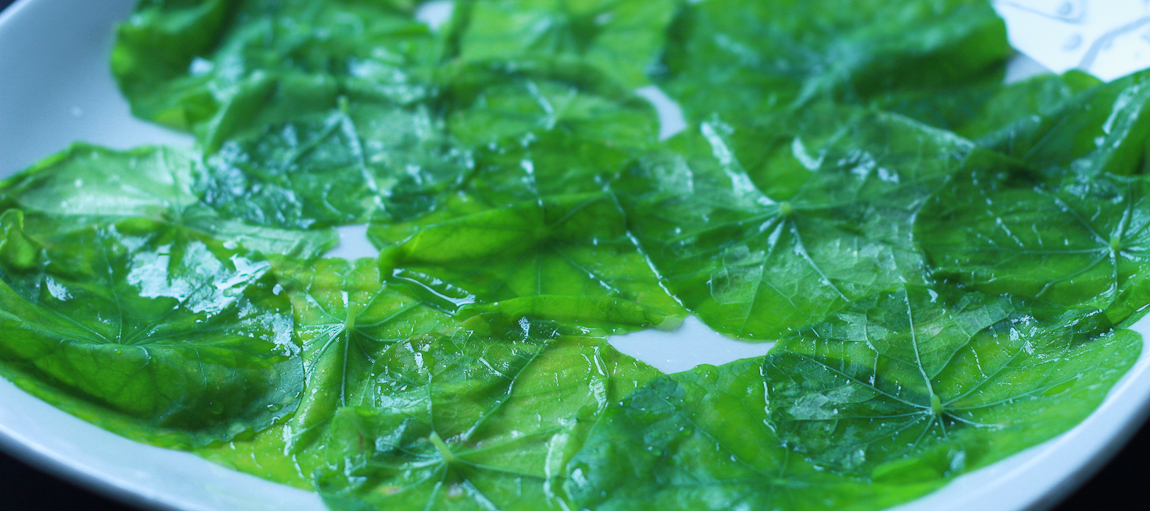
Drop the nasturtium leaves, a few at a time, into the boiling water. After a few seconds, the leaves will darken. Gently transfer the leaves to the ice bath for a few seconds. Gently dry them on a clean towel and place them on a plate until you are ready to use them. Repeat until all the leaves are finished.

Remove the seeds from the tomatoes and dice them. Toss with the onion, olives, vinegar, olive oil, parsley and lightly season. Set aside.

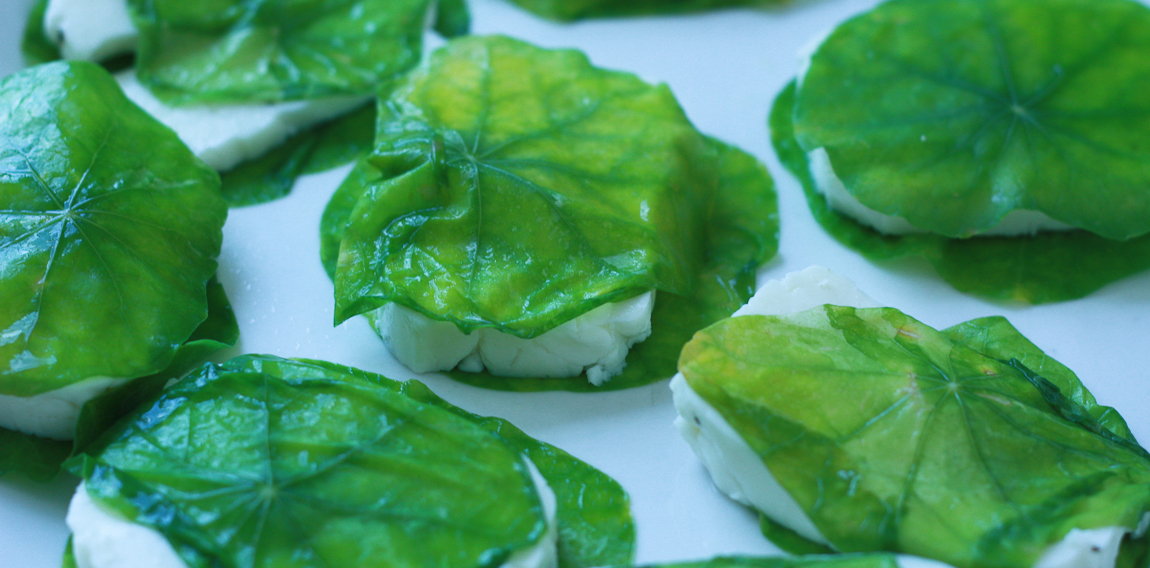
Place each slice of halloumi on top of a nasturtium leaf, sprinkle with pepper and top with another leaf. Brush, very lightly, with olive oil.

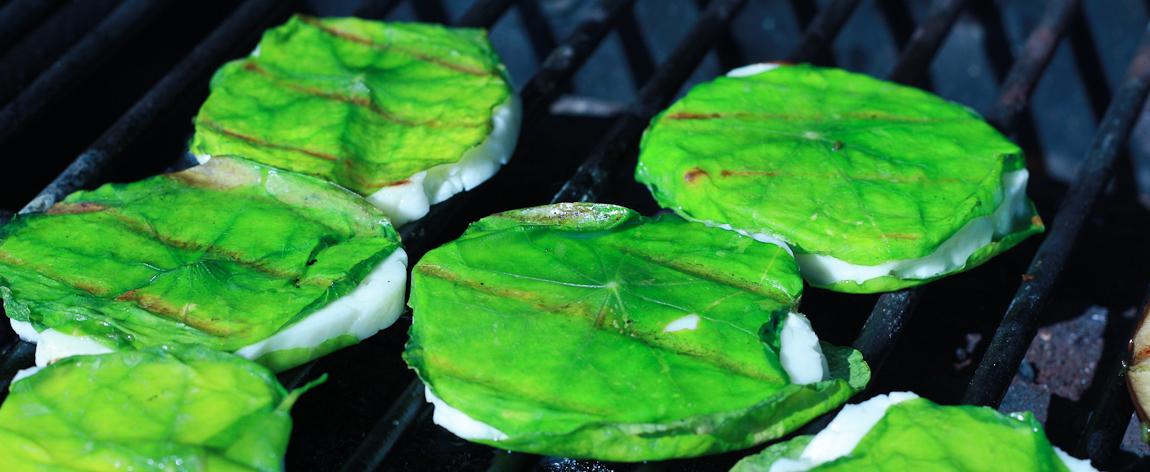
Heat the barbecue and make sure the grill is clean. When the grill is hot, reduce heat to medium and gently place each slice on the grill.

After one to two minutes, or until grill marks are visible, flip the slices and grill for one to two minutes.

Transfer to a dish with some of the salsa on the bottom, spoon the remaining salsa over the top and drizzle with some extra olive oil if desired.


Monday
Jul042011

Roasted Raspberry Meringue Tart or How to Use up all Your Frozen Berries

As you may or may not know, I have a little thing for a certain food and travel magazine. The pictures, the articles, the recipes are all exactly how I want to cook every single day. You may or may not also know that, having spent a winter away, my craftily squirreled away stash of summer fruit is still largely intact. 

Summer fruit is starting to come along here and I have been having a little panic about how to use up what I have. 

I also have been fancying a recipe for a Rhubarb and Raspberry Meringue Tart in a certain food and travel magazine since returning from San Diego to a stack of six issues. This graced the cover and has had Poppy oohing and ahhing over what she calls its marshmallow top since first spotted back in April.

So, while I love this magazine, I have to come to terms, on a monthly basis, with the fact that, depending on how you choose to look at it, I get it six months early or late because of Australia being in the Southern Hemisphere and all. I also have to come to terms with the fact that, upside down seasons aside, certain things are never going to be in season plentifully together here; things like raspberries and rhubarb.

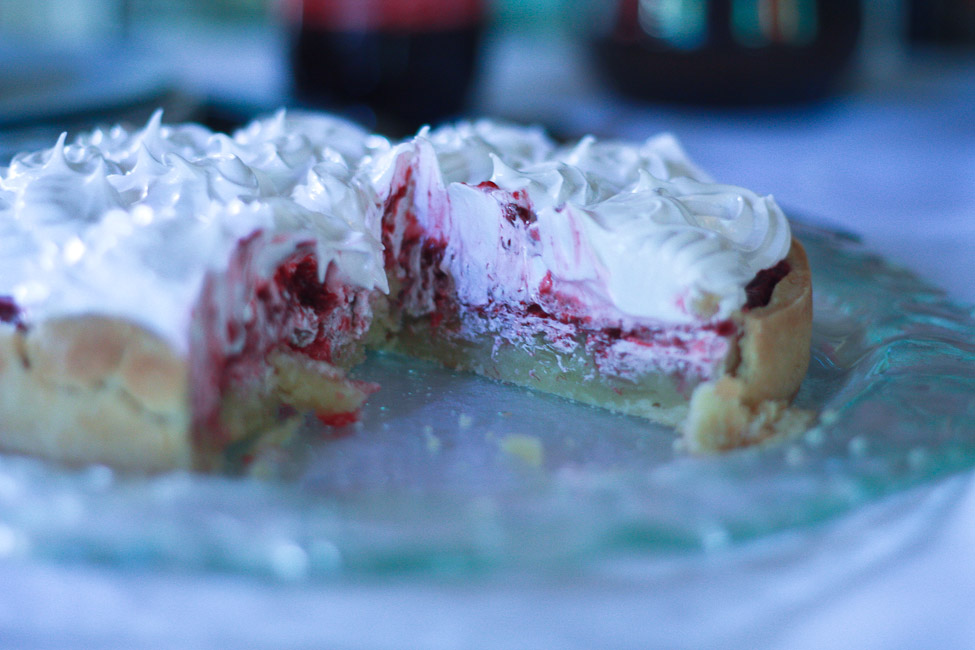
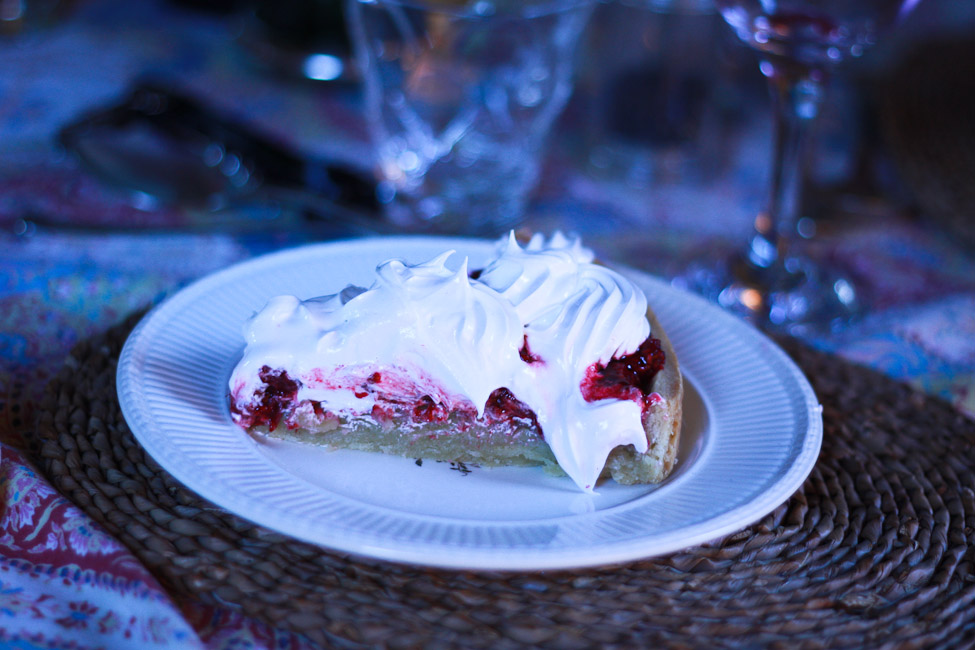
Our tart would be plain raspberries, and I would roast them with some sugar and lemon and hope that it wasn’t a complete mush in the end. It was but it was damn tasty mush and it was really nicely tart so that the italian meringue, or marshmallow top, didn’t make an overly sweet pud. The frangipane makes a delicious little tart all on its own and topped with the berries alone would be a really nice little take on a Bakewell tart but the meringue, the oh-my-god meringue elevates the whole thing way beyond the humble Bakewell.

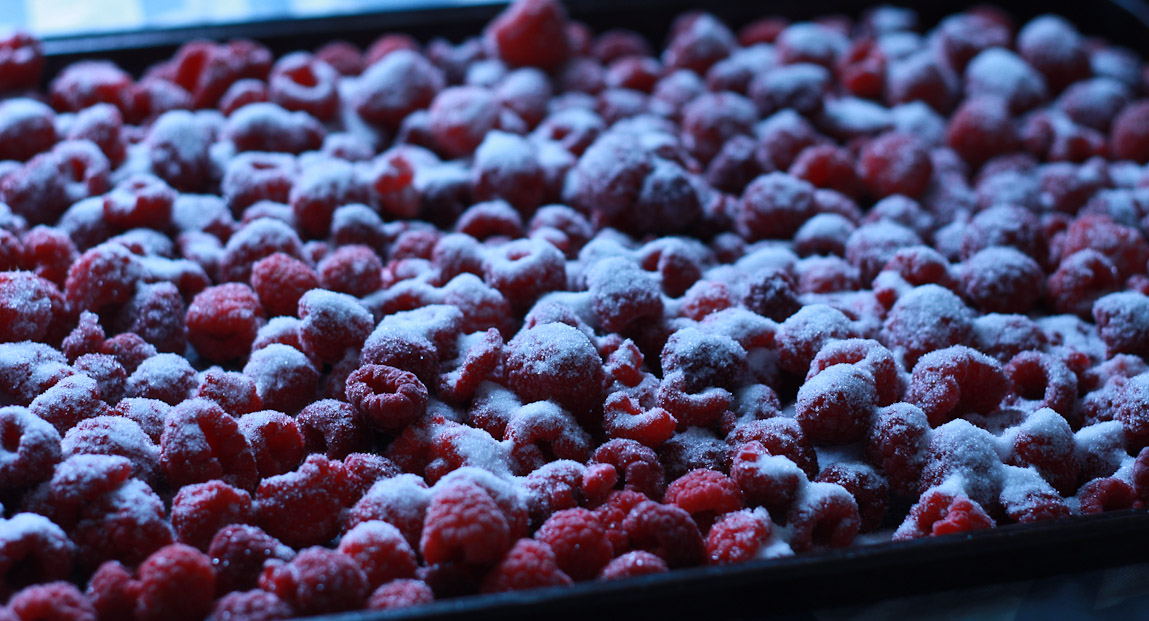
I used frozen raspberries and made a double recipe (two tarts) so I freed up a lot of freezer space. You can use fresh and it will be less jammy if you treat them gently. You may be able to reduce the ‘roasting’ time as well. If you are using fresh berries, you could skip the cooking altogether and make a little raspberry syrup or coulis, toss the berries with it and pop them on top of the frangipane. I think you would need to eat it pretty quickly in that case as well, not that that should be an issue.

This tastes really and truly delicious and it is so pretty that you almost don’t want to cut it. But do, because you will be happy and happy and happy.

I’ll apologize now because taking lots of process shots seems to have gone the way of sleeping past 6:30 am, showers and not asking a toddler whether they need to use the potty every twelve minutes.

Roasted Raspberry Meringue Tart adapted from Australian Gourmet Traveller

Pastry

180 grams softened butter

40 grams icing sugar

2 egg yolks

250 grams plain flour

Beat butter until pale, add sugar and stir to combine. Add the egg yolks and 1 tablespoon chilled water. Sprinkle flour over and stir to just combine. Knead a few times on a floured surface. Wrap in plastic wrap and chill in refrigerator (+/-1 hour).

Frangipane

75 grams softened butter

80 grams granulated sugar

70 grams almond meal (ground almonds)

1 tablespoon booze (the recipe originally called for brandy, I used Grand Marnier)

2 eggs

50 grams slivered almonds

Beat butter and sugar until creamy and pale. Add the almond meal, booze and eggs. Stir just to combine and then stir through the slivered almonds. Refrigerate to chill (+/- 1 hour).

Roasted Raspberries

4 cups frozen raspberries (still frozen)

1/4 cup sugar (if you love sweet sweets then just bump the sugar up a bit here)

Finely grated zest of 1 lemon

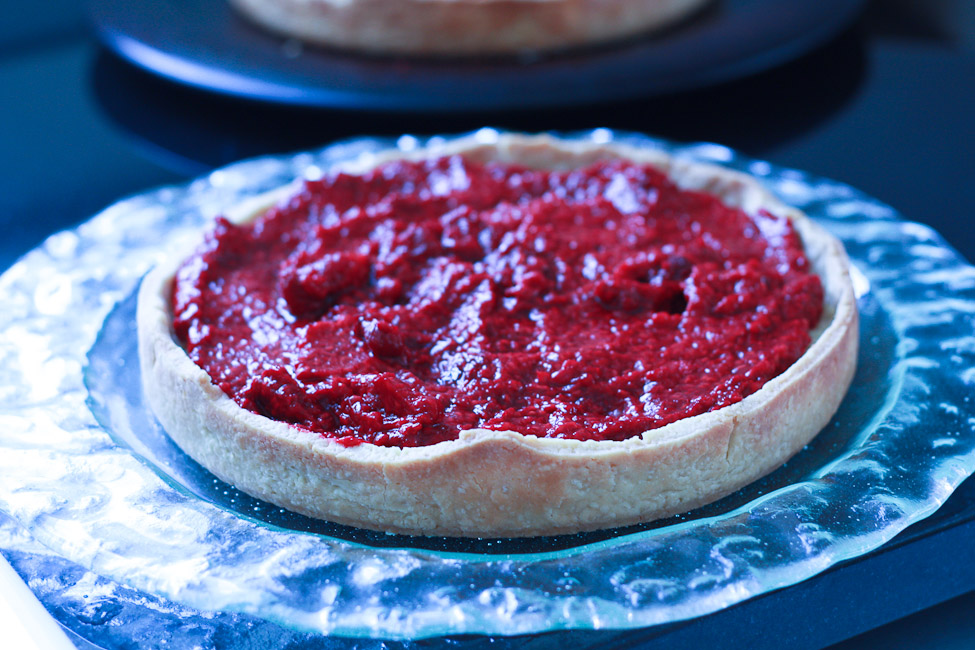
Preheat oven to 400º. On a large baking sheet, arrange berries. Sprinkle with sugar and roast until outer edges start to caramelize. Gently stir or toss berries and return to oven. When the edges start to caramelize again, remove from oven and allow to cool. Strain any extra juices off and save to serve. Gently stir through the lemon zest. Allow to cool.

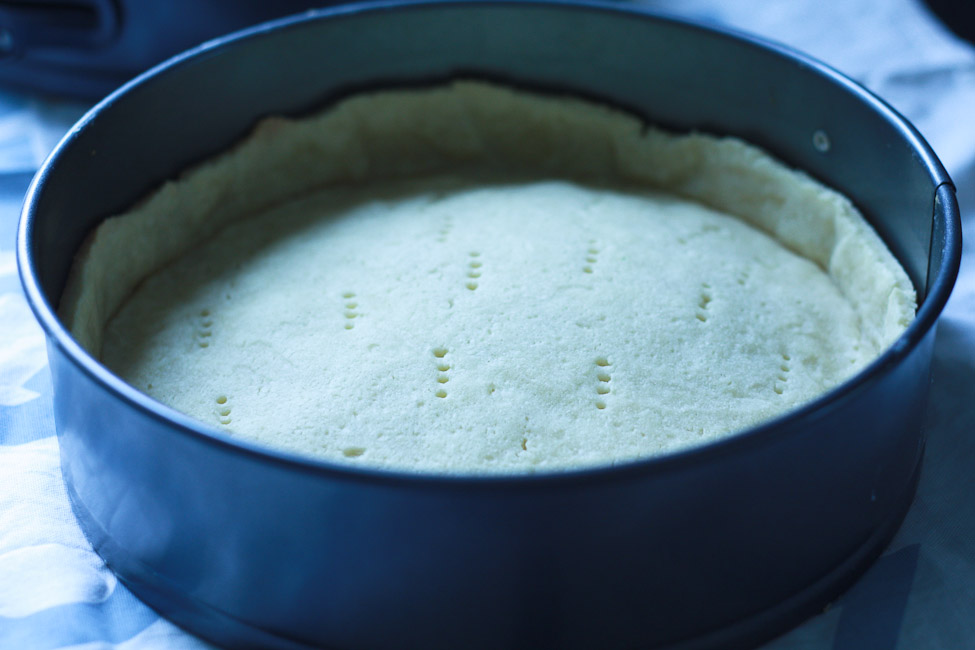
Roll out the pastry and line a 22 cm tin with a removeable base. I used a springform pan. Trim the edges and prick the bottom with a fork. Rest, in refrigerator, for one hour.

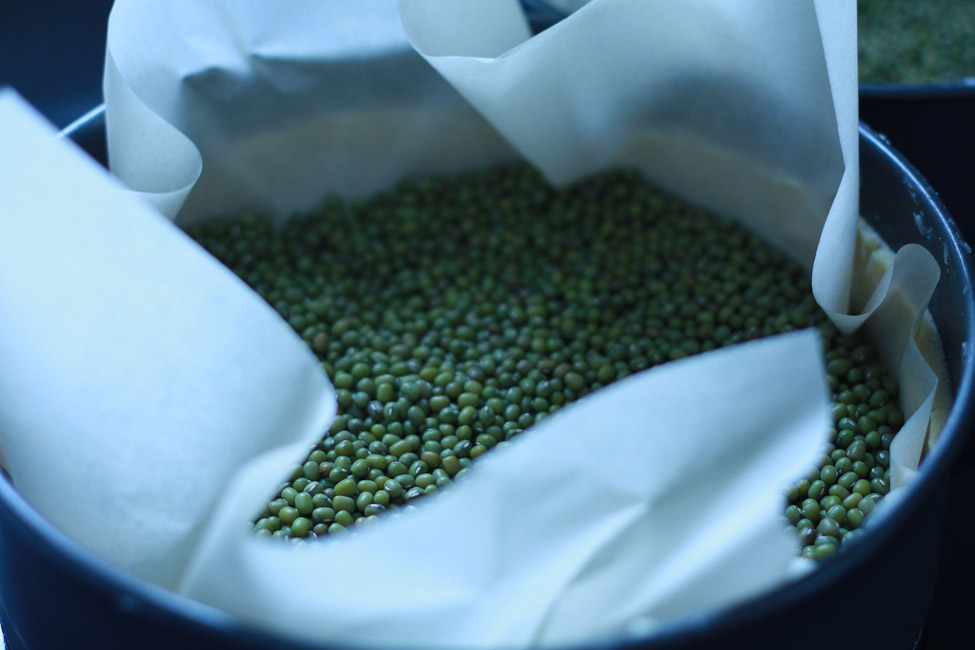
Heat the oven to 350º. Blind bake the tart case (line it with parchment and weigh it down with baking weights or some dried beans) for about 20 minutes, until light golden. remove the weights, or beans, and the parchment and bake for a further 10 minutes or until golden.


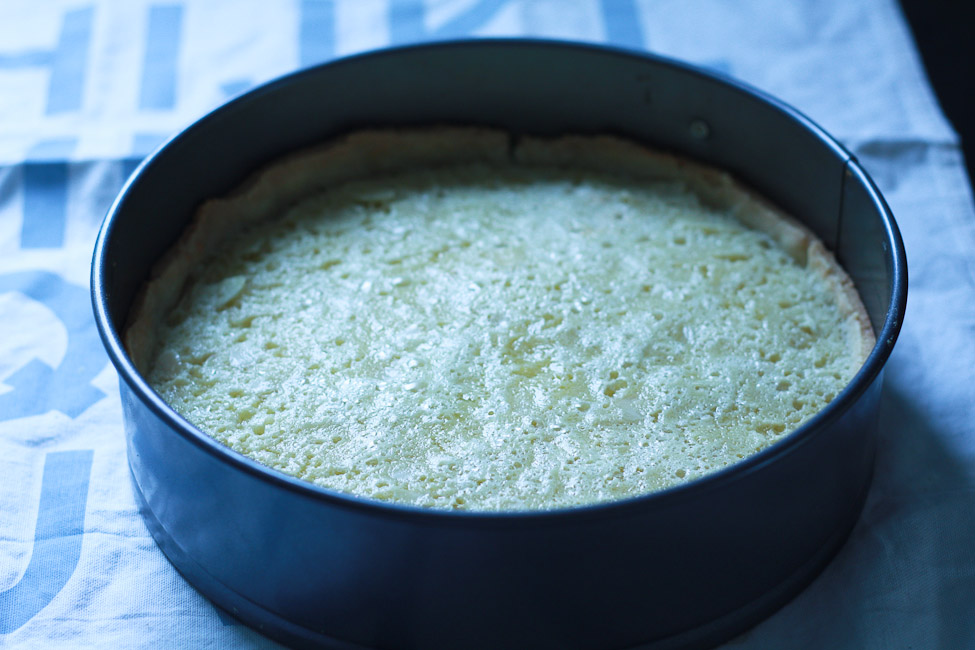
Spoon the frangipane into the tart case and bake until it is set and golden, about 15 minutes.

Cool just until firm and remove from tin.

Italian Meringue

175 grams granulated sugar

2 egg whites

Pinch of cream of tartar

In a small saucepan, add 60 ml of water to the sugar and heat gently until all sugar is dissolved. Increase heat and cook until temperature is 121ºc on a candy thermometer, this is pretty much the firm ball stage in the world of candy cookery. Meanwhile, beat the egg whites and cream of tartar until soft peaks form. Slowly drizzle the sugar syrup into the egg whites while the mixer is on and beat for 10-12 minutes until cool. The meringue will be glossy and firm.

While the meringue is whipping, spoon the raspberry mixture onto frangipane. Top with the meringue, pipe it if you have the means, otherwise a spoon and some swirls will be just perfect.

Serve drizzled with a little extra syrup if you like.