Entries in A Little Nibble (19)

Thursday
Jan262012

Olive Oil Oatcakes or, Four Fleeting Months

September 27, 2011. I could have sworn I had been here more recently than that. But, no. Aside from swooping in from time to time and deleting spam and checking to see if anyone had commented on any ancient posts, I have been gone. 

I was around for a spell, setting up a still dark, still unfinished crafty page. It has promise. Autumn was full of craftiness - lots of sewing and gluing and feeling very homemade. There was not very much cooking, not much to write about. The adjustment to my daughter’s new school and extra-curricular life kicked me in the gut. That, and trying to be serious about shifting the extra twenty pounds that has been hanging around for nearly six years meant that cooking anything that wasn’t child-friendly or low in calories, carbohydrates, fat and sugar was clearly not a priority. 

I also discovered Downton Abbey. I know it really is no excuse as it only accounts for a few too short hours of the last four months (Yep, four months, I know). It is, however, very hard to not stand watching, wondering whether an extra or secret episode has unexpectedly downloaded in the twenty-six minutes since I last checked. It’s become a little consuming.

Selflessly though, here I am. Back, with something healthy and cupboard friendly and good for you and your offspring to eat without feeling like you have broken the calorie bank. I have made these oatcakes at least half a dozen times during my hiatus, each time a little different with various additions and subtractions. I have got it down though and after some alterations felt at liberty to share with you my take on an already great recipe.

Hugh Fearnley-Whittingstall, the master of all things head to tail and local and ethical and sustainable and well, you know where I am going, writes a column for The Guardian. In it, he talks of all manner of foodly things from pig's cheeks to sumac to steamed pudding to picnics. I appreciate what he does. I adapted one of those recipes from an article on biscuits to suit not only the tastes of my children but our pantry contents as well.

I spent time grinding rolled oats and pinhead oats and steel cut oats and trying to get the texture just right before I even tried it with just plain old rolled oats, unground, as they come. Turns out, I could have saved a lot of time and good, but not excellent, batches of these little cheese, jam, chutney, salmon, ham and anything else you could think to put on a cracker holders. Plain old rolled oats is the way forward as far as I am are concerned. The finished texture may rival some of the finest Scottish offerings and it was by far the easiest batch to deal with in the prep.
The original recipe suggests letting the dough rest for as long as it takes to open a bottle of wine and pour yourself a glass. I can assure you that if it rests for as long as it takes to drink that glass of wine it will not result in culinary ruin. You may have to add a touch more water and give it a slightly longer bake but it will be just as good, and maybe even a little crunchier.

As well as changing the oats, I may have added a touch more water than what Hugh recommends. He says sunflower seeds, I say use whatever takes your fancy, or you have in your cupboard. I have used nigella seeds, sesame seeds, poppy seeds, a mix of seeds and nothing. All have turned out just fine. The nigella are the prettiest and the plain ones are the most perfect oaty toastiness.
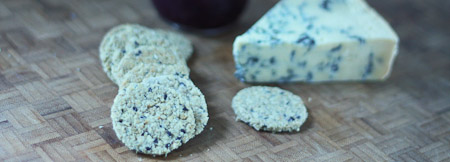
Olive Oil Oatcakes (adapted from Hugh Fearnley-Whittingstall’s Bill Rona’s Oatcakes recipe)

280 grams rolled oats

Cracked black pepper (Hugh recommends 10 twists, I think you can take it or leave it)

1/2 teaspoon salt

A small handful of seeds

75 ml extra virgin olive oil

Preheat the oven to 350ºF. Dust two baking sheets with flour. Boil the kettle.

Mix the dry ingredients. Stir in the olive oil. Make a well in the centre of the mixture. Add just enough boiling water to bring the dough together. You want the dough to be firm, not sticky.

Form the dough into a ball and allow to rest for a few minutes.

Roll out the dough on a floured surface to about 3mm thick. Cut into rounds, you will need to use a fairly sharp cutter, or using a sharp knife, cut into squares.

Place on baking sheets and bake for twenty minutes. Remove from the oven, turn oatcakes over and bake a further 5-10 minutes.

Remove from oven and cool.

Yield will depend on cutter size and shape but expect about 3 dozen 1 3/4-inch round biscuits.


Tuesday
Sep062011

Quickest Kosher Dills - or Dilly Beans or Pickled Carrots or...

It has been a long time since I posted. The best intentions have been left behind in a pile of sandy, wet beach towels and swimming costumes and in discarded tennis rackets (not mine) and ankle twisting balls. They are buried under a stack of art camp projects, library books (always very stressful if it is about to be returned unread) and six-paper drawings. They are left in the dust of learning to ride a bike between the rain showers and in trying to cram four months of catching up and memory making experiences into four short weeks of Daddy home time. The recipes and my barely used camera will sit and wait, my children do not. EVER.

I should say that those intentions have also fallen to the odd bit of real work, picnic preparation and to my late summer canning and preserving drive. My husband worries about space and shelf stability. I worry about what we will do if we run out of dill pickles in March. He reliably reminds me that there is a supermarket we can walk to in less than five minutes. I tell him it isn’t the same, he doesn’t understand. He says we don’t eat jam. I say it is to give as gifts. He asks how much money do you spend on jars. I tell him the lady I met at Canadian Tire gave me hundreds. He rolls his eyes. I know he knows I will not relent.

I am not going to bore you with telling you about everything I have made. I will tell you once again that if you can just eek out a few hours to put something up, you will be very happy you did. There is still plenty of lush inspiration - blueberries, tomatoes, plums, pears and apples.

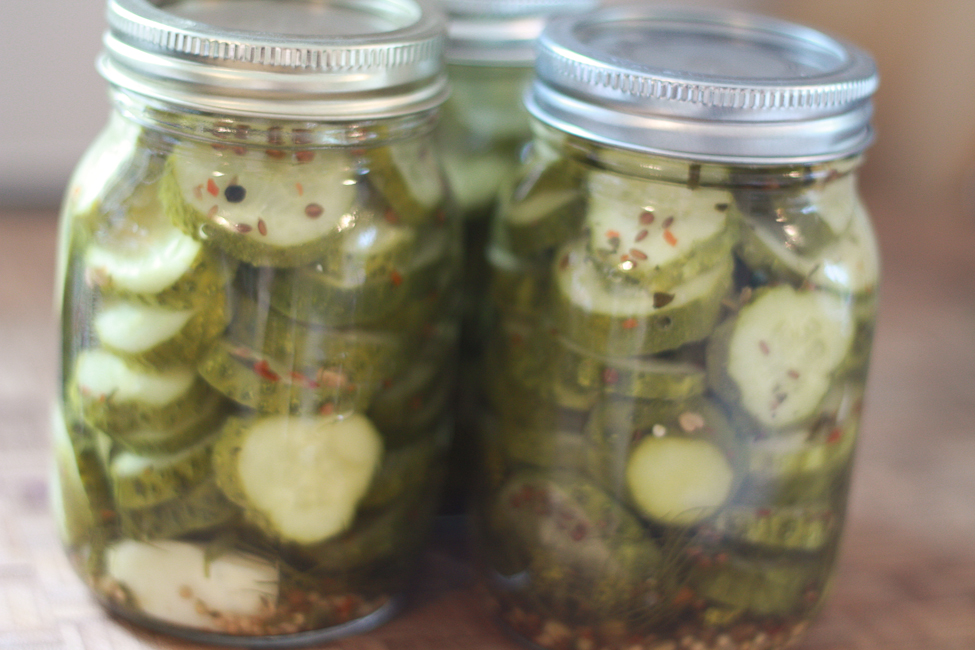
Last year’s pickles did not work out very well. In fact, most of them wound up composted. I am not sure what I did or didn’t do but they weren’t for eating. This year, I wasn’t even going to bother making any. I then thought about making fermented ones but realized that I would actually have to remember that they were fermenting. Then, in my new carry-it-around-all-the-time favourite guide, I found a recipe for Quickest Kosher Dills and knew I would be making pickles after all.

This recipe can be used for carrots and beans as well.  With carrots, you can keep the spices pretty much the same. For beans, I would be inclined to make them a little spicier. I used fresh dill which is great especially if you can find some with big flowering heads just going to seed. You can also use the fresh feathery fronds, stalks and you can use dried dill seed as well. The original recipe calls for scuttermong or grape leaves which keeps pickles crisper apparently. Had my children not been in bed I may have asked my friend Nicki if I could nip over and snip a few leaves off her vines but I can not imagine how crisp a pickle would need to be to warrant disturbing that divine post-bedtime peace. So, I left it out and, although I have never used it before, I expect my pickles will be just fine.

The math is pretty simple here and, in order to change from pints to quarts(which you may want to use if you are making carrots), you may need to adjust your quantities, You will need about one cup of liquid for every pint, so that is two cups for every quart. This recipe will make enough for ten pints or five quarts. 


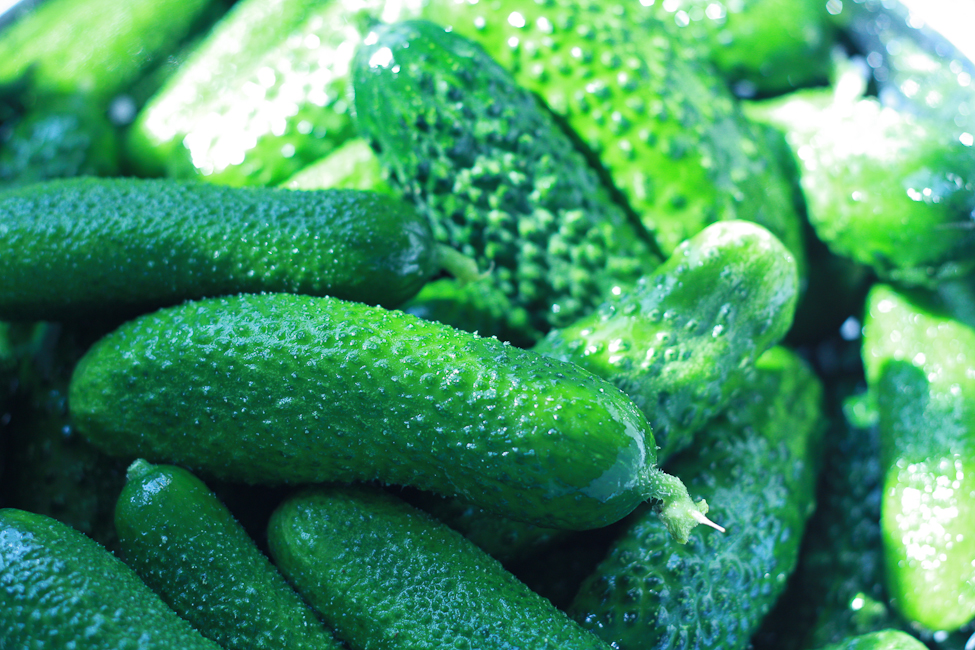
If you are making dill pickles, please use pickling cucumbers. The flavour and texture is much better than other cucumbers. How you slice them is up to you. I like small ones if I am leaving them whole and mediumish (3-inch) ones if I am slicing or quartering. If you are quartering, I suggest you use quart jars instead of pints. For carrots, if you have large ones you can just peel and slice them into quarters, sixths or eighths lengthwise and trim them to be long enough to sit just at the shoulders of the quart jar. Beans do well in a pint jar and again, topped to sit just at the shoulders.

Quickest Kosher Dills adapted from Canning for a New Generation by Liana Krissof

(makes 10 pints or 5 quarts)

2.5 kg (5lb 8oz.) pickling cucumbers(as I mentioned above, I like using +/- 3-inch ones)

5 cups natural white vinegar 

5 cups water

4 1/2 tablespoons kosher salt

10 teaspoons pickling spice

10 cloves garlic

Fresh dill

Clean 10 pint or 5 quart canning jars.

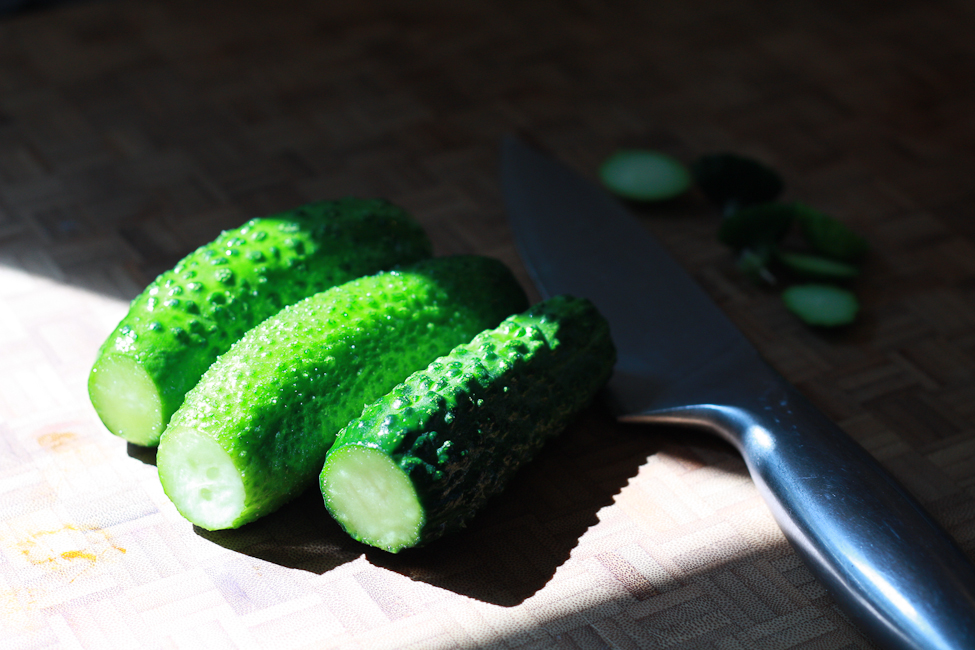
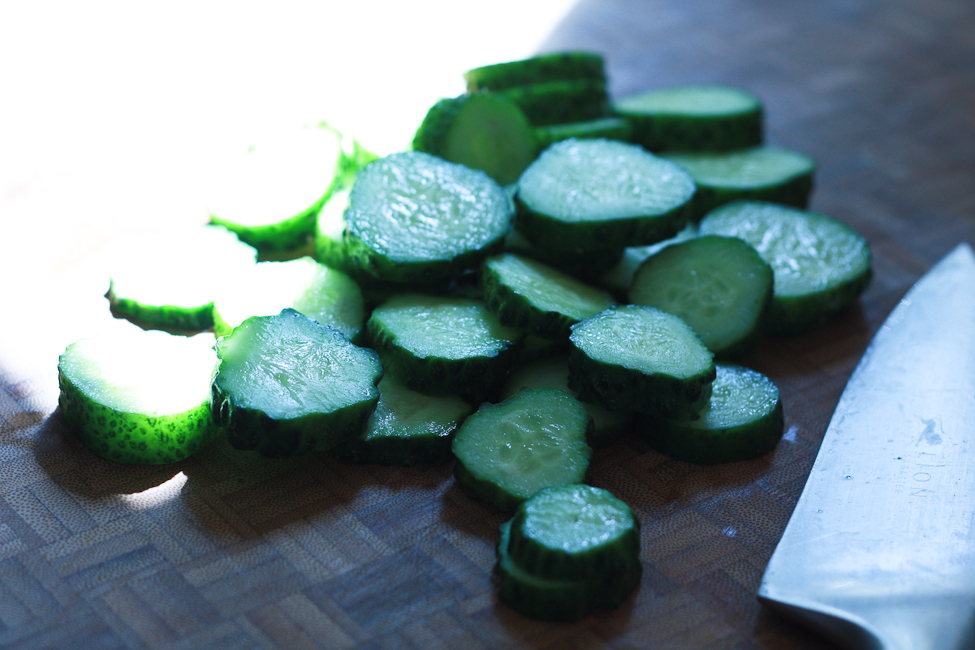
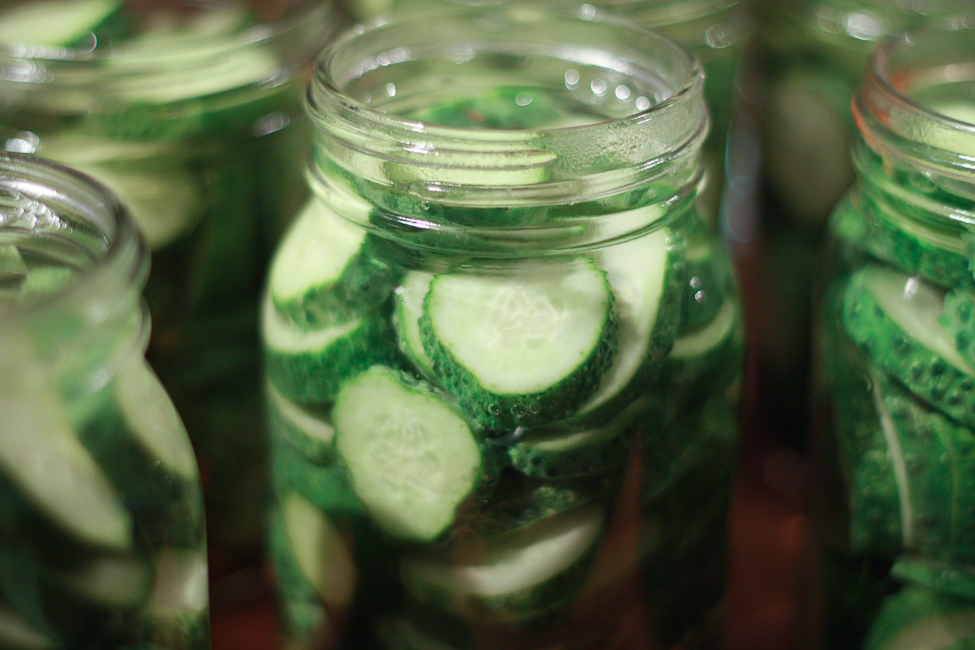
Rinse cucumbers in cold water. Remove the blossom end if you are quartering, remove both ends if you are slicing. Quarter or slice the cucumbers 1/4-inch thick.

Meanwhile heat your jars in a hot water bath.

Bring the vinegar, water and salt to a boil for five minutes, cover to avoid too much evaporation.

Put the lids in a bowl and pour some water from the hot water bath over them.

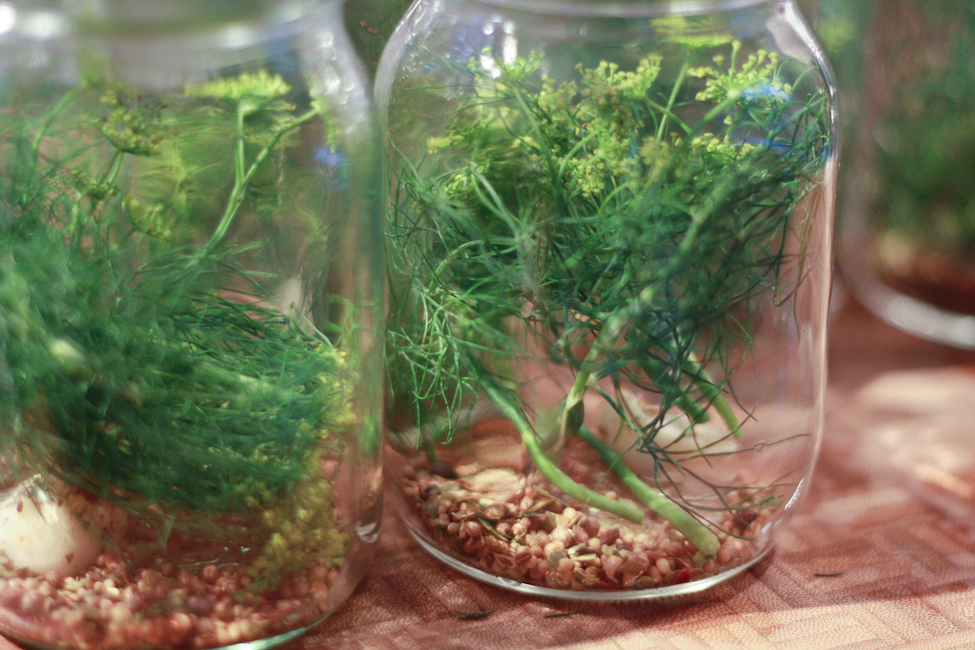
Carefully remove the jars from the hot water bath and, working quickly, put a teaspoon of pickling spice, a clove of garlic and a sprig of dill in the bottom of each jar. Pack the cucumber quarters or slices tightly.


Pour the hot vinegar mixture into the packed jars leaving 1/2-inch headspace. Wipe the rims and put the lids on. Screw on the rings until they are just finer tight.

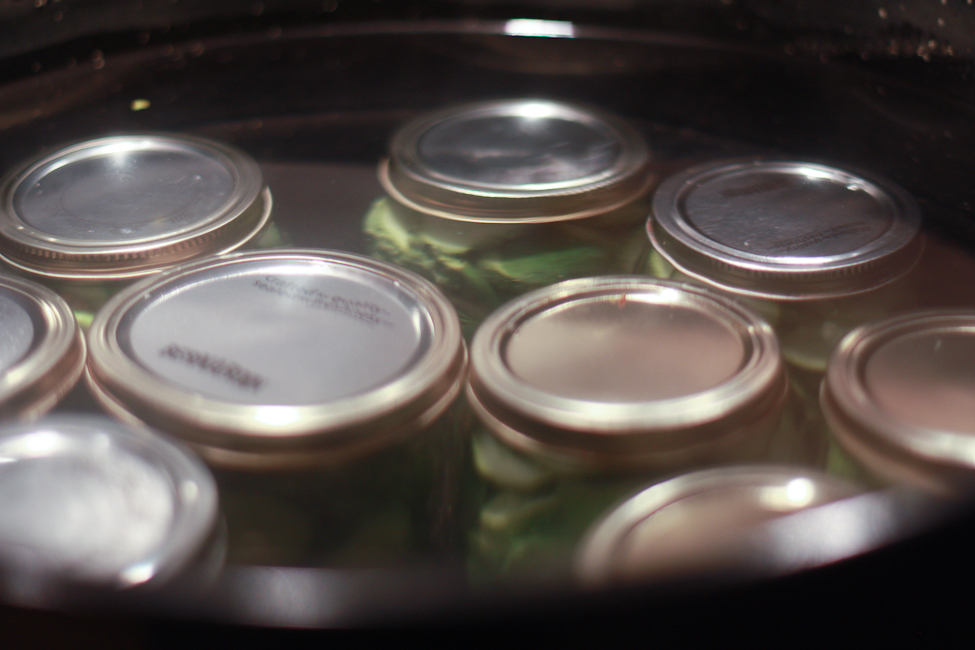
Return the jars to the hot water bath, where they should be covered by one inch of water. Bring to a boil. Boil for ten minutes.

Remove the jars to a towel and leave for 12 hours. Check after an hour or two and if any jars haven’t sealed (if you can still press the lid down), put them in the fridge immediately.


Monday
Jul112011

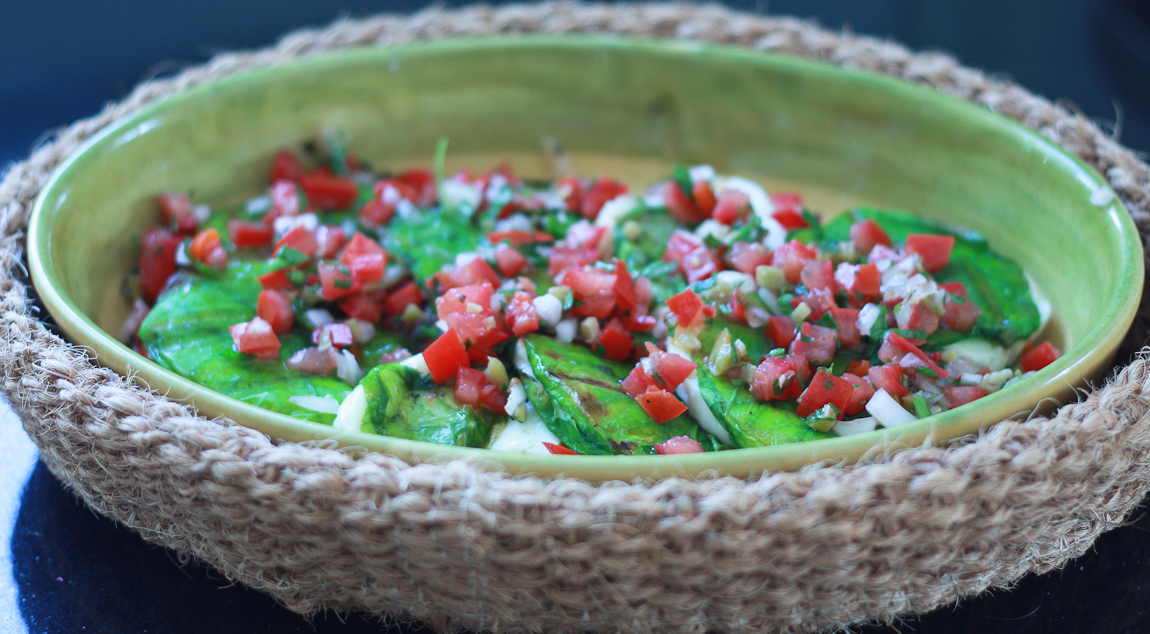
Grilled Nasturtium Leaf Wrapped Halloumi

In the Mediterranean, things like grape leaves abound. Fresh on the trees, in tins and jars, you would be hard pressed to find a culture that doesn’t use them for some form of cooking.

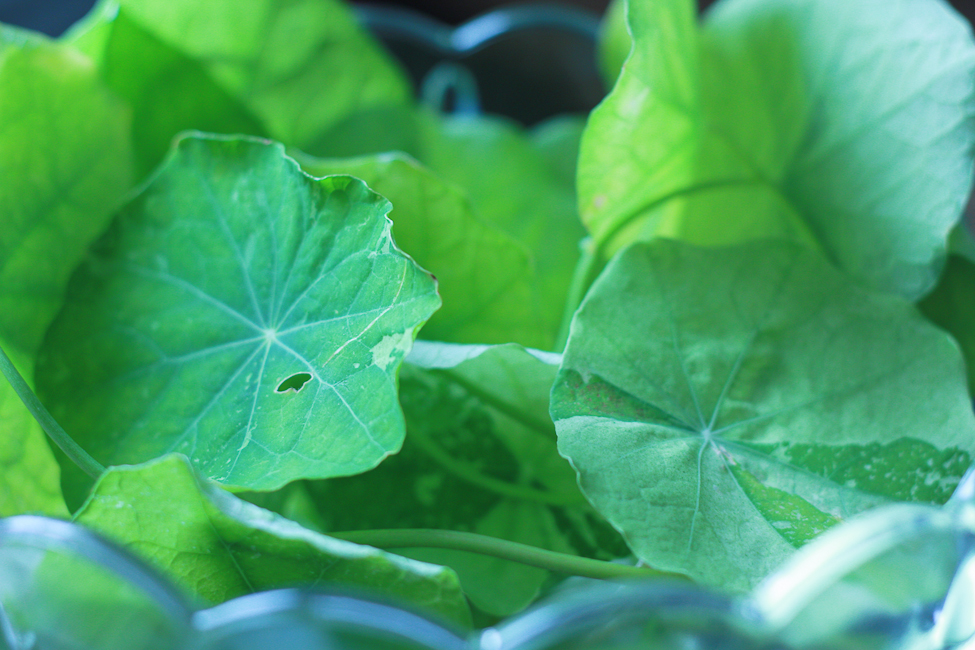
Here on the South Shore of Nova Scotia, the grape leaf, in any form, is a rare thing. It is the stuff of specialty grocers not located on the South Shore for the most part. So, in an effort to make do and to use what grows here and to justify the panic purchase of my four nasturtium baskets, I am determined to use as much of them as possible.

The seeds are going to get pickled, just as soon as I collect enough of them to fill a jar. The flowers get tossed into salad or used to decorate supper. The leaves are very delicious in salad and where you would use lettuce, especially in an egg sandwich. With such a proliferation of leaves though, I needed a new use.

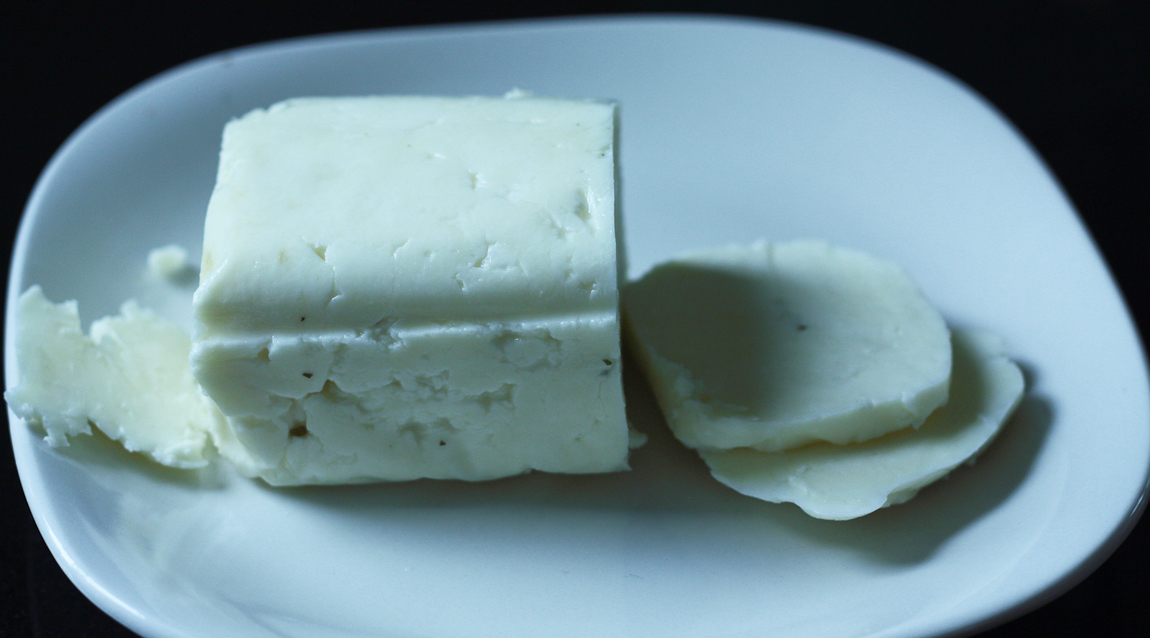
I was googling around for some suggestions and I saw a recipe for nasturtium leaf dolma. Having eaten the little parcels all over the Eastern Med, I couldn’t face making a lame attempt at copying them and being disappointed. I did, however, recall that I had a piece of halloumi cheese in the fridge and got to thinking that wrapping the cheese before grilling it would be kind of well, kind of delicious.

Before you start thinking this is going to ruin your barbecue, it isn’t. Halloumi cheese does not melt the way most cheese does. It is a sheep and goat milk cheese traditionally made on Cyprus. It has an almost squeaky texture which, I admit, does not sound that nice but it is. Really, it is. Because it is made from heated curds, it has quite a high melting point and it grills, fries and flames up beautifully.

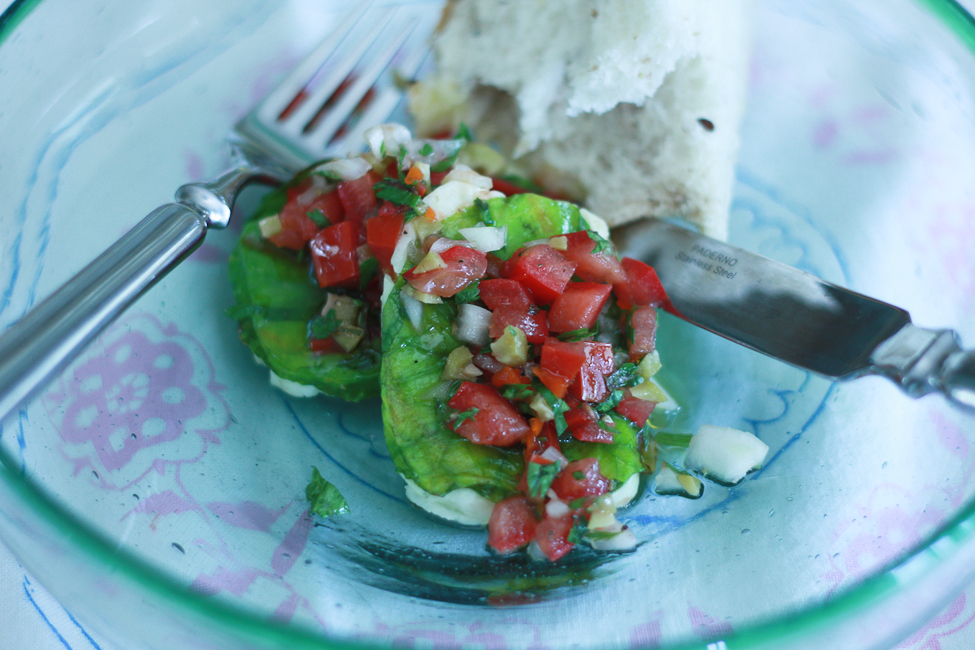
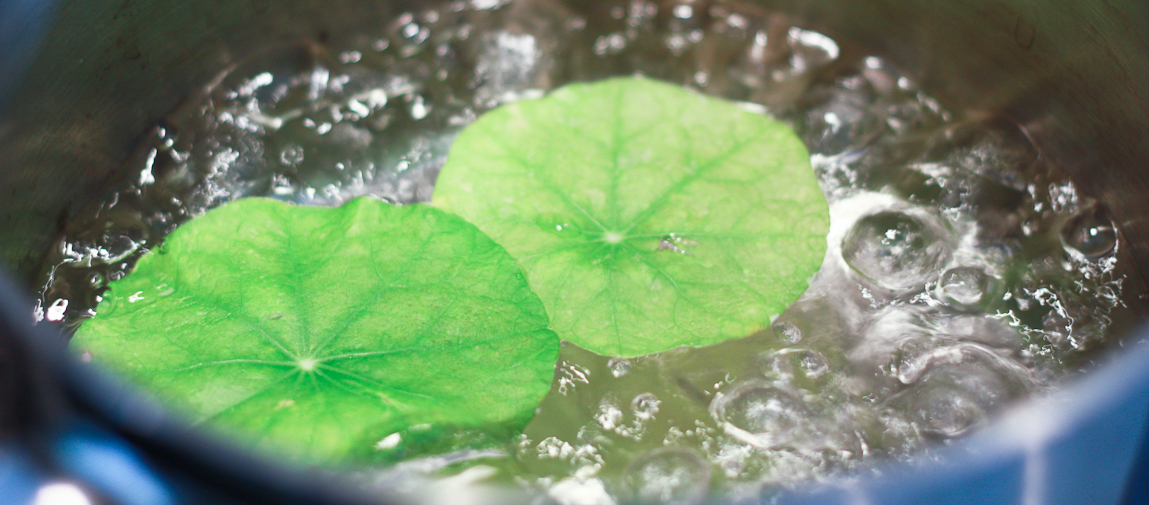
I am not going to ask you to flame it here, it is a practice not for the faint of heart or those unequipped with the appropriate safety equipment, read extinguishers and fire blanket. All you have to do is wrap it in some quickly blanched leaves and toss it on the grill with whatever is up for supper.

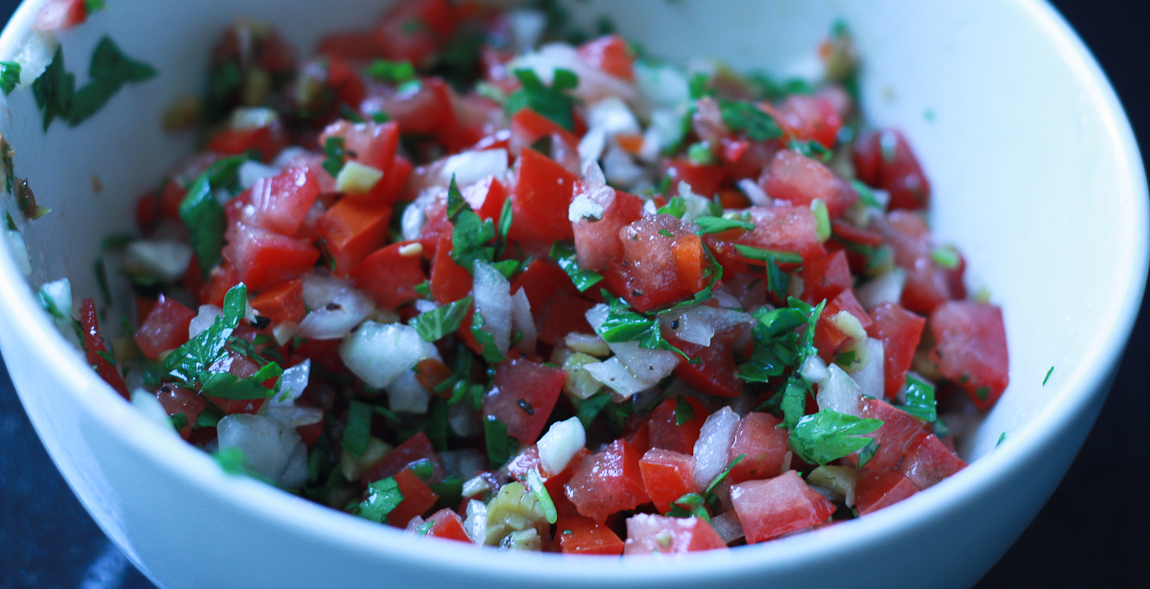
Poppy painstakingly made, with a table knife and a little bit of help in the interest of spped, a not-so-greek green olive salsa fresca to eat it with. It makes for a really light summery side or a quick starter plate.

Nasturtium Grilled Halloumi with Green Olive Salsa serves four as a light side or starter

16 nice big nasturtium leaves

8 1/4-inch slices halloumi cheese

Cracked black pepper

1/2 tablespoon olive oil

4 roma tomatoes

1/4 medium sweet onion finely diced

2 tablespoons green olives finely chopped

1 tablespoon white wine vinegar

1 tablespoon olive oil

1 tablespoon chopped fresh parsley

Salt and pepper

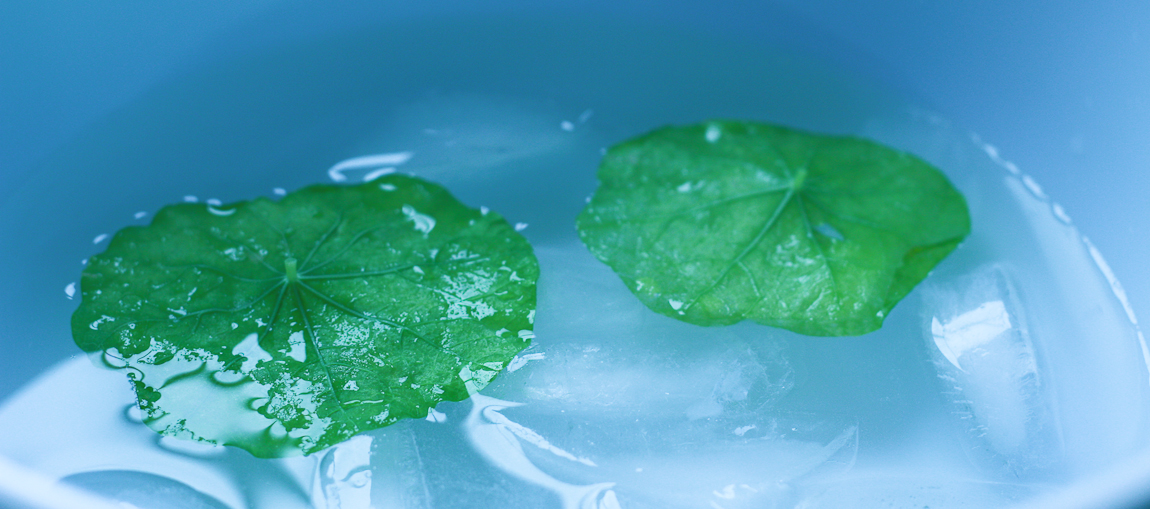
Bring a pot of water to the boil. Make an ice bath by filling a bowl with ice and water.

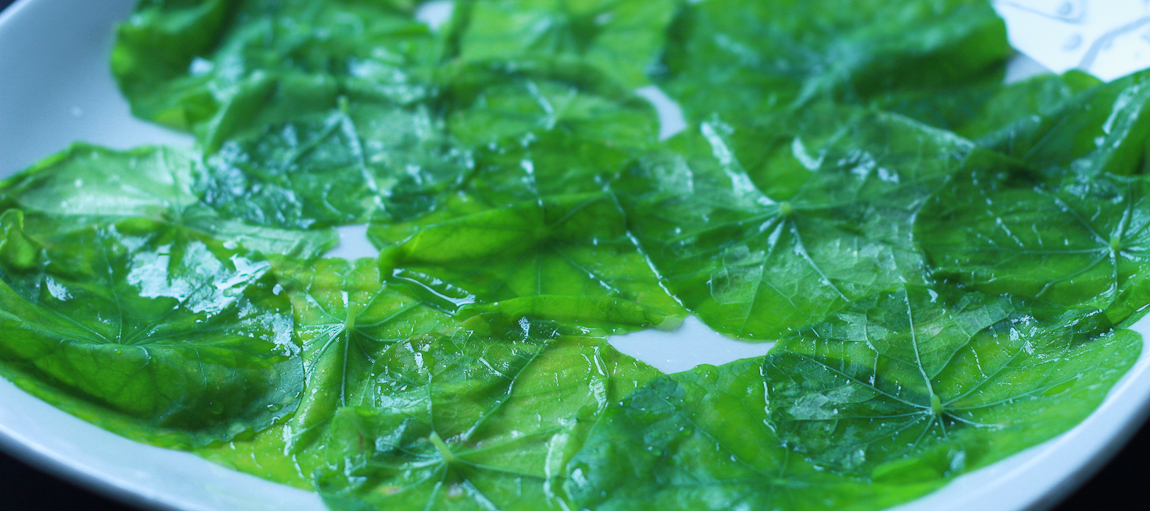
Drop the nasturtium leaves, a few at a time, into the boiling water. After a few seconds, the leaves will darken. Gently transfer the leaves to the ice bath for a few seconds. Gently dry them on a clean towel and place them on a plate until you are ready to use them. Repeat until all the leaves are finished.

Remove the seeds from the tomatoes and dice them. Toss with the onion, olives, vinegar, olive oil, parsley and lightly season. Set aside.

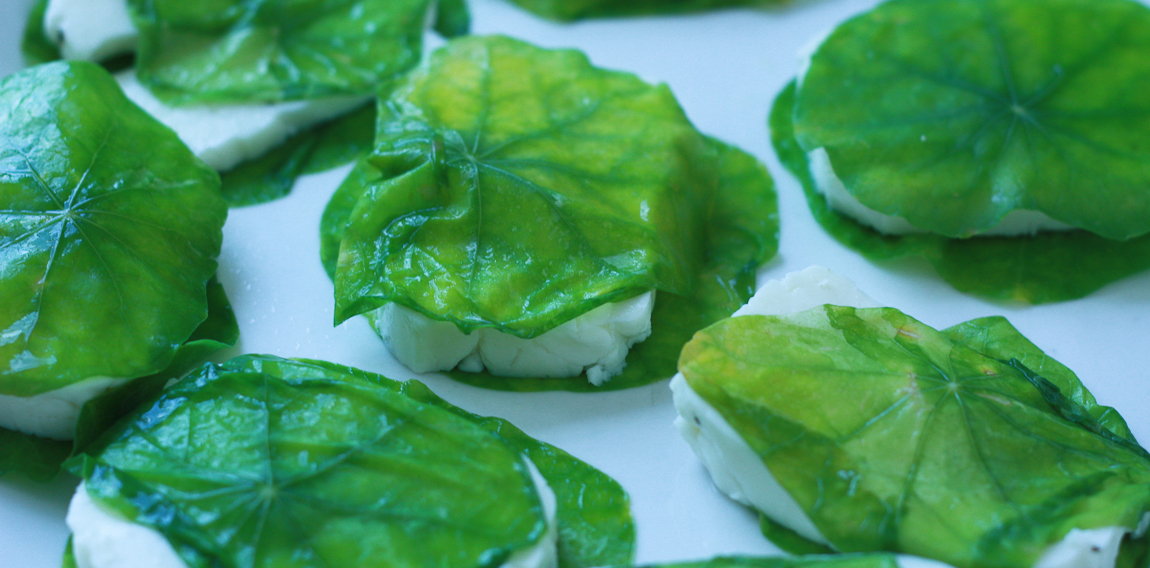
Place each slice of halloumi on top of a nasturtium leaf, sprinkle with pepper and top with another leaf. Brush, very lightly, with olive oil.

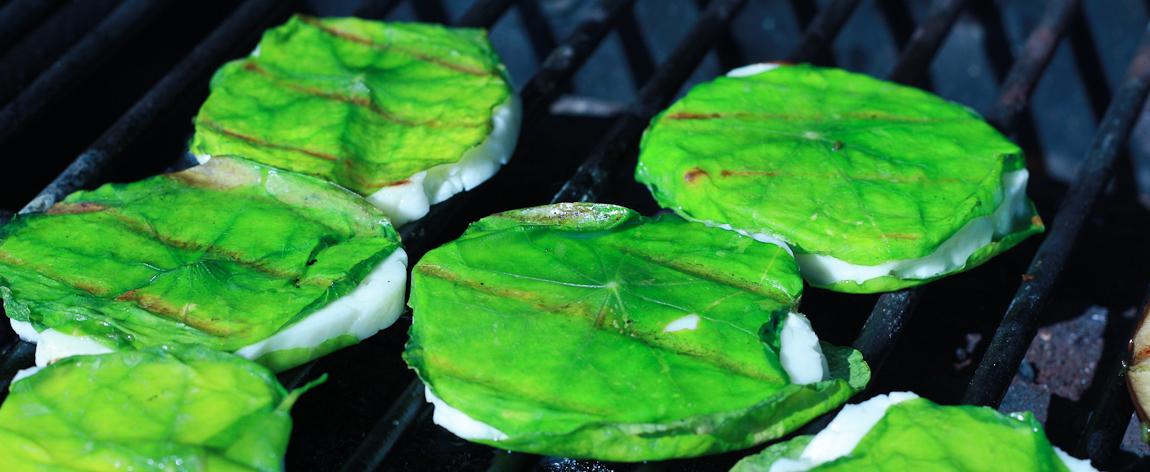
Heat the barbecue and make sure the grill is clean. When the grill is hot, reduce heat to medium and gently place each slice on the grill.

After one to two minutes, or until grill marks are visible, flip the slices and grill for one to two minutes.

Transfer to a dish with some of the salsa on the bottom, spoon the remaining salsa over the top and drizzle with some extra olive oil if desired.


Wednesday
Jun082011

Seeded Brown Irish Soda Bread

While at work, my husband has the privilege of being cooked for and cleaned up after. There is a lovely Irish girl who keeps him from withering away. Her name is Janine.

From time to time, the girls and I are lucky enough to share the privilege with him. Janine puts up with my children under foot and the forty-six questions that get fired at her about exactly what ingredients are going where and why the stove moves and why the fridge doors are so heavy and why the galley is called the galley and how come she has to cook for the boys and why the bread needs to cook for an hour and why she chose to paint her toenails that colour and if she is going to wear a pretty dress later on and well, you get the idea. She not only puts up with them, she does so patiently and calmly and sweetly in moments when I would have lost any shred of cool I may possess by question four.

She made us some soda bread for lunch one day. Poppy and I decided we would try and reproduce her delicious loaf. We tried and it was good but I am thinking it may need an Irish hand to be as delicious as hers was. For the rest of us this will do just fine to be sure.

I toasted the sesame seeds and pine nuts and cooled them before adding because they taste even better that way.  The seed/nut combination is up to you. You could add pumpkin seeds or chopped nuts or whatever you feel like.

Don’t forget to cut a cross in the top which is not a religious symbol - I had thought it was. Janine says it just helps it rise evenly.

Seeded Brown Irish Soda Bread (adapted from Janine’s adaptation of Rachel Allen’s Brown Soda Bread in Bake)

225 grams (8 ounces) whole wheat flour

225 grams (8 ounces) all purpose flour

1 teaspoon salt

1 teaspoon baking soda

100 grams mixed seeds (I used sunflower, poppy, pine nuts and sesame seeds)

25 grams (1 ounce) butter

1 egg beaten

375-400 mL buttermilk

Preheat oven to 425º (220ºc). 

Mix all the dry ingredients together in a large bowl. Rub the butter in to the dry ingredients. Make a well in the center.

Whisk the egg and buttermilk together and pour most of the liquid into the dry ingredients. Using your hand like a scoop, bring the flour and liquid together, adding more liquid if necessary. The dough should be soft an not too sticky.


Turn out and bring dough into a round on a parchment lined baking sheet.

Cut a deep cross in the top of round.

Bake for 15 minutes. Turn heat down to about 390º (200ºc) and bake for another 30 minutes. The loaf will sound hollow when it is done.

Remove from oven and allow to cool.


Tuesday
Mar222011

Cornmeal Biscuits or, My Story of Late

Last week, I was bemoaning my recent lack of kitchen enthusiasm. I had made some biscuits, but I didn’t want to post about it because I had posted some other biscuits not so long ago. Then, today, the girls and I made some more biscuits, because we love them and Cook’s Illustrated said they were really good, so we had to. The whole time I was thinking that I should be making something I could write about without making you all think we eat nothing but butter and flour with a bit of stuff to hold it together.

Then, I started thinking about what Denae at The Back Ordered Life said on the weekend. She said you should always write about what you know, you should write your story. And, while I know that I am using this pretty literally, right now I know all about biscuits. All sorts of biscuits, all sorts of fluffy, light and airy little puffs of buttery carb. They are a part of my story. If you make these, they could be part of your story. And, a fine story it will be.

I rarely happen upon a cornmeal based recipe I think I would enjoy. I am not a cornbread lover, most are too sweet. For the same sugary reason, I don’t care for cornmeal muffins. If something looks savoury enough, I may give it a go, but usually not to wind up raving about it. This little number from Cook's Illustrated looked just like the thing I needed to change my mind about cornmeal bakery plus, they are biscuits.

It was raining here. In the rest of the world, one would put on a slicker and brave the elements. This is Southern California, and I was doing like the locals do and chose to act as though a category three hurricane was upon us. Or, you could argue, I had found the perfect excuse to stay in my pyjamas and not brush my hair, let alone actually get in the shower.

All this to say that the recipe calls for buttermilk, I didn’t have any and, although the nearest shop is 100 metres away, I wasn’t going there. I used the old tablespoon of lemon juice in the milk trick and it seems to have worked a treat.

The good person at Cook’s Illustrated, Cali Rich, says to knead the biscuit dough 8-10 times before patting it out. I did not do this, which was fine. However, I did notice that those last biscuits that I cut from the scraps that were smushed back together in a kneadish kind of manner were a little fluffier than the ones cut from the unsmushed dough. So, if you want to knead your dough a few times, I think it would be a good thing. If, like me today, you can’t spare the extra nine seconds it will take, then don’t knead. I leave it up to you.

The other thing the girls and I discovered about these little lovelies I was planning on having for supper is that warm from the oven and drizzled with honey, it is almost impossible not to want to make these a frequent part of your breakfast, lunch and tea time story.

Cornmeal Biscuits adapted from Spring Entertaining from Cook’s Illustrated (makes 12)

1 1/4 cups whole milk

1 tablespoon lemon juice

1 cup cornmeal (avoid coarsely ground)

1 tablespoon honey

2 cups all purpose flour

1 tablespoon baking powder

1/2 teaspoon salt

1/2 teaspoon baking soda

12 tablespoons (3/4 cup) cold salted butter cut into 1/2-inch pieces

Preheat oven to 450º.

Whisk milk and lemon juice together in a large bowl. Let stand until thickened, about ten minutes. Add honey and cornmeal, whisk together. Let stand ten minutes again.

In the bowl of a food processor add flour, baking powder, salt, baking soda and pulse to combine. Add butter and pulse until the mixture resembles coarse crumbs. 


Add the flour mixture to the cornmeal mixture. Stir until a dough forms.

Turn out onto a lightly floured surface and if you are kneading, knead. Otherwise, pat dough out to about 3/4-inch thickness. Cut into 2 1/2-inch rounds with a cutter or a floured glass or cup. Place on baking sheet.

Bake for 5 minutes, reduce heat to 400º and bake for a further 8-10 minutes.

Let cool for a few minutes on baking sheet before you devour them all.


Monday
Jan172011

Grapefruit Guacamole

We got some avocados the other day. Despite being local, they were hard as hard things. I explained to Poppy, our resident guacamole La Jefa, that there would be no guacamole for a couple of days because of the state of the avocados. She, of course, forgot that somewhere in the midst of asking the next eighteen rapid fire questions in our daily never-stopping, seven-to-seven barrage of questions, forty-two minute songs and general, but demanding response, chit chat and she was was pissed when we got home and she couldn’t make guacamole.

Everybody had posted this, and we had also bought some grapefruits, so I suggested that we make our take on that but no, ‘if I can’t make guacamole I don’t want to make anything at all,' was shrieked while stomping up the stairs and threatening to never come out of her room. Yah, because that would teach Mommy a thing or two about making sure the frickin’ avocados are ripe, wouldn’t it? 

Our avocados sat ripening for a very long three days and our grapefruits sat near them, waiting for their time and purpose.

The avocados ripened and we still hadn’t used up the grapefruit and we had some tortilla chips waiting for some guacamole to dip themselves into. 

I had a hankering for something citrusy and I remembered an old school little grapefruit and avocado salad number from somewhere. It has been done but it sure was good. 

After no small amount of negotiation with La Jefa, a promise of three toppings on a chocolate frozen yogurt and three chapters of Ramona Quimby, Age 8 at bedtime bought me permission to guide and assist her in making a sunny tasting grapefruit guacamole.

The chief left this a little chunky and we added lots of the grapefruit juice which made it pretty juicy. I would be inclined to leave some out but she was enjoying squeezing that poor grapefruit so much, I just left her to it. It is so simple it could probably almost make itself and there are only four ingredients.

It was 80ºF that day, that’s around 27ºC, so it was perfect for a no-cook lunch. The ingredients are all pretty local to us as well, I know that isn’t the case for those enjoying a Northern January, believe it or not I am finding myself a little jealous of the snow. You can save this up for a grey day splurge. Add a margarita or two and you won’t be able to tell where you are.

And yes, when La Jefa wants to make guacamole and we can't find the stool, I let her perch on the counter top. You've got to pick your battles.

Grapefruit Guacamole

2 avocados peeled and sliced

1 pink grapefruit peeled and segmented and juice squeezed out of what remains

1/4 cup finely chopped red onion

1/2 cup chopped coriander

Salt and fresh ground black pepper

Mix all the ingredients together and season to taste.

Eat with tortilla chips, on top of fish or chicken or on its own.


Monday
Dec272010

Pre-Resolution Pennies

A few days ago, I found myself channeling my inner 1950’s housewife, the one with the perfectly starched, immaculately clean apron and not a hair out of place. Not the one I more closely resemble, with no apron and floury wet handprints on my butt - the result of a misplaced towel, and hair that resembles that Hallowe’en wig in the bottom of your dress up trunk but with the added dimension of whatever your child ate for breakfast smeared on one side and toothpaste in the ends of the other. It’s a glamorous job I do.

I was tidying up the cheese drawer, trying to make some space for all the cheese we need to have for Christmas. There was a chunk of prematurely purchased Christmas stilton that needed using up and, maybe it is because I have been trying to be so good and not eat such things lately, the thought of the best way to make cheese more fattening came to mind. I needed to make cheese pennies. You know, the ones you have eaten at least a dozen of before you can say, ‘A moment on the lips...‘. 

Ours would be stilton cheese pennies and we would throw some nuts in and then they would be very delicious with some port, the port you need to have because it is Christmas. You know, to go with all the cheese.

It’s not a new idea. It has been done way more than once, usually called Stilton Shortbread or Stilton and Walnut Cheese Dubloons or something else to make them sound all fancy. And, even though they are but humble cheese pennies, I can see why people try to give them this exalted status with flowery names. They certainly didn’t make it to Christmas Day here.

I managed to save enough to include in our Christmas goodie bags we were making for some friends but the daughters ran off into a corner with a handful nicked off the cooling rack. Stephen then discovered the container I had carefully hidden them in after a bike ride home but before supper. It took all three of us to tear them out of his hands which ended in hysterics because the girls thought they were rescuing the pennies for their own consumption. 

I didn’t use any dry mustard or cayenne which the cheddar variety like. I did use a healthy dose of fresh ground black pepper which when baked just added a toasty little kick. The pecans add a really great crunch to the pennies.

These are really good to make in advance. You can leave the dough in the fridge and just slice and bake before you need them. They also keep very well in an airtight container at room temperature after baking.

You really need these. Maybe as a foil to your New Year’s Eve tipple. I encourage you to enjoy them soon, before all your resolutions kick in and you can’t.

Stilton and Pecan Pennies

1 generous cup crumbled stilton

1/2 cup butter (if you use salted, don’t add salt, if you use unsalted, add the salt)

2 cups all purpose flour

1/2 cup chopped pecans

1/4 teaspoon salt

Fresh ground black pepper to taste

Mix all the ingredients together and add cold water by the tablespoonful until the dough just holds together (I used 2 tablespoons).

Divide the dough in two. Roll each half into a log about 1-inch in diameter and wrap in clingfilm. Chill for at least a couple of hours.  

Preheat oven to 400ºF.

Slice in 1/4-inch rounds and arrange on a parchment lined baking sheet. Bake for about 12 minutes or until they are golden on the bottoms and edges.

Cool and try not to eat all at once.

Tuesday
Dec072010

Pistachio and Cranberry Pesto (and eleven of its uses)

I was at the market on Thursday collecting our CSA and strolling around, as you do at the market. We stopped to buy some cookies, sublime chocolate chip and walnut, from an Australian stall holder who was selling a wide variety of things -bread and pasta, pesto and hummus, olives and nuts, cookies and cheesecake. After serving a very anxious Tilly, he proceeded to give a very indecisive woman the hard sell on his pasta and pesto combos. 

Now, I think fresh pasta is a delicious luxury and homemade fresh pesto equally so but, if I am going to buy pesto of any sort, it had better be damn good. My curiousity, and maybe his selling technique, got the better of me and I caved in for a taste. The choice was Poppy’s and she decided that we should try the pistachio and cranberry pesto. I dutifully tried to scoop up what looked like a fancy herbed dipping oil onto the bit of bread for a taste without much solid stuff sticking. It tasted fine, if you drizzled it over something maybe even a little yummy but not fantastic, not really fruity or nutty or anything. We didn’t buy it.

I decided to make it and would like to say that this is a little holiday kitchen workhorse for you. It is warm and wintery and fresh at the same time. It is so versatile that without even trying, I can think of a ton of uses. We have tried it three ways and we only made it after lunch today. 

So, you can, of course, use it stirred into some pasta. The girls devoured this perfect apres-swim supper this evening. You could also put it in a little jar and tie a pretty ribbon around it and give it to a friend. Add a beautiful goat cheese, if you really like this friend. You could use it to top roasted squash. And, in that vein, it could turn the sweet potato casserole on its head - mini marshmallows beware. You could roll it in some filo, with or without a little bit of cheese (think soft) and make very tasty little hors d-oeuvres. Try stuffing it into apples, baking them and serving with a pork roast. I like to muck around with the humble grilled cheese but I really, honestly think this would be divine spread inside with some really old cheddar. I think that this would be really nice alongside turkey, not traditional cranberry sauce but maybe a tasty new tradition. And, despite my disregard for it, I can’t help but quietly whisper roast lamb to you as well.

Stephen, for supper, had it stuffed into a chicken breast and roasted - it would have only been better had I taken a real chicken breast out of the freezer instead of a skinless one. Had it been a real chicken breast, ie. one with skin, I would have been inclined to just stuff the pesto under the skin. I, for a late lunch, had it dobbled over some fresh figs, a SoCal benefit, with a bit of shaved Parmigiano Reggiano. It disappeared rather quickly. 

I should mention a few things about making this. I would recommend buying shelled pistachios for two reasons. The first is that you can save yourself a lot of time, especially if you find yourself dropping whatever it is you are doing to rescue various parts of your house, furniture, sanity from your small child. The second is, that by the time you finish shelling them, especially with a little helper, you will have eaten half of what you bought. If you can buy them shelled, roasted and unsalted, even better. If not, buy unroasted and lightly toast and cool them before you start. Try as hard as you can, and buy unsalted ones.

If you go the shelling route, you will need to get some of the loose skins off. Do that by wrapping the pistachios in a clean towel and rubbing them. Then they should be less skinny and ready to go.

This makes about four cups of pesto which is quite a lot but you can keep it in the fridge in a jar covered with olive oil for a couple of weeks at least, if it was to last that long.

Pistachio and Cranberry Pesto

1 1/2 cups shelled unsalted roasted pistachios

1 cup dried cranberries

2 large shallots minced

4 cloves garlic minced

1/4 cup + 3/4 cup olive oil

1/4 cup lemon juice

1 cup parsley finely chopped

1/2 teaspoon salt

1/2 teaspoon ground black pepper

Sauté the shallots and garlic with 1/4 cup olive oil until translucent. Cool.

Pulse the pistachios in the food processor.

Pulse the cranberries in the food processor, or finely chop.

Put all the ingredients in a bowl and mix it up. Store it in a jar in the refrigerator until you find the next use. It won’t take long.