Entries in Sauciness (16)

Tuesday
Sep272011

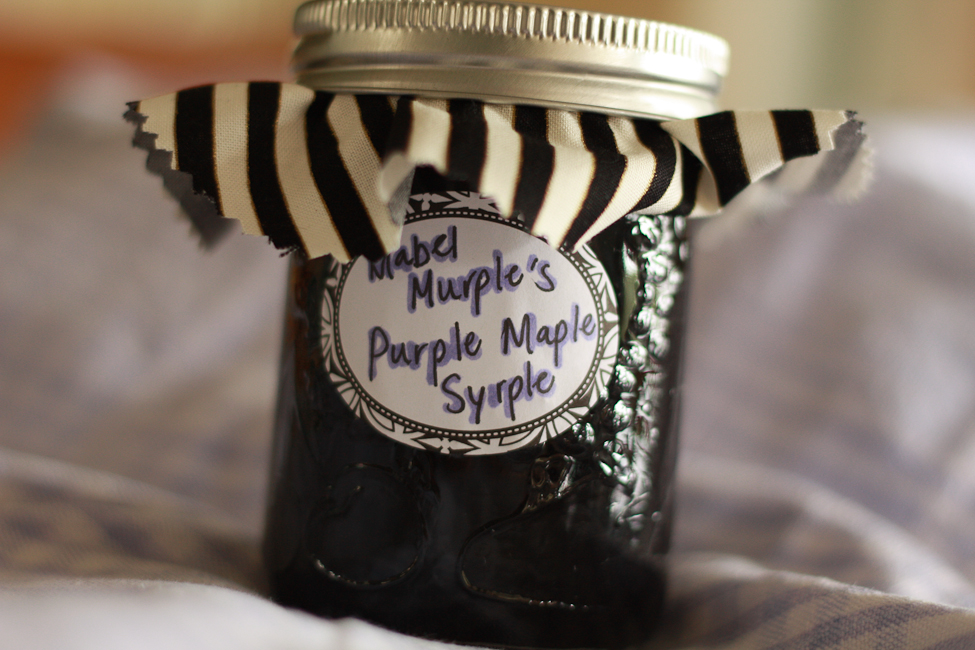
Mabel Murple's Purple Maple Syrple

Mabel Murple ordered breakfast

She had purple eggs on toast

And when she ordered dinner

She had purple short rib roast

Mabel Murple cooked a supper

Murple’s super duper purple stew

It was served with purple ketchup

And Mabel’s maple syrple too!

(Mabel Murple’s purple maple syrple!)

  -Sheree Fitch, Mabel Murple

One of our favourite books of late has been Mabel Murple. Whether it is Sheree Fitch’s infectious rhyme, Sydney Smith’s perfectly purple illustrations or the simple fact that they get to shout, ‘UNDERWEAR’ at the end, the girls love it. If we miss reading it one day, it is read twice the next. 

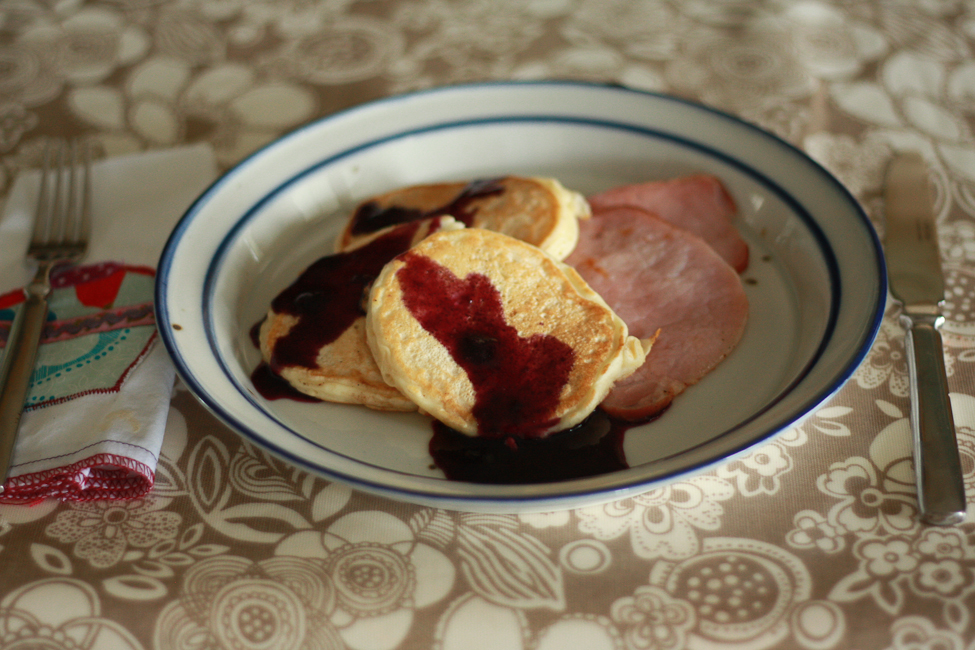
One day, during an early morning reading, the breakfast demands were made. They didn’t just want pancakes, they wanted them with Purple Maple Syrple. So, donning my indulgent mother cap, I leapt out of bed and got on with it.

You can buy this stuff in stores. It usually comes in tiny bottles. Around here they are often tied with Nova Scotia tartan ribbon which, maybe, is supposed to make it okay to pay THAT MUCH for 100mL of syrup. We go through this stuff, and maple syrup generally, by the bucketload. For us, this proves a little more economical despite missing the ribbon. And, you can make it in about as much time as it takes to whip up a batch of pancakes anyway. (I think I can feel the wrath of the value-added maple syrup industry coming down on me now)

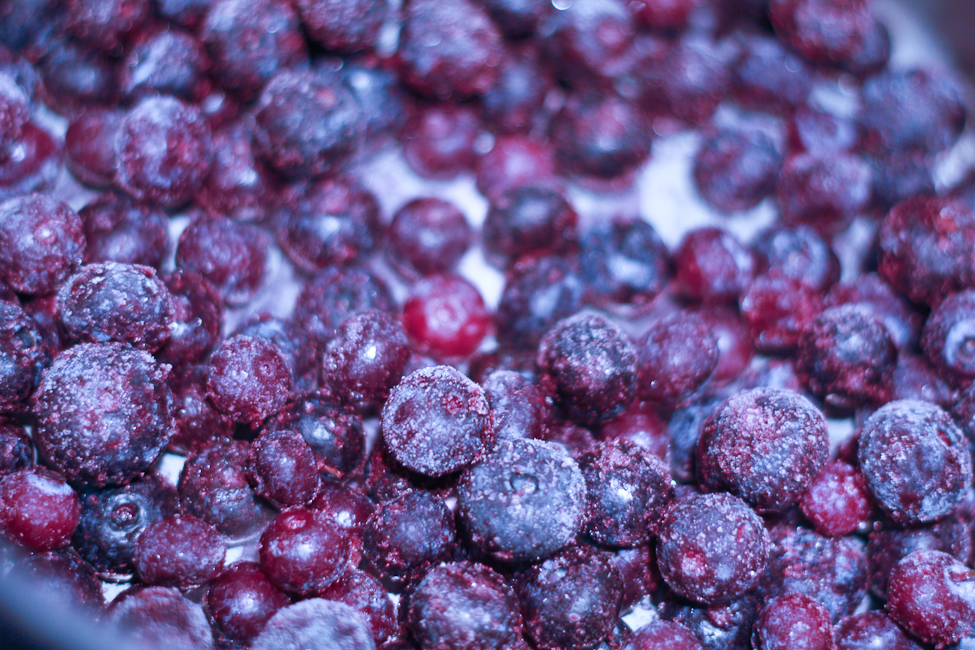
This was some time ago, blueberries weren’t quite in season and I was still in the midst of using up the frozen winter’s berry stash. You can easily use fresh, the last of them are still trickling through markets, and I have since. Still perfectly purple.

Mabel Murple’s Purple Maple Syrple inspired by Mabel Murple written by Sheree Fitch

2 cups blueberries (fresh or frozen, washed and de-stemmed, preferably)

2 cups maple syrup

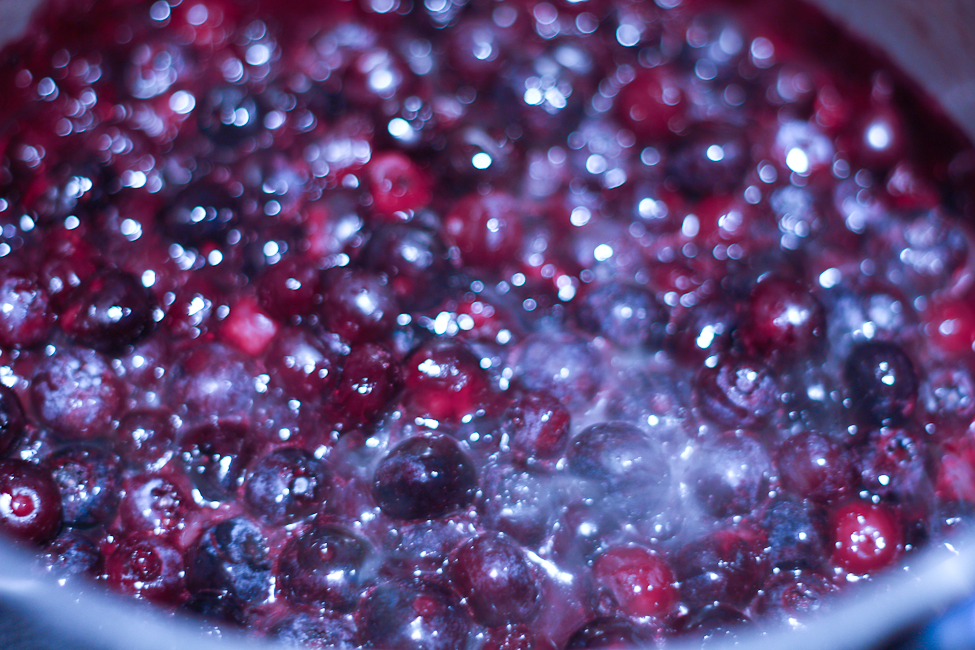
Bring the berries to a boil over low to medium heat. Don’t let them burn. Add the maple syrup and return to a boil.

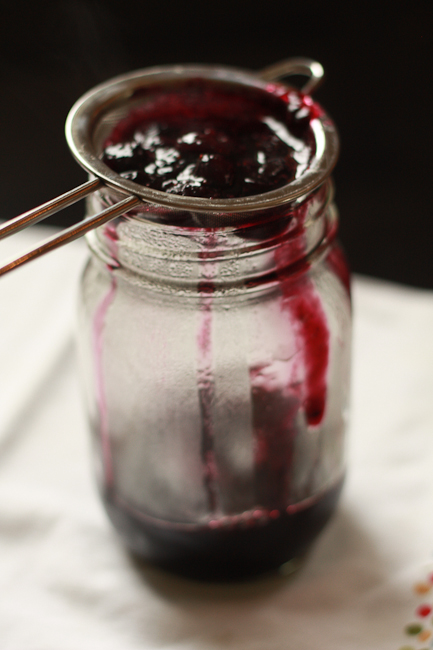
Strain through a sieve, pressing to extract all the liquid. Or, leave it chunky if you don’t mind the bits.

Serve over pancakes, french toast, waffles, porridge, ice cream, yogurt...


Allow to cool before refrigerating in a clean, dry container.


Monday
Jul252011

German Inspired Potato Salad

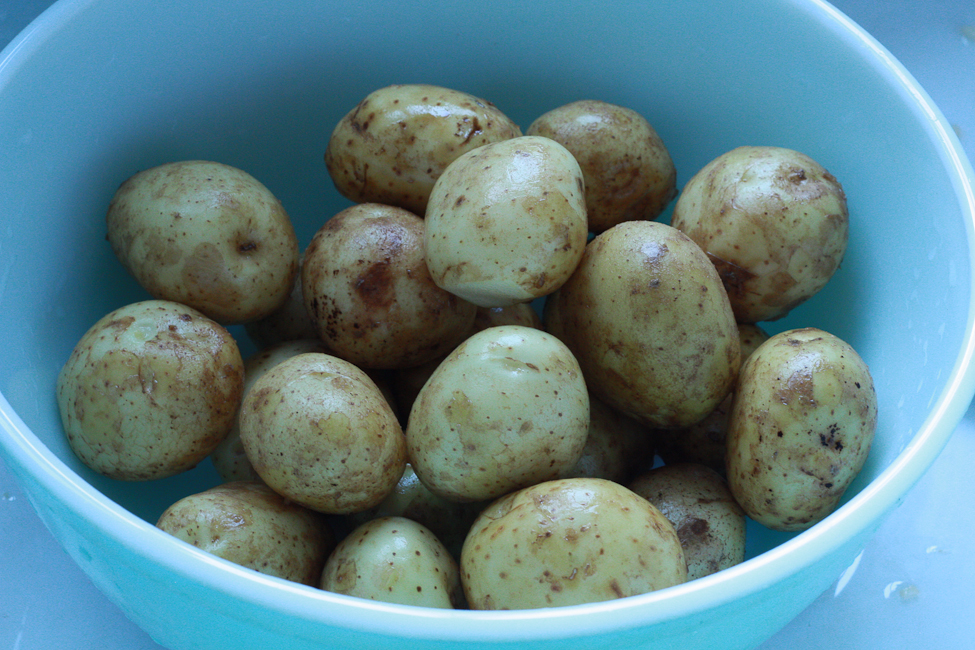
It is new potato time of year here. Those of you to the south and west of us here in Nova Scotia may be thinking, ‘what, it’s been new potato time for a while now Leah, wake up.’ Really though, they are just getting plentiful here.

I truly believe that there is not much finer than a new potato smothered in a healthy amount of butter and salt and pepper. There are occasions, however, when something a little bit more composed is called for. There are also occasions when getting half of supper done ahead of time is a nice treat as well.

I thought, for the odd day when it is actually warm enough that you don’t want to cook, that this makes a nice change to the mayonnaise doused potato salad that is a summer staple and which I love. Sadly, my behind and hips love it too much. So, to lighten things up we had this the other day.

Sometimes, I might be inclined to add some bacon, nicely crisped, to this. There were two reasons I didn’t on this occasion. The first, that there was already beef, bangers and  chicken going on the barbecue and the bacon just seemed excessive. For the second, you should reread the previous paragraph and, as with the first reason, the bacon just seemed excessive.

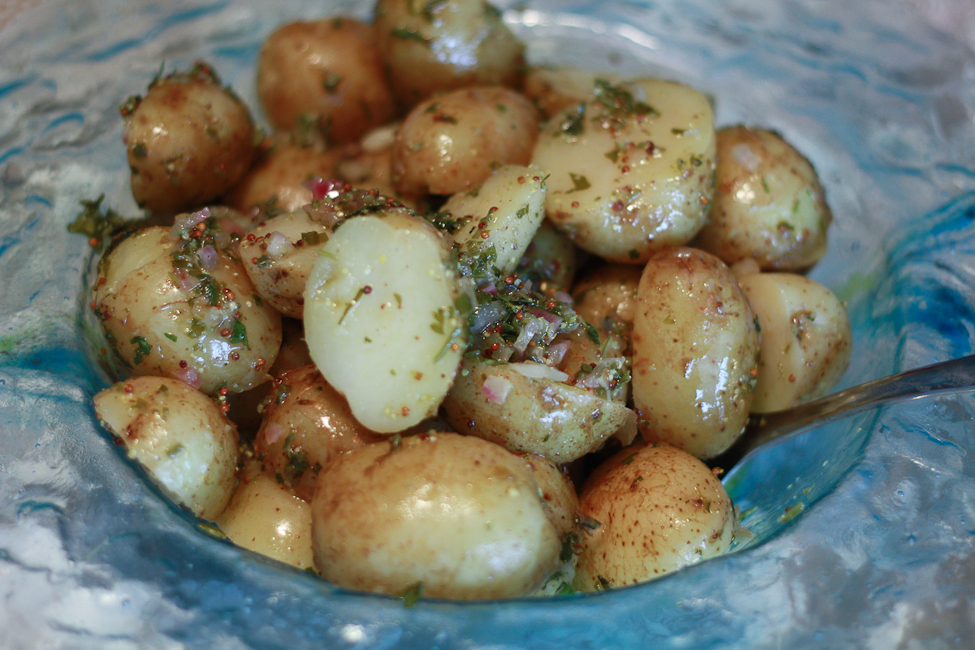
People may say that this should be served warm, and they would be correct. It is very nice warm. If you would rather go to the beach until supper time, I think it is perfectly acceptable to make it ahead of time and, if you really want to have it warm, put it in a heatproof bowl on the warming rack of your barbecue while everything else cooks. It is, cold or hot, a very fine potato salad.

German Inspired Potato Salad (Warm or Cold)

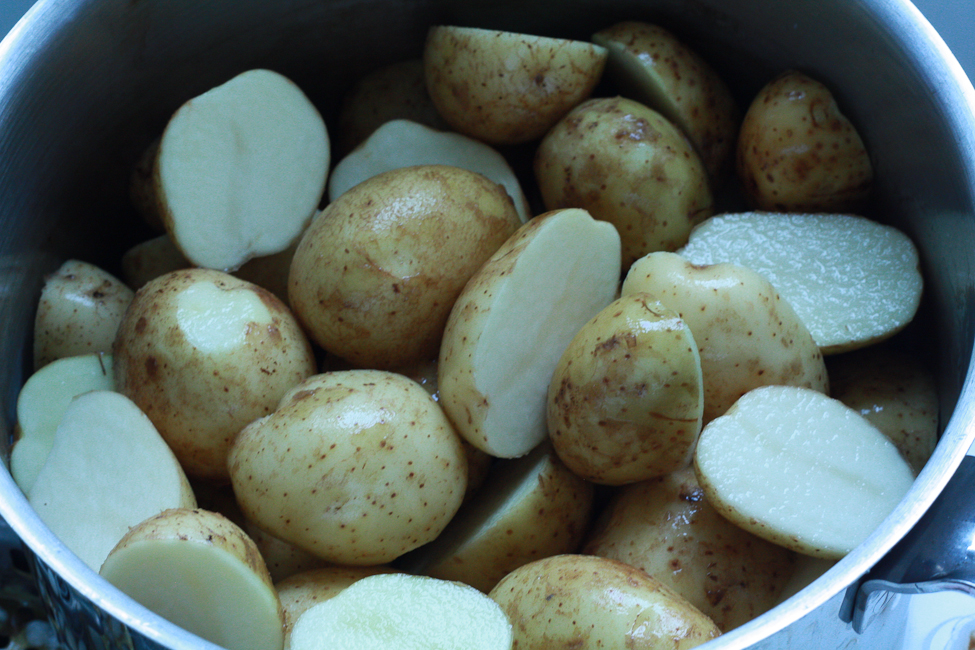
2 pounds small new potatoes halved

Vinaigrette

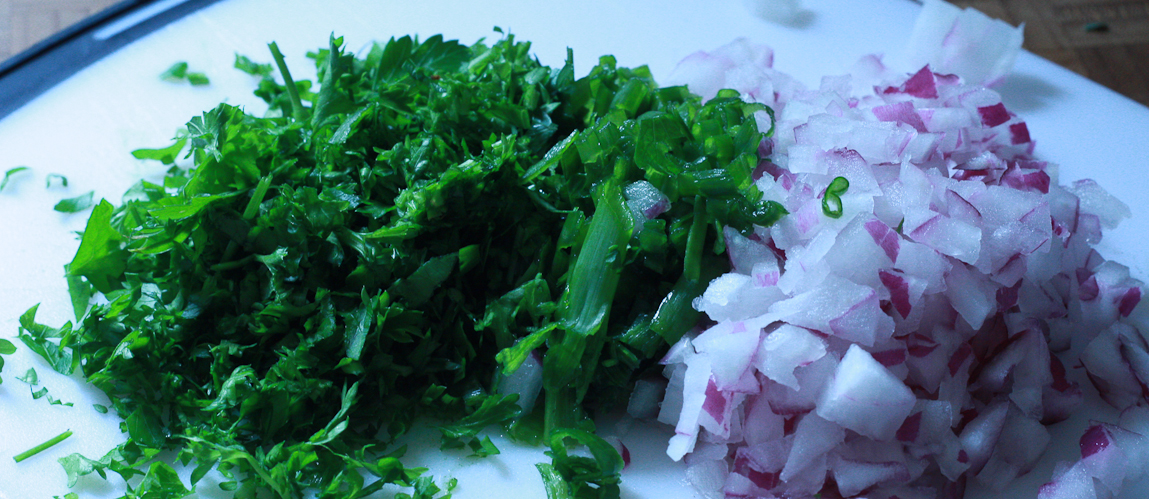
1/4 red onion finely chopped (about 1/2 cup)

1 tablespoon mustard

2 tablespoons white wine vinegar

1/4 cup olive oil

1/2 cup chicken stock

1/2 teaspoon salt

1/8 teaspoon celery seed

1 teaspoon fresh thyme leaves

2 tablespoons green onion finely sliced

1/2 cup chopped parsley (a handful)

In a medium pot, cover potatoes with water and bring to a boil, reduce heat to allow a gentle boil and cook until just tender. It is important not to overcook them. It will take about ten minutes, once they are boiling

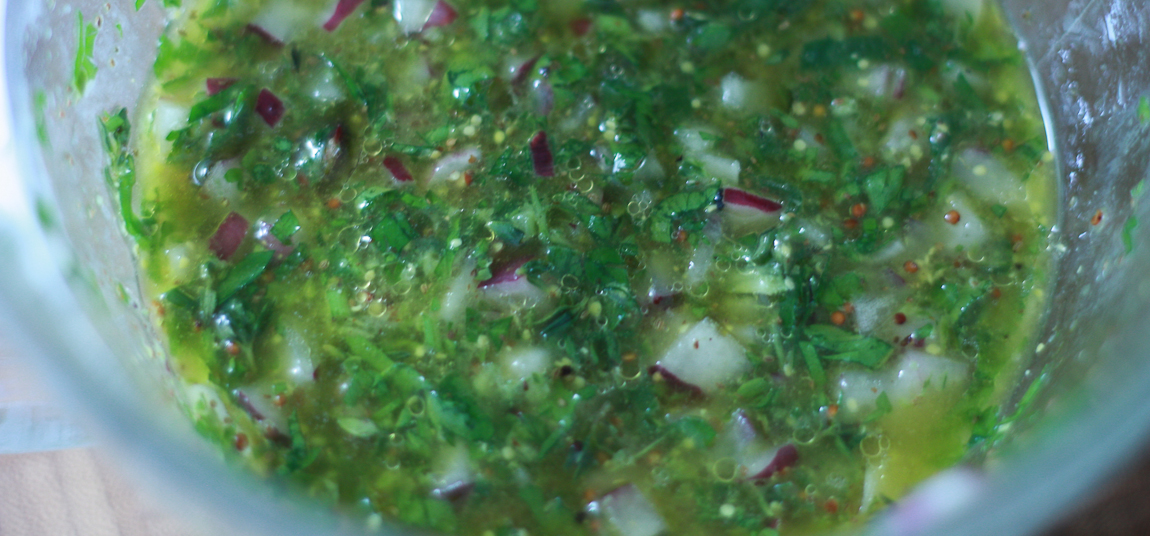
Meanwhile, mix all the ingredients for the vinaigrette together.

When the potatoes are cooked, drain them well and transfer them to a baking tray.

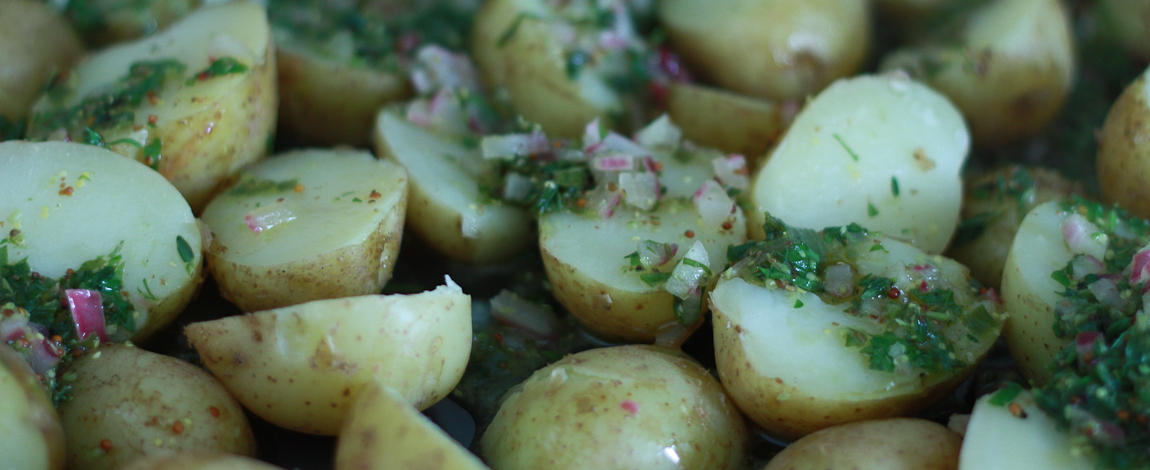
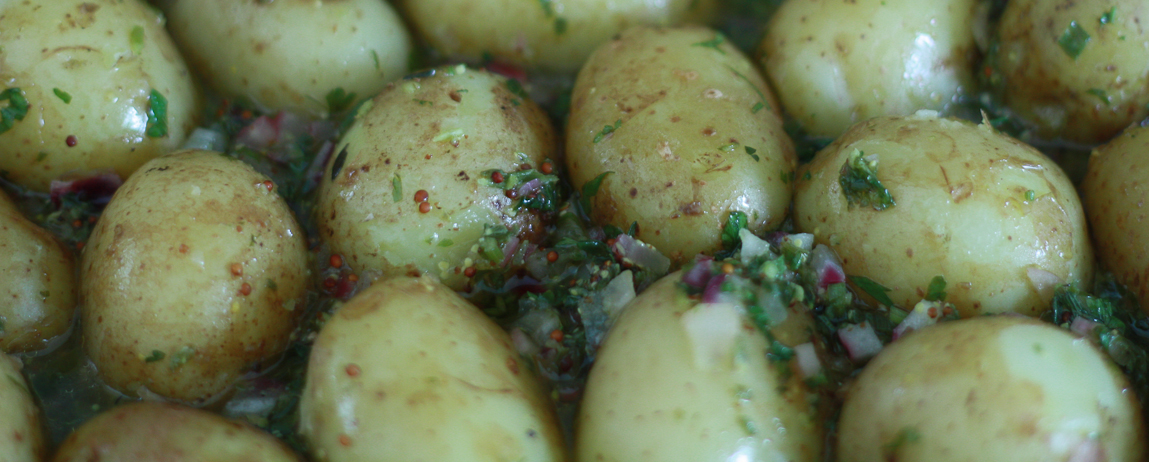
Heat the vinaigrette in a small pot just until it boils. Remove from heat and gently pour over the potatoes. After a few minutes, gently turn the potatoes, making sure the vinaigrette coats them completely.

Cool, or don’t, and serve.


Sunday
Jul172011

Putting Up Summer - A Challenge

The growing season is short here. And, it is about this time of year that a certain anxiety takes over me. Not so badly that I can’t enjoy summer but badly enough that I start scheduling life around the availability of fruits and vegetables.

Normally, I know in the back of my head that we will be going away for some portion of the winter months. This is the first time since I started doing any sort of preserving that I I am planning on being here for all of the winter months. So, my anxiety is at an all time high. 

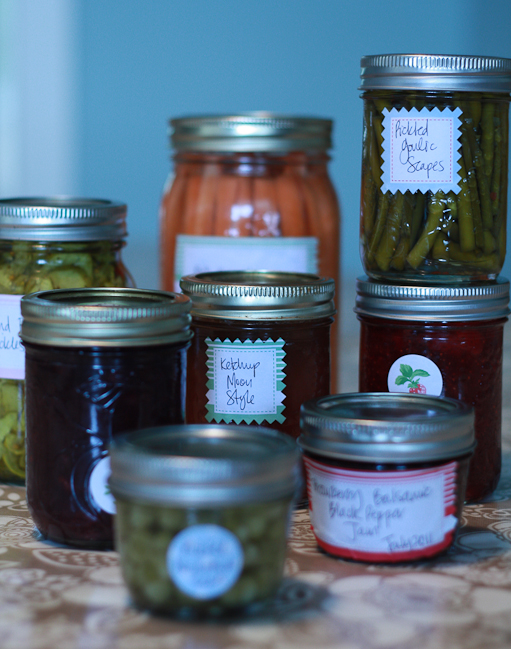
As herbs start growing I whizz them into a ‘pesto’ and toss them in the freezer. By pesto, I mean any combination of herb mixed with olive oil and whizzed. I don’t use nuts or cheese in most so that they are that they are easier to toss in to anything for anyone. Swiss chard and spinach are getting blanched and frozen. Garlic scapes, a lot of them, have been pestoed and frozen or pickled. I am imagining pickled garlic scape tartar sauce as soon as they have sat for a few weeks. Strawberries have been picked, hulled and frozen. Others have been turned into jam, two types. 

For the first time in my jam making career, I didn’t muddle around with the recipe and low and behold, it looks like it has set. Just in time for my children to decide that they don’t like jam. The other type got muddled with and is a little runnier as the result of a little less sugar and some balsamic and black pepper. I can taste it with creamy goat cheese and it is going to be good.

Currently, there is a big jar of nasturtium seeds brining on my countertop. Who knew those things could be quite so stinky. There is a definite waft of boiled eggs as you walk in to our house, especially when the jar gets a little jiggle. I am told, by many folk and website, that they will be pretty similar to capers.

I have great plans for the rest of the summer’s produce. I have a new canning bible, Canning for a New Generation. All I can say is, it will likely teach you a ton of stuff, it has me. If you plan on putting up any amount of produce or you want to make some lovely gifts, this is a book I would get. 

I want to know what it is you ‘put up,’ if anything. And, to that end and without getting caught up in any social movement, I want to issue a challenge, a project if you will. It will just take a few hours, I know they aren’t often easy to come by. Think of something you buy through the winter, or something that you buy that you think you could make. Maybe it is jam or pickles. Maybe it is pesto or tomato sauce. Look up a recipe, I will gladly help if you get stuck. Spend a few hours getting everything ready and preserve something to use later on. You can turn it into a family project or just take some time for yourself and enjoy the satisfaction it offers.

You do not need any fancy equipment, a really big pot will help. If you have a canner in the basement, or attic, or your mother-in-law’s cupboard, you could use it but, unless you are making huge jars of something or lots of jars, you should be fine.

Ideally, and for best results, you should choose something at the peak of its growing season for a couple of reasons. The first is that it tastes the best and the second, well, it usually costs less.

So, tell me if you are up for the challenge. I am by no means an expert, but I will happily help anyone out as best I can. 

Monday
Jun272011

What Makes Your Burger a Beautiful Thing?

Despite appearances here in Nova Scotia, the calendar reliably informs me that it is summer. What do we do when it is summer? We get reluctant to turn our ovens on or to use our stoves. We fill up our propane tanks or stock up on charcoal and wood chips. We turn to our barbecues, fire pits and smokers to prepare the sustenance our families need after a hard day of playing, swimming and sun basking.

Accordingly, it was to the barbecue that I turned the other day.  The weekend before, after witnessing a wine-fuelled debate over what was the best burger in the city, I was promised the best burger in Toronto but it was Sunday and, granted it is the subject of great debate, the best burger in Toronto place was closed for church. I am no crazy burger lover but I now officially had a hankering, a hankering so severe that I bought some ground beef from Rocky Top Meats at the market on Saturday.

The girls and I mixed ours up with some finely chopped onion, grated carrot because you have got to get the veggies in wherever you can, chopped parsley, cooked quinoa and a pinch of salt. My friend, Jen, had made some burgers with quinoa and I loved it. I know lots of folk who think that a burger is ground meat and salt only. I also know folk with secret recipes containing everything but the proverbial kitchen sink. All I know is that neither of my girls has ever shown a great love for the grilled meat and, while it may have been the free hand she had with the ketchup, Poppy ate three generous slider sized burgers and Tilly ate one and a half. They were that good.

It all got me to thinking about how some foods we keep pretty generic and about how some foods we personalize. The burger must be one of the most personalized foods we eat.

From the patty itself to the toppings, we get it or make it how we want it. Some people are firmly of the belief that less is more while some believe that more is more and that is all there is to it. I believe that the burger needs to be very good but it is secondary to the toppings, structure be damned. Stephen thinks that anything other than a dollop of mayonnaise and a slice of cheese is a ruined burger.

Some people think that the bun, and its structural integrity is of great importance. Eating on the go, I can see how this would be a deciding factor. Who wants a greasy mustard blop on your top. I usually have so many toppings that portability is not an option and the bun is in tatters, left on the side of the plate.

Lots of people feel that things like chipotle mayo and grilled pineapple rings and foie gras are perfect burger toppings. Australians have a love of fried eggs and sliced beetroot. On the other hand, there are those who think the secret sauce is sacrilege.

What I want to know is what makes your perfect burger. Do you like beef or veggie? Small and simple or sky high? Do you have the secret menus memorized or do you just order what you see? Will you go out of your way to get the burger you want? How do you make them at home or do you? Tell me yours and I’ll tell you mine.


Wednesday
Jun082011

Rhubarb Chutney - Rhubarb Trilogy 2011 Part III

This post could easily have been called God’s Gift to Grilled Cheese. It isn’t though. That would mean that I think that chutney is just for grilled cheese sandwiches. I don’t. However, I do believe that grilled cheese sandwiches with chutney are one of the best things ever.

It is rhubarb time, as you know. It gets to the end of rhubarb season and, while I really, really love rhubarb, I start to wonder what to do with it besides making ice cream, crumble, sorbet, roasting it, making cheesecake with it, chopping it up and putting it in the freezer and so on.

This recipe makes just four cups but you could easily double or triple it if your canning and preserving sense has kicked in this early in the green season. If, like me, your’s hasn’t, this will keep in the fridge for at least a month. And, since it is barbecue season as well, you should have it used up in no time since you will need something for all those chops and sausages.

This is very uncomplicated and I wanted to keep the rhubarb taste there, as much as you can in a chutney anyway. I almost started adding some orange zest and cinnamon and stopped myself because this is summer chutney. We can talk about heavier, spicier chutneys at the end of the green season, right? 

This has a tiny bit of heat and a decent ginger kick. You could nicely freshen it up with some fresh cilantro/coriander and a little squeeze of lime just as you put it on the table with your grilled offering. With cheese, or grilled cheese, is it good just as it is.

Rhubarb Chutney

5 cups chopped rhubarb

2 cups diced onion

2 tablespoons minced fresh ginger

1 teaspoon ground coriander seed

1/4 teaspoon dried chili 

1 1/2 teaspoons salt

1 1/2 cups brown sugar

1 cup cider vinegar

Put all ingredients in a large pot. Slowly bring to a boil.


Reduce to a simmer. Simmer, stirring occasionally, until the mixture has thickened and the liquid stops running in to the spoon tracks when you stir. This should take about 40 minutes.

Towards the end of the cooking, as the chutney thicken, you will need to stir more often.

Remove from heat and transfer to clean, dry jars. If you are ‘putting it up,’ you should process the jars in your canner for about ten minutes.

Your grilled cheese will never be the same again.

Wednesday
Jun082011

Toasted Fregola and Tomatoes

Shortly before we left San Diego, I discovered the wonders of Little Italy. I knew it was there and had briefly strolled down India Street but, with two hooligan girls in tow, you don’t go in to shops. 

The farmers’ market on Saturday was incredible and, if we hadn’t had the Hillcrest Market around the corner, I would have made more trips to Little Italy on Saturdays. Sadly, Stephen is a less then avid market goer, and I can’t bring myself to cajole him into going on his all too short weekends.

Finally though, taunted by the sight of fresh pastas and cheeses and all the way from Italy dry goods, I started taking my bribed-into-good-behaviour girls into the little shops and our grocery bill took a little leap.

The Sardinians make a type of couscous called fregola. It is usually shaped like Israeli couscous but is toasted. Sometimes it is a little rougher in texture which, I think, is great as it holds any sauce better. It is available at any good Italian market and best of all, there are often recipes like this one on the back of the packet.


Like all good Italian cooking, this is about simplicity and excellent ingredients. It is a great step away from the spaghetti rut. The fact that it is toasted lends a little toasty nuttiness and depth but not so obvious that your children are going to turn their noses up.

I used tinned cherry tomatoes for this. I was lucky enough to find them. I would recommend using diced tinned tomatoes but try and use the best you can afford, and try for San Marzano if you can find them, you will be happy you did. If tomatoes are in season, you could use chopped fresh but you may need some extra stock. I would also suggest that you use a fairly large pan, otherwise you will stir and wind up with something like this.

Toasted Fregola with Tomatoes (adapted from the back of the packet)

1 large onion finely chopped

4 large cloves garlic minced

250 grams toasted fregola

3 tablespoons olive oil

4 cups stock (I used chicken, you can use vegetable)

1 large (28 ounce) tin tomatoes

Chopped fresh parsley

Basil pesto to serve (if desired)

Salt and pepper to taste

Sauté onions and garlic with olive oil in a large pan. 

Add tomatoes and stock and bring to a boil.

Stir in fregola and return to boil. Reduce heat and simmer for 15-20 minutes or until the desired tenderness is reached.

Stir in some chopped parsley and season to taste.

Serve with a drizzle of pesto or extra virgin olive oil or some shaved parmesan.

Sunday
Feb202011

A Little Roasted for Your Crunch

There seems to have been a recent glut of broccoli in California. Our local market has literally had tons of it, all shapes and varieties, for cheap. Consequently, we have been eating it a lot.

Looking for a little something outside the steamed broccoli realm, I thought about the ubiquitous Broccoli Crunch Salad. It really is everywhere. It sits on salad bars in every corner of North America. You can buy a kit to make it in your local big box store. 

There is nothing really wrong with it. It is, usually, pretty tasty. A creamy dressing with some sweetness and some tang coat raw broccoli florets (I really don’t like that word), tossed with some sort of nut, raisins or dried cranberries adding some extra sweetness, and usually there is some salty bacon in there. It ticks all the boxes of taste and texture to qualify as a salad. I’ll even admit to scoffing quite a lot of it more than once or twice.

The thing is is that when I eat salad, I want to feel a little virtuous; a little bit like I am doing my body a favour. The creamy dressing and bacon while tasty, sometimes measure up a little heavy.

The raw broccoli is really delicious but I am going to admit that I think it is a little bit like hard work. I know it sounds like I want all the benefits without the effort but my jaw is almost sore after eating it sometimes. I knew that steaming the broccoli would wind up in a big soggy mistake unless it was treated to nothing but the shortest of steam baths. Roasting the broccoli, like I do cauliflower, seemed like a good and flavour intensifying idea though. You can still preserve some of the crunch as well.

To be honest, I have been roasting all of our brassicas, even the cauliflower for cauliflower and cheese. Everyone has been eating it up.


I lightened up the dressing for the salad by using a slightly sweet vinaigrette with a little bit of nuttiness from some toasted sesame oil. There will be twice as much vinaigrette as you need but it is a handy thing to have in your fridge, just store it in the jar you shake it in. The raisins and onions soak in the vinaigrette for as long as you have time to let them. The raisins plump and the onions mellow so the longer they soak the plumper and mellower your salad will be.

I skipped the bacon, to much guffawing, but you could easily toss some in if you need it. 

This makes quite a lot but two adults and two children polished all but a tiny bit off in one meal.

Roasted Broccoli Salad

8 cups broccoli cut into small flowerlike pieces

2 tablespoons olive oil

1/2 teaspoon salt

Fresh ground black pepper to taste

1/2 cup diced red onion

1/2 cup raisins

1/2 cup toasted almond slivers

Vinaigrette

2 tablespoons grainy mustard

1 tablespoon honey

1/4 cup white wine vinegar

1/3 cup olive oil

1 tablespoon toasted sesame oil

1/4 teaspoon salt

Fresh ground black pepper to taste

Preheat oven to 450º.

Toss the broccoli pieces with 2 tablespoons olive oil, salt and pepper. Place on a baking sheet and roast for about 15 minutes, until they are spot browned. Remove from oven and cool.

Put the ingredients for the vinaigrette in a jar that will hold at least 250ml (1 cup). Put the lid on the jar and shake until the vinaigrette is emulsified. Check the bottom of the jar and make sure that all the honey is mixed in and isn’t stuck to the bottom.

In a medium bowl, use whatever bowl you want to serve this in, soak the raisins and onions in about 1/2 cup of the vinaigrette.

Just before serving, toss the roasted and cooled broccoli and the toasted almonds in the vinaigrette.


Wednesday
Dec152010

Brisket à la Caplansky

I will happily admit that while I completely approve of nose to tail eating, I myself, am not nearly brave enough to adopt it as practice at our house. My meat eating, when it happens, is generally limited to the better known and leaner cuts. I know that in the big picture of nose to tail that what this post is all about is not even close to brave, not even close to really even being considered nose to tail and for huge numbers of people, it is everyday meat. Not so for us. Even Stephen was concerned.

A while before American Thanksgiving, my near-vegetarian daughter, piped up and asked for brisket. I asked if if she knew what it was, she didn’t. I explained and asked if she still wanted to have it, she said she did. I realized I had never cooked it and, I am pretty sure, had never eaten it, at least not knowingly. I wasn’t sure where to start. 

I did set a date though. I couldn’t face the thought of turkey three months in a row, so we would have brisket for Thanksgiving Round #2.

When I was sure that at least one person was going to eat it, I started looking around and thinking about recipes. After realizing that the brisket recipe world was not for one as inexperienced as I am, I turned to the Master of All Things Brisket. If Zane couldn’t help me out, I was sure there would be no chance of pulling it off. Zane obligingly supplied the recipe and moral support for the endeavour.  I tried as hard as I could to stick to the recipe too, no minor feat.

I set about looking for a brisket which, low and behold, you can pretty much get at any butcher shop. I went searching a little further and found a place that sells as local as it gets, grass fed beef and they said they had a brisket. We walked into the butcher shop, the styliest I have ever been in, I asked for the brisket. He set about getting it from the fridge and Poppy noticed through the glass window that there was an entire deer, skinned but with head, antlers and face still intact hanging in the fridge. She asked whether it was alive. I told her it wasn’t. She asked why it still had its face on. I told her that all animals have a face. She asked why they hadn’t cut it off yet. I didn’t really have an answer. I did say that I thought it was nicer to look at the animal with its face still on and she agreed. The topic of conversation for the rest of the afternoon was set. And, she is still as interested in meat as she was before which isn’t a whole lot but she seems unaffected by the butcher shop experience.

I am not going to tell you how much I paid for this piece of meat, it was more than I imagined it could be. I don’t think you need to spend this much money on a brisket and I won’t again. I was happy with where it came from and what it ate and how it lived though. I think that any grass fed flavour was lost in the six hour braising though and, in hindsight, I should have thought of that.

I chose to do this in several steps. I cooked it. I removed it from the braising liquid. I refrigerated the brisket and the liquid separately overnight. I skimmed the fat off the top of the liquid before reducing it. I also sliced the brisket cold. I had read somewhere that it is much easier that way. Then, after reducing the braising liquid, I heated them up in the oven to serve. This certainly didn’t speed the process up any but everything was very easy. 

Was it worth the time? If anyone asks for more than it is worth the time. It hasn’t turned Poppy into a drooling carnivore but I didn’t really want it to. Stephen loved it.  He had firsts and seconds and leftovers and seconds and a brisket sandwich and seconds. It was after the first round of seconds that he admitted that he had not been looking forward to it but was pretty excited by it. Poppy was pretty happy with the meat but the sauce was too spicy, it wasn’t but she is four and was saving room for the Magnolia cupcakes we had for pudding. Tilly ate lots. She shares her father’s food preferences.

I am going to throw this out there, but I realize it is pretty obvious. This is not fast food. Plan ahead. You will be happy you did.

Barbecue Brisket adapted, just a little, from Zane Caplansky

5 pound brisket 

4 chopped white onions

A head of garlic chopped

Two large tins diced tomatoes

4 cups beef stock

A few sprigs of fresh thyme

1/2 teaspoon ground coriander

1teaspoon ground chipotle pepper

Fresh ground pepper

1/2 cup red wine vinegar

3/4 cup brown sugar

Preheat oven to 300º.

In a large pan sear the brisket on both sides. Put it in a large roasting pan, or baking dish or a huge dutch oven, if it fits.

Sauté the onions and garlic until soft. Pop them on top of the brisket. Add the tomatoes, stock and spices. Cover with a lid or foil and braise for about five hours, or up to six hours of your brisket is bigger. Zane says it should cook for about an hour per pound up to about six hours.

When it is nice and tender, remove the meat from the liquid and cool, if you want to, and slice. Here is where I put it in the fridge overnight, before slicing.

Put the liquid in a saucepan and add the vinegar and sugar. Reduce until it is barbecue sauce thick.

Pour the sauce over the sliced brisket and reheat in the oven, if necessary.